Building a dollhouse is an engaging and rewarding project that combines craftsmanship, creativity, and personal flair. Whether you are creating it for a child, as a collectible, or for a hobby, understanding various aspects of the project is crucial for successful completion. Consequently, this guide will walk you through each essential step, from planning to adding the final touches. Therefore, by following these instructions, you will be able to build a charming and functional dollhouse that will be cherished for years.
Planning Your Dollhouse
The first step in building a dollhouse is meticulous planning. This ensures your project proceeds smoothly and meets your expectations. Therefore, exploring the planning phase is essential for a successful build.
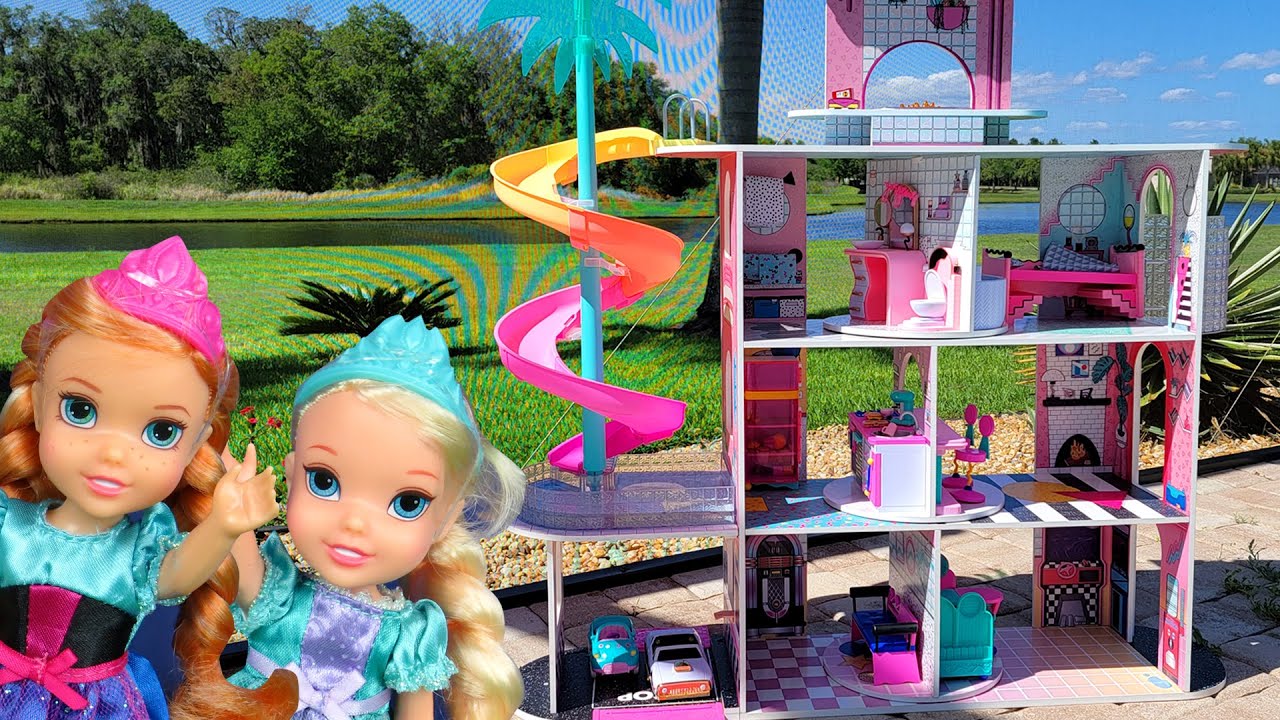
Setting Your Goals
Before diving into the construction, set clear goals for your dollhouse project. Determine the purpose: Is it for play, display, or a gift? Decide on the type and style of the dollhouse, such as Victorian, modern, or rustic. Additionally, consider the scale—commonly used scales are 1:12 (one inch equals one foot) and 1:24 (half inch equals one foot). By setting clear goals, you provide a framework for the entire project and ensure the final product aligns with your vision. Therefore, clarifying your goals is the first step in planning your dollhouse.
Gathering Materials and Tools
Once you have set your goals, gather all necessary materials and tools. Essential materials include plywood or MDF for walls and floors, glue, nails, paint, and decorative items. Tools you’ll need include a saw, hammer, measuring tape, clamps, and a paintbrush. Additionally, consider using specialized tools like miniature furniture kits and detail brushes for intricate work. Gathering all materials and tools in advance ensures a smooth workflow and reduces interruptions. Therefore, preparing your materials and tools is a vital part of planning.
Building the Structure
Constructing the structure of the dollhouse is the most fundamental phase of the project. This step involves cutting, assembling, and securing the main components. Therefore, carefully following these steps ensures a sturdy and well-built dollhouse.
Cutting the Pieces
Begin by accurately measuring and marking the dimensions for each part of the dollhouse. Use your scale plans to draw lines on the plywood or MDF, marking where each piece should be cut. Carefully cut out the base, walls, roof, and any additional rooms using a saw. Smooth out any rough edges with sandpaper to ensure a clean fit. It’s important to double-check measurements to avoid mistakes that could affect the structure’s integrity. Therefore, precise cutting is crucial for a well-fitted dollhouse structure.
Assembling the Walls and Base
After cutting the pieces, start assembling the base and walls. Lay the base flat and position the walls around it, ensuring they are perpendicular and correctly aligned. Use wood glue along the edges to secure the walls to the base and each other. Reinforce the joints with nails or screws for added stability. Allow the glue to dry completely before proceeding. This step forms the core structure of your dollhouse, providing a foundation for further detailing. Therefore, properly assembling the walls and base is essential for a sturdy dollhouse.
Adding Floors and Roof
Once the basic structure is complete, it’s time to add floors and the roof. These elements not only add to the structural integrity but also enhance the overall appearance. Therefore, taking care in this step is important for both functionality and aesthetics.
Installing the Floors
Measure and cut the pieces for the floors, ensuring they fit snugly within the walls. Use wood glue to adhere the floor pieces into place and secure them with nails or screws if necessary. Floors can be left as bare wood, carpeted, or treated with miniature flooring materials like tiles or hardwood. Adding details like stairs or balconies at this stage can further enhance realism. Double-check alignment and level the floors to ensure they are even and stable. Therefore, installing the floors accurately contributes to a well-constructed dollhouse.
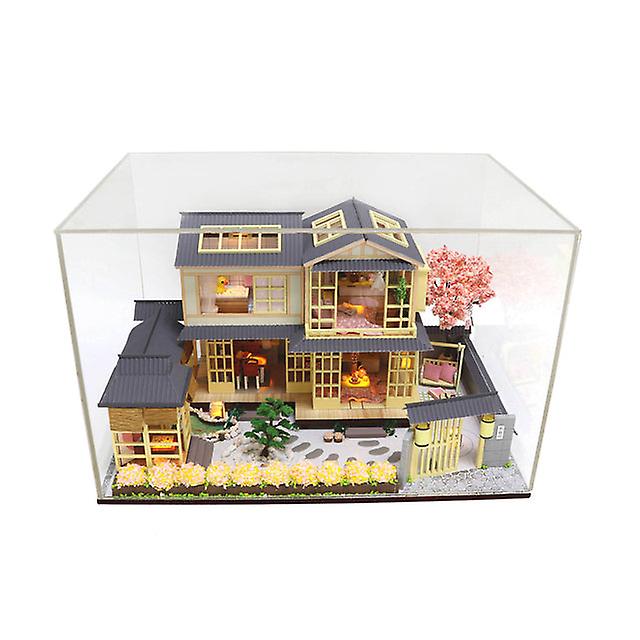
Constructing the Roof
Next, focus on constructing and attaching the roof. Depending on your chosen style, cut the roof pieces from plywood or MDF, ensuring they fit together at the correct angle. Use wood glue and nails to secure the roof pieces to the tops of the walls. Consider adding features like dormer windows or chimneys for extra detail. Roofing materials such as shingles or thatch can be added for realism. Ensure the roof is securely attached and aligned with the structure. Therefore, constructing and installing the roof precisely completes the main framework of the dollhouse.
Interior and Exterior Decoration
Once the basic structure, floors, and roof are in place, the next step involves decorating the interior and exterior. This phase allows for creativity and personalization. Therefore, exploring decoration techniques enhances the beauty and uniqueness of your dollhouse.
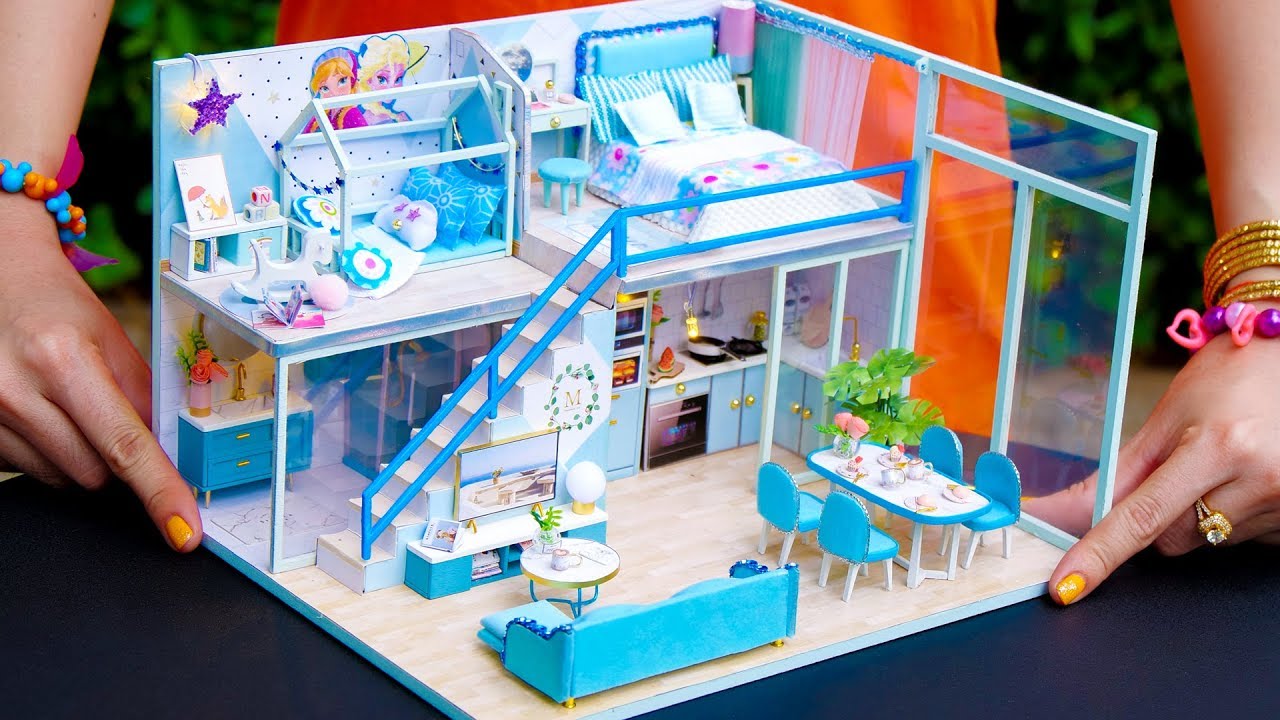
Interior Design
Start with the interiors by adding wallpaper, paint, or wood paneling to the walls. Choose decorative materials that reflect your chosen style—Victorian, modern, or rustic. Use miniature furniture kits or create custom furniture to furnish the rooms. Add details like curtains, rugs, and miniature artwork to make the interior feel cozy and inviting. Lighting fixtures powered by small batteries or electrical kits can add a realistic touch. Therefore, carefully designing the interiors brings your dollhouse to life.
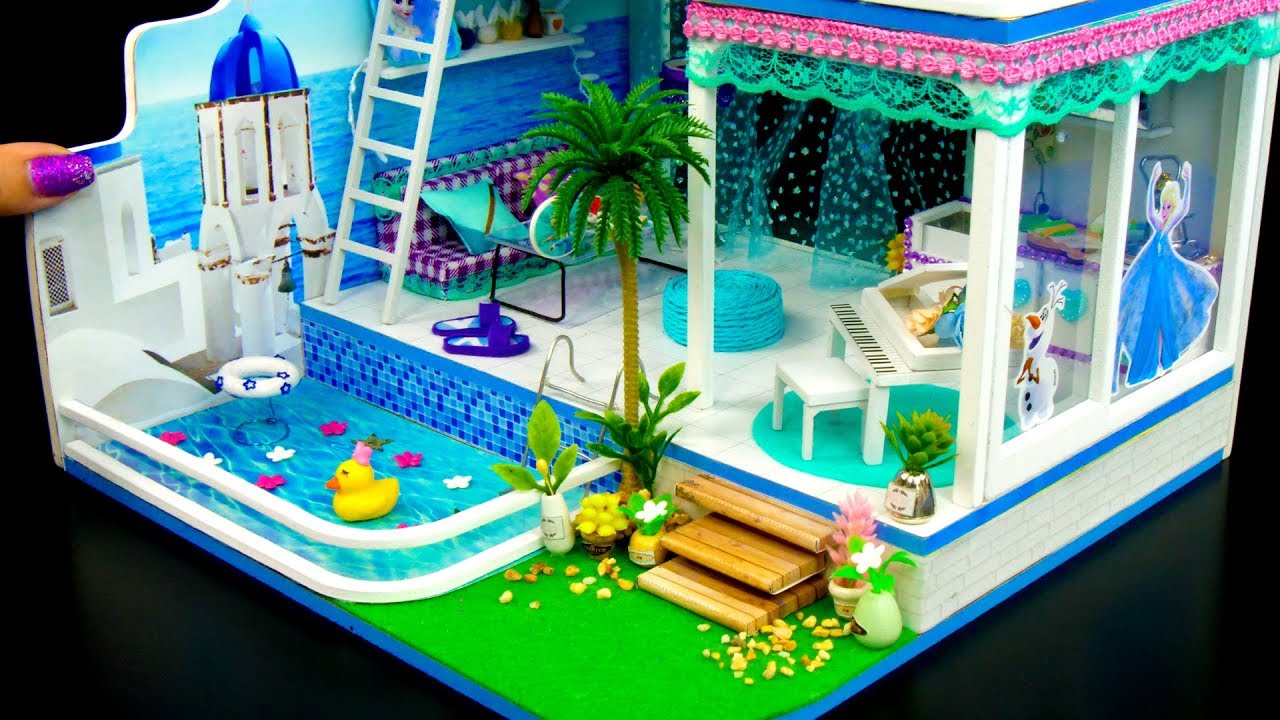
Exterior Enhancements
Moving to the exterior, consider painting or staining the outside walls to match your chosen architectural style. Adding windows and doors can greatly enhance the dollhouse’s appearance. Use trim and molding to add extra detail and realism. Landscaping features like miniature gardens, pathways, or fences can further embellish the exterior. Ensure all exterior elements are securely attached and weatherproof if the dollhouse will be displayed outdoors. Therefore, enhancing the exterior adds character and completes the dollhouse’s overall look.

Tips for a Successful Build
Achieving a successful dollhouse build involves more than just following instructions. Implementing useful tips can streamline your processes and ensure a delightful end result. Therefore, exploring these tips is essential for a fulfilling building experience.
Attention to Detail
Paying attention to detail is crucial for creating a realistic and aesthetically pleasing dollhouse. Take your time with intricate tasks like painting, furnishing, and adding accents. Small details like doorknobs, picture frames, and tiny accessories can make a big difference. Use fine brushes for painting and opt for high-quality materials for a polished finish. Revisiting each part of the structure to fine-tune and add final touches ensures a cohesive and detailed outcome. Therefore, focusing on details enhances the overall quality of your dollhouse.
Maintaining Patience
Patience is vital throughout the process of building a dollhouse. Rushing through steps can lead to mistakes and compromise the quality of your work. Take your time to measure accurately, cut precisely, and allow glue or paint to dry completely. If you encounter challenges or errors, take a break and revisit them with a fresh perspective. Enjoy the process as much as the result, and remember that patience leads to better craftsmanship. Therefore, maintaining patience ensures a satisfying and successful dollhouse build.
Common Mistakes to Avoid
Knowing common mistakes in dollhouse building can help you prevent them and achieve smoother results. Understanding these pitfalls and how to avoid them enhances your skillset. Therefore, exploring common mistakes ensures more effective and enjoyable building.
Inaccurate Measurements
One of the most common mistakes is inaccurate measurements, which can affect the fit and alignment of your dollhouse components. Always double-check your measurements and use precise tools for measuring and cutting. Small errors in measurements can lead to misaligned walls, uneven floors, or ill-fitting parts. Taking the time to measure twice and cut once ensures accuracy and better-fitting structures. Therefore, avoiding inaccurate measurements is crucial for a successful build.
Skipping the Planning Phase
Another common mistake is skipping or rushing through the planning phase. Thorough planning provides a clear roadmap for your project and helps prevent unforeseen issues. Ensuring you have all necessary materials and a well-thought-out design before starting construction saves time and frustration. Skipping planning can lead to running out of materials, design inconsistencies, and structural problems. Therefore, dedicating time to careful planning is essential for a smooth and successful build.
Conclusion: Building a Cherished Dollhouse
Building a dollhouse is a rewarding project that combines creativity, craftsmanship, and personal expression. Starting with meticulous planning, setting clear goals, and gathering essential materials and tools provides a solid foundation for your project.
Constructing the structure, adding floors and roofs, and decorating the interior and exterior requires careful attention to detail and patience. By implementing useful tips and avoiding common mistakes, you can ensure a successful and enjoyable building experience.
Paying attention to accuracy, focusing on intricate details, and maintaining patience throughout the process are keys to creating a charming and functional dollhouse that will be cherished for years.
Therefore, by following these steps and embracing creativity, you can build a beautiful and unique dollhouse that reflects your style and effort. Happy building!