Introduction to BJD Dolls and 3D Printing
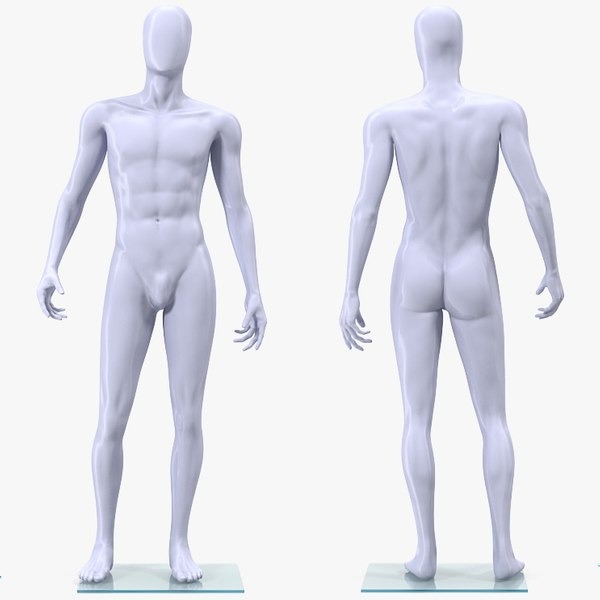
BJD dolls, or ball-jointed dolls, are highly customizable toys. Crafted with precision, BJD dolls feature articulated joints. These joints mimic human movements, giving life to the dolls. Traditionally, craftsmen sculpt and cast these dolls in materials like resin. But today, 3D printing has revolutionized their creation. With a bjd 3D print approach, artists craft intricate parts with ease. This technique allows for detailed customization right from home. Then, the 3D printer works tirelessly, bringing a digital dream into reality. Artists choose each detail, from facial expressions to the pose of hands. BJD 3d print technology empowers creators of all skill levels. This guide will lead you through the journey of bjd 3D print. Learn about tools, techniques, and tips to craft your unique doll. The world of BJD and 3D printing is vast and waiting. It’s time to turn your artistic vision into a tangible masterpiece.
Essential Tools and Materials for 3D Printing BJD Dolls
Achieving a perfect bjd 3d print begins with the right tools and materials. To start, you need a reliable 3D printer capable of high-detail work. Look for printers with fine resolution settings. This helps in capturing the intricate details of BJD dolls. Next, select the right type of filament. For BJD dolls, a common choice is ABS or PLA. These materials provide the fine finish and durability you need.
Ensure you have a good quality slicing software. The software will translate your 3D model into instructions for your printer. It dictates layer height, infill, and support structure. Precision in these settings is key for bjd 3d print success.
Other necessary materials include:
- Sandpaper or filing tools for smoothing printed parts
- Paints and brushes for customization
- Stringing materials, like elastic or hooks, for assembling movable joints
- Superglue or other adhesives for securing parts
Prepare these tools and materials before starting your project. Being well-equipped will streamline the creation process. It ensures you can focus on design and detail, rather than searching for supplies last minute.
Designing Your BJD Doll: Software and Tips
Before you can start the bjd 3D print process, designing your doll is critical. First, choose a 3D modeling software suited to your skill level and needs. Beginners may prefer user-friendly options like Tinkercad, while advanced users can opt for Blender or ZBrush. Whichever you choose, ensure it can fine-tune small details – the essence of BJD dolls.
Here are some tips to help you with the design phase:
- Familiarize yourself with the software tools. Knowing them well will save time later.
- Start with a sketch of your doll. It guides the 3D modeling process.
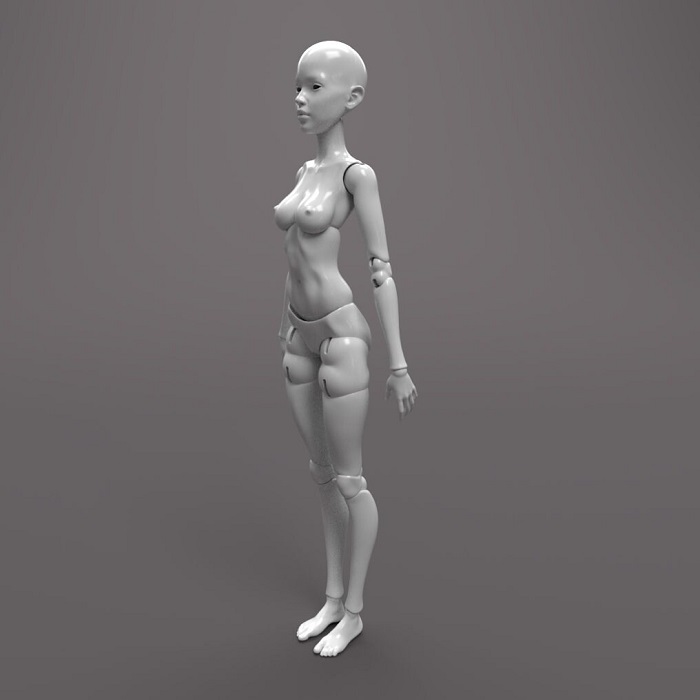
- Pay special attention to joint design. The doll’s poseability depends on this.
- Keep in mind the scale. Your printed parts must fit together perfectly.
- Opt for modular design. This makes printing and assembly easier.
- Save your work often. Losing progress could mean starting over.
Don’t rush through the design; take your time to refine each detail. Remember, the better the design, the smoother the bjd 3D print will be. Good design prevents issues during printing and assembly, creating a BJD doll you’ll be proud of.
Preparing Your 3D Printer for BJD Doll Creation
To start a bjd 3D print project, your printer must be in top shape. Here are steps to prepare it:
- Check your printer’s calibration. It should be accurate for precise prints.
- Clean the print bed. A dust-free surface helps first layers stick better.
- Secure all moving parts. Tighten belts and make sure gears run smoothly.
- Update your printer’s firmware. This ensures the best performance.
- Load the right filament. For BJD dolls, ABS or PLA works well.
- Test your printer. Run a small print to make sure everything works.
By following these steps, you can expect good quality prints for your BJD doll parts.
Printing Techniques for BJD Dolls
When starting your bjd 3D print journey, using the correct techniques is vital. Here’s what you need to know:
- Choose the right layer height. Smaller layers capture more detail, important for BJD features.
- Select optimal print speed. Slower speeds can increase detail but may take more time.
- Use supports wisely. They help with overhangs but require careful removal to avoid damage.
- Opt for higher infill in joints. This strengthens them for better articulation.
- Monitor your print. Watch for issues like warping or misalignment early on.
From layer height to print speed, each setting impacts the final product. By mastering these techniques, you ensure your bjd 3D print has the quality and detail that these dolls demand. With patience and precision, you can create a BJD doll that stands out with its craftsmanship and personality.
Cleaning and Post-Processing of 3D Printed BJD Parts
After your 3D printer has done its job, the BJD parts require cleaning and post-processing. This step is crucial as it affects the look and function of your doll. Here’s how to do it:
- Remove support structures carefully. Use pliers or tweezers to take off the excess material. Be gentle to avoid breaking small features.
- Sand the surfaces smoothly. Start with coarse sandpaper and move to finer grits. This creates a smooth, paint-ready surface.
- Fill any gaps or seams. Use a filler that suits the filament you used for your bjd 3d print. This step ensures a seamless look.
- Prime before painting. Apply primer to help the paint stick better and show true colors.
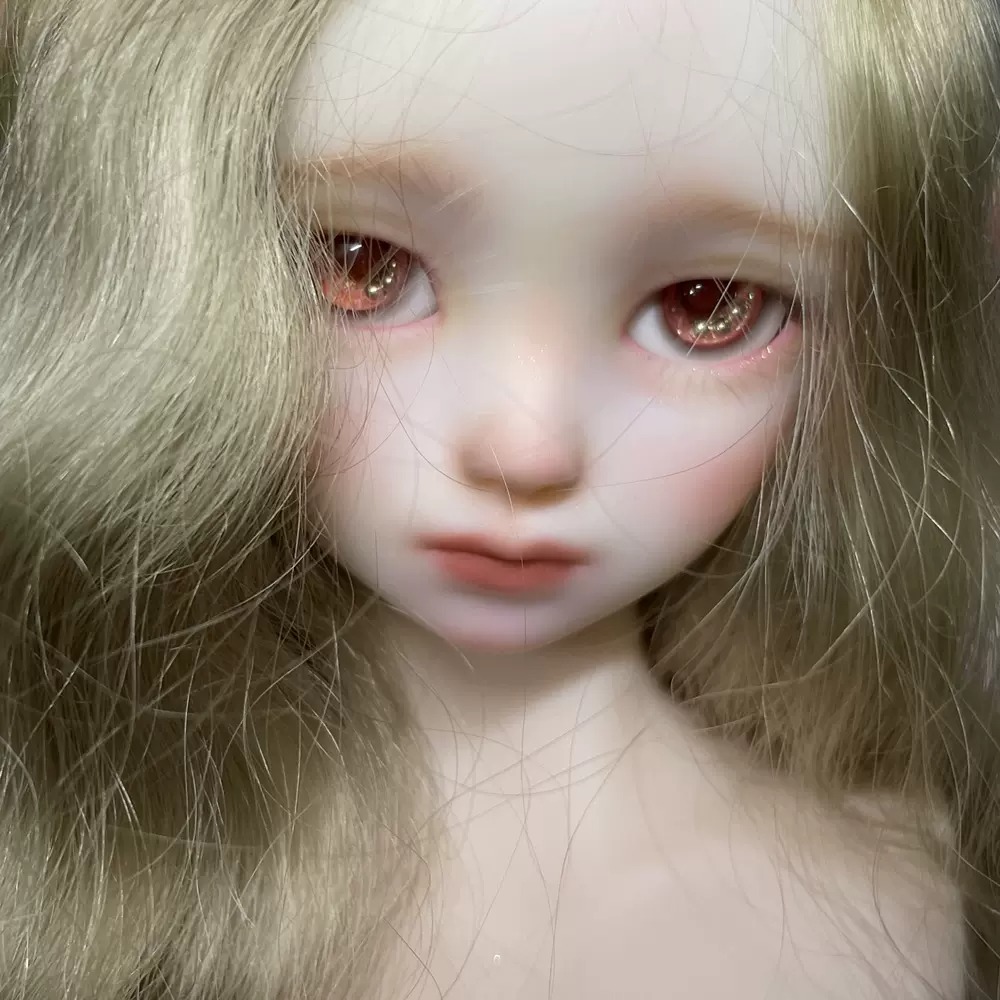
- Paint with precision. Use fine brushes for details like facial features. Take your time with each layer.
Each post-processing step adds to the beauty of your BJD doll. It turns a rough print into a refined work of art. So invest time in sanding, filling, and painting. Your BJD doll deserves this attention to detail.
Assembly and Customization of 3D Printed BJD Dolls
Once your bjd 3D print parts are ready, it’s time to assemble and customize your doll. This phase is where your BJD comes to life, reflecting your personal touch and style. Here are the steps and tips to make the assembly process smooth and to add that sparkle of individuality to your creation:
- Dry fit the parts first. Ensure all the pieces fit together nicely before gluing.
- Use the right adhesive. For strong joints, choose a glue that works well with your filament.
- Be patient with the glue. Allow it to set completely before moving to the next part.
- String the joints properly. Elastic or special BJD stringing material will give the right tension.
Customization is where creativity shines. Paint and decorate your BJD doll to match your vision. Here’s how to make your doll unique:
- Choose a theme. It could be fantasy, modern, or anything that inspires you.
- Paint with care. Use thin layers and let each layer dry fully.
- Add accessories. Create or find items like clothes, wigs, or jewelry.
- Make it personal. A signature touch will make your doll stand out.
Take your time, and let your creativity flow. With these tips, your bjd 3D print project will result in a doll that’s not just a toy, but a piece of art.
Troubleshooting Common 3D Printing Issues with BJD Dolls
Even with careful planning, you might face issues during your bjd 3D print process. Here are some common problems and how to fix them:
Warping or Curling: This happens when layers don’t cool evenly. Make sure your print bed is level. Use a heated bed if possible. Adjust cooling fans to prevent uneven cooling.
Layer Shifting: When prints move out of place, it affects the detail. Ensure your printer’s belts are tight. Check the pulleys and make sure your print head moves freely. Calibration is key.
Poor Surface Finish: For a smooth finish, your printer settings matter. Use a lower layer height for finer detail. Try slowing down the print speed if you see rough textures.
Weak Joints: Joints must be strong for your BJD doll to pose. Increase the infill percentage in areas that need extra strength. Use more robust materials like ABS if needed.
Stringing or Oozing: When filament strings between parts, it’s often temperature-related. Lower the nozzle temperature slightly. Also, adjust retraction settings to avoid extra filament oozing out.
Support Removal Damage: Removing supports can break small parts. Be gentle and use the right tools. Tweezers and needle-nose pliers work well. Consider designs with fewer supports next time.
When you face a problem, don’t get discouraged. Good 3D printing is often about trial and error. Use these tips to solve common issues. With practice, your bjd 3D print skills will improve. Soon, you’ll be creating beautiful, high-quality BJD dolls with confidence.