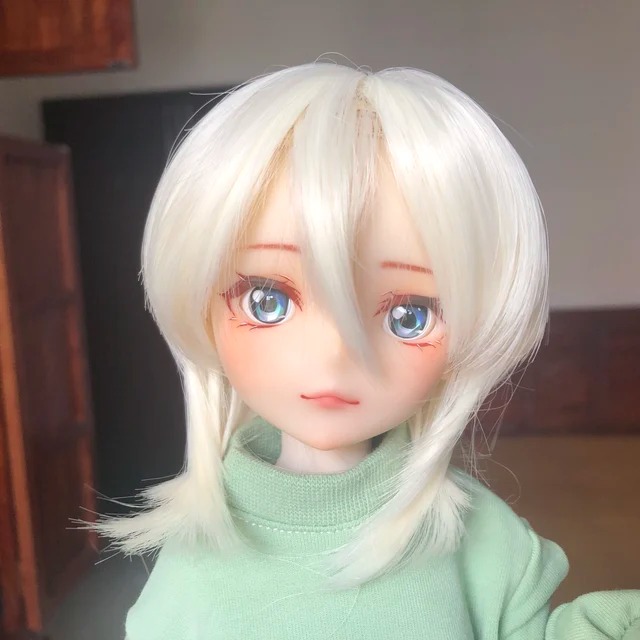
The Basics of BJD Head Sculpting
Sculpting a BJD head starts with understanding the fundamental concepts. Begin by studying the anatomy of the head. Pay attention to proportions, shapes, and how the skull forms the base of the face. Familiarize yourself with the basic skull structure so you can create realistic BJD heads.
Choose the right clay. It should be workable but also hold fine details well. Polymer clay is a popular choice for its durability after baking. Plan your design before you start. Sketch ideas and consider the character you want to bring to life with your BJD head.
Start with a basic shape. Form the skull and then add layers for muscles and skin. Keep symmetry in mind while shaping the face. Use reference photos for accuracy. Ensure the eyes, nose, and mouth are aligned and sized correctly. A proportional divider can be a helpful tool for this.
Work slowly and steadily. Take breaks if you need to. Details are important but so is the overall form. Your BJD head should look good from every angle. Keep your working area clean to prevent dust and lint from sticking to the clay.
Remember to embed the right connectors. These are necessary for attaching the head to the BJD body. Choose connectors that fit your BJD head size and design. They should be secure but also allow for movement.
The basics of BJD head sculpting set a solid foundation for more advanced techniques. Practice these steps to improve skills and confidence.
Tools and Materials Required for BJD Head Creation
When creating a BJD head, the choice of tools and materials is crucial for achieving the desired outcome. To start, you will need the following items:
- Polymer clay: This is a preferred material for sculpting because of its fine detail and durability after baking.
- Sculpting tools: These may include loop tools, needle tools, and rubber-tipped shapers for adding and refining details.
- Armature wire: This provides internal support and shape to your head sculpture.
- Proportional dividers: These help maintain accurate proportions and symmetry of facial features.
- Baking oven: To cure the polymer clay, which solidifies your sculpted BJD head.
- Fine-grit sandpaper: This is used for smoothing the surface once the sculpting is complete and the clay is baked.
- Connectors or hook and elastic: To attach the head to the BJD body, ensuring it fits securely and allows movement.
- Reference materials: Helps with accuracy when sculpting details like eyes, nose, and mouth.
Select tools that are comfortable to handle and materials that are compatible with your sculpting style and the level of detail you wish to achieve. Working with quality tools and materials helps ensure the beauty and longevity of your BJD head. Remember to keep your workspace organized to avoid losing any tools or materials and to maintain the quality of your work.
Step-by-Step Process for Sculpting a BJD Head
Creating a BJD head involves several detailed steps. To guide you through the process, here’s a step-by-step walkthrough that integrates your skills and tools efficiently:
- Preparing the Armature: Start by bending your armature wire into a basic skull shape. This will support your sculpture.
- Laying the Clay: Apply your polymer clay onto the armature. Smooth it to form the skull and the facial plane.
- Sculpting the Eyes: Shape the eye sockets first. Press in gently to create a realistic depth.
- Defining the Nose: Add clay to craft the nose. Sculpt nostrils and the bridge with precision.
- Fashioning the Mouth: Indent a line for the mouth. Shape lips with subtle ridges for a natural look.
- Refining Features: Use your sculpting tools to refine the eyes, nose, and mouth. Check symmetry often.
- Adding Ears and Details: Position the ears in line with the eyes and nose. Add any additional facial details.
- Smoothing the Surface: Gently sand any rough areas. Aim for a smooth finish across the bjd head.
- Curing the Clay: Bake your BJD head in the oven as per the clay’s instructions to solidify your work.
- Attaching Connectors: Once cooled, embed the connectors securely for attaching the head to the body.
With each step, take your time and constantly refer back to your sketches and reference materials. These steps are a road map, but remember, the fine details will bring your bjd head to life and infuse it with character and originality. Keep your work area clean and free of lint or dust throughout the process.
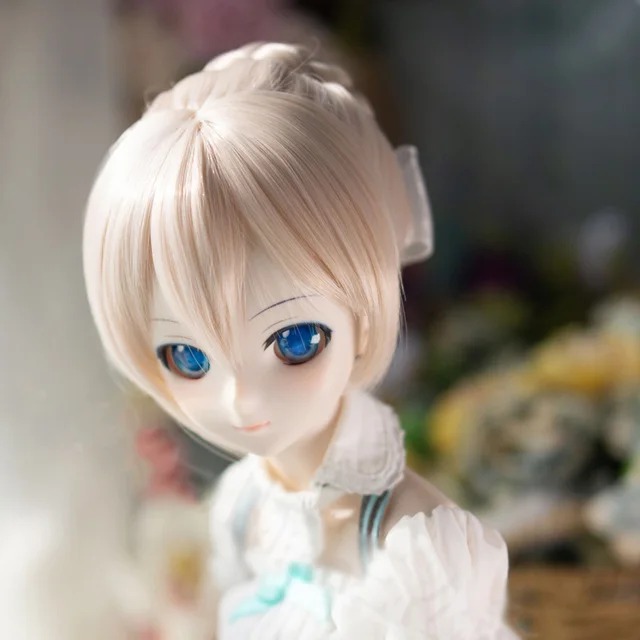
Sculpting Facial Features for Character and Expression
When sculpting facial features of a bjd head, character and expression are key. Your goal is to convey personality and emotion through the face. Here’s how to achieve it:
- Eyes: Begin with the eyes. They are the windows to the soul. Sculpt the eyelids and add depth to the sockets. Expressions often start here. Make sure the eyes match the character’s personality you envision.
- Nose: The nose gives a face character. Sculpt its unique shape. Pay attention to the bridge and nostrils. These details make a big difference.
- Mouth: The mouth can show a range of emotions. Sculpt lips with care. Add a slight smile or frown for expression. Remember, even a small change can transform the mood.
- Eyebrows and Forehead: Eyebrows frame the face. They add to expression. Sculpt them with the mood of your bjd head in mind. The forehead lines can also show expression. Use them wisely.
- Cheeks and Jaw: Define the cheeks and jawline. They shape the face’s structure. These features can suggest age and demeanor.
- Ears: Ears might seem minor but are essential for a complete look. Shape them to match the overall character of the head.
By focusing on each feature and its role in expression, you can craft a bjd head with personality. Use your tools to smooth, refine, and give life to your sculpture. Balance precision with creativity. Remember, each detail contributes to the overall expression.
Techniques for Hollowing and Attaching Heads to BJD Bodies
To attach a BJD head, hollowing and proper fitting are crucial. Follow these steps:
- Start Hollowing: After sculpting, hollow the head using loop tools to remove clay from the inside. This makes the head lighter and easier to handle.
- Refine the Interior: Smooth the inside with your tools. Ensure no loose bits remain that might interfere with the connectors.
- Test Fit Connectors: Place the connectors into the hollow. Check if they fit snugly and adjust as needed. The head must attach to the body without gaps.
- Attach the Elastic: Secure the connectors with elastic or hooks based on your design. This will allow the head to move and stay in place.
- Final Adjustments: Make any last changes to ensure a smooth attachment. The head should rotate and tilt easily when joined to the body.
Remember, this process requires patience and attention to detail. Take your time to hollow and attach the head properly. The secure and accurate fitting of the head to the body enhances the bjd head’s functionality and aesthetic appeal.
Finishing Touches: Sanding, Modding, and Makeup Application
Once your BJD head sculpting reaches its final stages, the real artistry begins. Now, we focus on the finishing touches that bring your creation to a polished completion. This stage includes sanding, modding, and makeup application, which are crucial for enhancing your BJD head’s lifelike qualities and personality.
Sanding to Perfection: After baking, you may find tiny imperfections on the clay surface. Use fine-grit sandpaper to smooth out the bjd head. Work gently in circular motions. Aim for an even and blemish-free surface. This prepares the head for painting and modding.
Modding with Purpose: Modding, short for modifying, lets you customize further. You can add or alter features such as elf ears or unique textures. Apply additional clay for raised areas or carve gently for indents. This step allows you to refine your BJD head’s unique characteristics.
Makeup Application Techniques: Makeup adds depth and character. Start with a primer to protect the bjd head surface. Use acrylic paints or pastels for color. Apply them lightly, building up layers. Focus on eyes, lips, and cheeks. Finish with a sealant to protect your work. Remember to keep the makeup symmetrical unless asymmetry suits the character.
Throughout these processes, keep your bjd head’s theme and personality in mind. Fine-tuning these aspects can make your sculpture come alive with expression and detail. Be patient and give attention to each step, ensuring your BJD head stands out as a work of art.
Best Practices for Handling and Caring for BJD Heads
Proper handling and care of BJD heads ensure their longevity and beauty. Here are best practices to follow:
- Clean Handling: Always keep your hands clean when handling bjd heads. Oils from your skin can affect the clay’s surface over time.
- Gentle Touch: Be gentle when handling your bjd head. Handle it by the base or neck area to avoid putting pressure on delicate features.
- Dust-Free Storage: Store your bjd head in a dust-free environment. Consider using a display case or a protective cover when not in use.
- Moisture Control: Keep your BJD heads away from moisture. This prevents clay from softening and colors from fading.
- Regular Check-ups: Inspect your bjd head regularly for any signs of wear or damage. Small issues can become big problems if left unchecked.
- Avoid Direct Sunlight: Prolonged exposure to sunlight can damage the head’s paint and clay. Store your bjd head in a shaded place.
- Proper Transportation: When moving your bjd head, use padding to avoid shocks and bumps that can cause fractures.
- No Harsh Chemicals: Never use harsh chemicals or abrasive cleaners. Stick to gentle, BJD-safe cleaning agents.
Following these practices helps maintain the intricate details and beauty of your BJD heads for years to come.
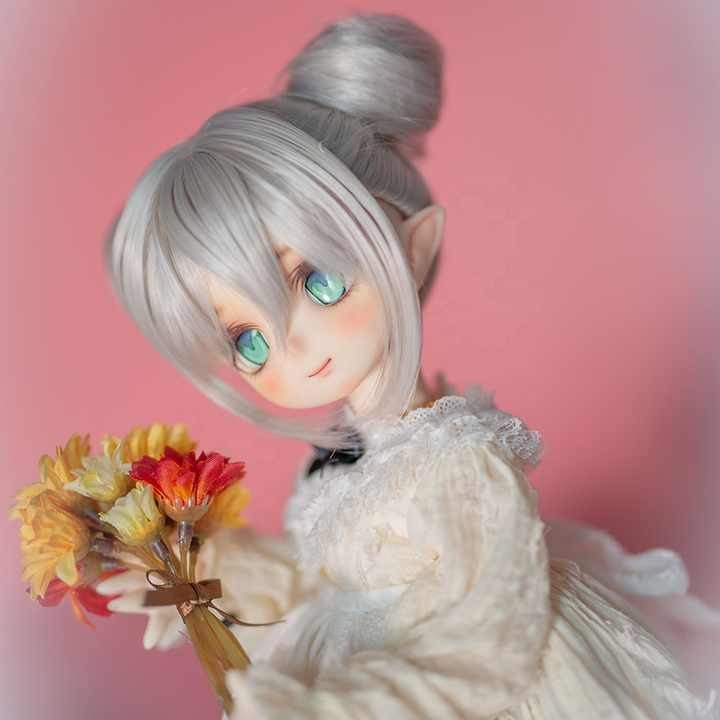
Advanced Techniques and Tips for Experienced Sculptors
For sculptors who have mastered the basics of creating bjd heads, there are advanced techniques to explore. Enhancing your skills can bring greater life and authenticity to your work. Here are some tips for seasoned sculptors:
- Explore Different Mediums: Experiment with a mix of clays or incorporate non-traditional materials to add unique textures and effects to your bjd heads.
- Play with Expressions: Go beyond the standard expressions. Try sculpting emotion-driven faces, such as laughter or sorrow, to give your characters more depth.
- Refine Detailing: Focus on minute details. Consider adding fine lines, subtle skin textures, or delicate freckles to make your bjd head look more realistic.
- Dynamic Posing: Learn to sculpt faces in various angles and expressions, not just the straight-on view. This gives your bjd heads a dynamic range.
- Custom Fitting: Tailor connectors and the head cavity for a perfect fit on custom BJD bodies. This ensures seamless integration and functionality.
- Advanced Painting Techniques: Utilize techniques like dry brushing or airbrushing for a more nuanced makeup application. Gradually build up layers for a natural effect.
- Study Human Faces: Deepen your understanding of human anatomy. Observe real people and their expressions to bring authenticity to your sculptures.
- Continuous Learning: Keep up with the latest trends and techniques in the BJD community. Watch tutorials, attend workshops, and practice new methods.
By using these advanced techniques, experienced sculptors can push the boundaries of what’s possible in bjd head creation. Stay creative, keep refining your craft, and your BJD heads will captivate with their intricate beauty and personality.