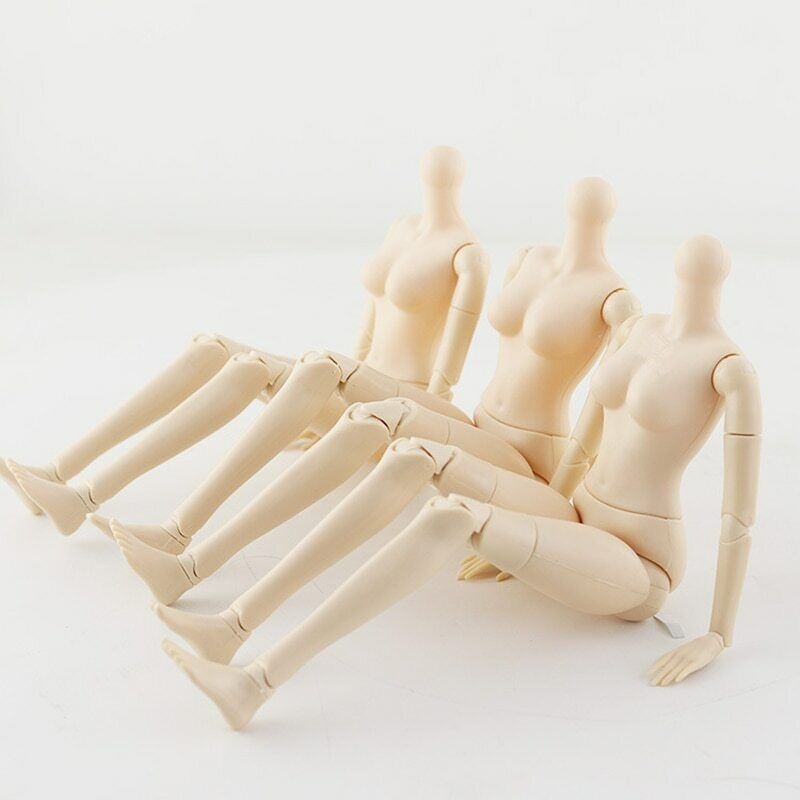
Introduction to Ball Jointed Dolls (BJD)
Ball Jointed Dolls, also known as BJDs, are highly customizable dolls. They feature ball and socket joints, providing a wide range of movement. BJD collectors often personalize their dolls with unique outfits, wigs, and even hand-painted facial features. These dolls come in various sizes from miniature to nearly life-sized. The art of stringing a BJD is crucial. It ensures the tension that holds the doll’s parts together is just right. Stringing allows for smooth and stable posing. If you’re new to the BJD hobby or need to restring your doll, this guide will show you how to string a BJD effectively.
Essential Tools and Materials for Stringing a BJD
Before you start stringing your BJD, you need the right tools and materials. Having these on hand makes the process smoother and safer for both you and your doll. Here’s what you need:
- Elastic cord: The backbone of the stringing process. Choose a strong, thick cord suitable for your doll’s size.
- Hooks or S-Hooks: These metal pieces connect the elastic cord to the doll’s limbs.
- Hemostat or needle-nose pliers: These help you grab and pull the elastic cord through tight spaces.
- Scissors: A sharp pair is essential for cutting the elastic cord.
- Forceps: Optional, but useful for holding onto small parts inside the doll.
- Tweezers: Helpful for placing hooks into their respective slots.
- Fabric or ribbon: To tie off the ends of the elastic cord, once threaded.
- Doll stand or cushion: Prevents damage when the doll is laid down or propped up during stringing.
These basic tools will assist you in successfully stringing your BJD. Make sure your tools are clean and in good condition before starting. This ensures your BJD doesn’t get damaged and you achieve the best tension for posing.
Preparing Your Workspace
Before learning how to string a BJD, it’s important to organize your workspace. A clutter-free environment will help you focus and protect your BJD during the process. Follow these steps:
- Find a clean, flat surface: Your workspace should be large enough for your doll and tools.
- Lay down a soft cloth or mat: This will prevent scratches on your doll and keep parts from rolling away.
- Arrange your tools: Place scissors, pliers, hooks, and other materials within easy reach. Remember to keep sharp tools safely to one side.
- Ensure good lighting: Adequate lighting will help you see small parts and details clearly.
- Keep a container handy: Use it to hold small parts and prevent loss.
- Remove distractions: Turn off unnecessary electronics and find a quiet spot to concentrate on stringing your BJD.
By setting up your workspace properly, you will create a safe, efficient area to work on your BJD. This preparation is a crucial step in the stringing process.
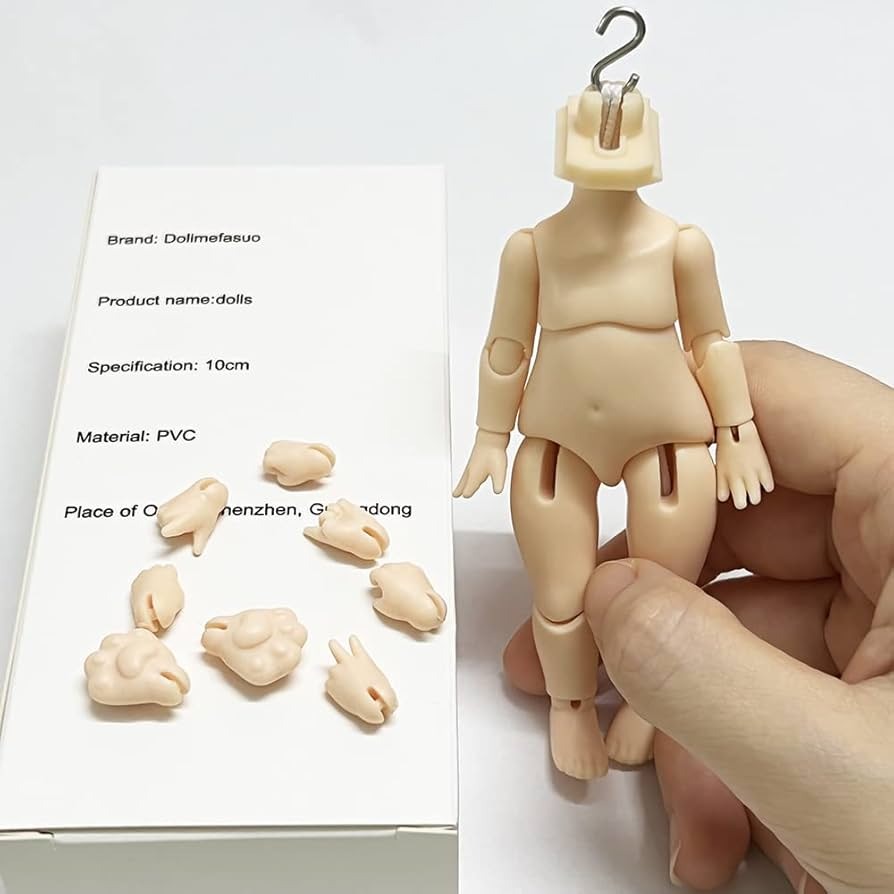
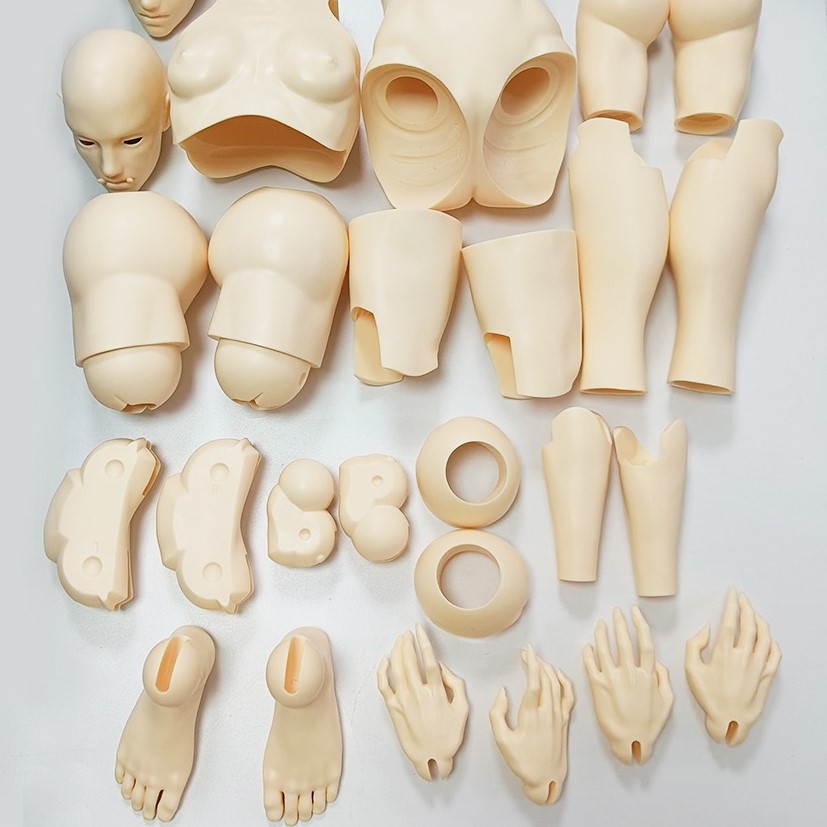
Detaching the BJD’s Parts Safely
Detaching your BJD’s parts is a delicate process. Handle each piece with care to avoid damage. Here is a step-by-step guide to safely take apart your doll:
- Start with the head: Carefully remove the wig and any accessories. Gently twist the head off the neck connector.
- Proceed to arms and legs: Twist and pull each limb away from the torso. Do this one at a time to keep track.
- Pay attention to the hands and feet: They can be tricky, but ease them off gently to avoid snapping any hooks inside.
- Keep all parts organized: As you detach each piece, lay them out in order. This makes reassembly easier later on.
Remember not to force any part. If a piece seems stuck, apply a gentle twisting motion. With patience, you will have your BJD ready for stringing. During this stage, it’s crucial to ensure that no parts are under unnecessary strain. A well-organized approach is key to a successful stringing session. Use this detachment process each time you need to restring or clean your BJD.
Step-by-Step Stringing Process
Stringing a BJD involves careful attention to tension and precision to achieve a satisfying result. Follow these steps for a smooth experience.
- Start with the Legs: Secure one end of the elastic cord to the foot or ankle hook. Pull the cord up through the leg, knee, and thigh. Attach it to the corresponding hook in the doll’s pelvis.
- String the Arms: Repeat the process for the arms. Connect the cord from the hand, through the elbow, and up to the shoulder. Ensure both arms have even tension.
- Attach the Head and Body: Pull the main elastic cord through the torso. Then, guide it up through the neck and into the head, securing it tight enough to allow head movement but not too loose. Tighten and tie it off.
- Check the Tension: Ensure the doll’s limbs can hold poses but aren’t overly stiff. Adjust the tension if necessary.
- Tie Off and Trim: Once satisfied with the tension, securely tie off the elastic ends. Trim any excess cord.
- Reattach the Parts: Carefully reassemble the doll by attaching the limbs to the torso. Place the head back onto the neck connector.
- Test the Range of Motion: Gently move each of the BJD’s joints to ensure full range and smoothness.
Remember to take your time, and use the proper tools for how to string a BJD. If issues arise, troubleshoot step by step. Your patience will pay off with a beautifully posed Ball Jointed Doll.
Troubleshooting Common Stringing Issues
When stringing a BJD, you may encounter a few common problems. Here’s how to solve them effectively:
- Loose Joints: If the doll’s limbs seem floppy, the elastic cord may be too loose. Increase the tension by re-tying the knots.
- Tight Joints: Conversely, if the joints are too stiff, the cord is too tight. Loosen the knots slightly for better movement.
- Twisted Elastic: Sometimes, the cord gets twisted inside the limb channels. Rotate the limb gently while pulling the cord to untwist it.
- Knot Slippage: Knots can slip if not tied properly. Use a strong knot like a surgeon’s knot and test it before finishing up.
- Hook Displacement: It’s common for hooks to move out of place. Use tweezers to reposition them correctly.
- Elastic Breakage: Over time, elastic can wear out and break. Replace the old cord with new, durable elastic.
By knowing how to string a BJD and address these issues, you can keep your doll in perfect poseable condition. Always handle your BJD with care during troubleshooting to avoid damage.
Aftercare and Maintenance for Your Strung BJD
Now that you know how to string a BJD, understanding aftercare is key. Proper maintenance keeps your doll poseable and pristine over time. Here’s what you should regularly do:
- Inspect the Elastic Cord: Check for signs of wear or fraying, especially if you pose your BJD often.
- Dust the Doll: Use a soft brush to gently remove dust from the doll’s surface and joints.
- Avoid Sun Exposure: Prolonged sun can damage the doll’s material. Keep your BJD away from direct sunlight.
- Store Properly: When not on display, place your BJD in a cushioned box or a doll stand to maintain the string tension.
- Check the Joints: Ensure that joints move smoothly. Stiffness may mean it’s time to adjust the string tension.
- Handle with Care: Always support your BJD’s limbs when posing it to prevent stress on the elastic.
Regular maintenance ensures that your Ball Jointed Doll remains a beloved and lasting part of your collection. By caring for the elastic cord, body, and joints, you’ll minimize the need for frequent restringing and enjoy your BJD’s beauty and flexibility for years to come.
Advanced Tips for Experienced BJD Hobbyists
For seasoned BJD collectors and hobbyists, mastering the stringing technique opens up a new level of customization. Here are advanced tips to refine your skills:
- Use a Stringing Assistant: Consider a helper tool, like a doll stringing stand, to hold parts in place. This can free your hands for precise work.
- Experiment with Cord Thickness: Thicker or thinner cords may give different posing abilities. Try various thicknesses to see which works best for your doll.
- Control Tension with Washers: Adding plastic or metal washers can control tension without re-tying knots. Place them at key joint areas.
- Create a Maintenance Schedule: Regular check-ups on string tension and joint condition can prevent unexpected repairs. Set dates for routine maintenance.
- Learn Different Knot Types: Beyond the surgeon’s knot, explore other durable knots that can secure the elastic better or be easier to untie when needed.
- Keep Spare Parts: Have extra S-hooks and elastic on hand. You never know when you’ll need a quick replacement.
- Apply Silicone to Joints: Silicone lubricant can reduce wear on the elastic and the joints. Use sparingly for smooth movement.
- Record Measurements: When finding the right tension, write down the length and thickness of elastic used. This helps recreate the perfect tension later on.
By incorporating these advanced tips into your routine, you’ll ensure your BJDs not only look stunning but also have a full range of motion and remain in great condition longer.