The Appeal of DIY Doll House Kits
DIY doll house kits captivate crafters for many reasons. They offer a unique blend of creativity, challenge, and the chance to create something truly personal. Let’s explore what makes these kits so appealing.
First, the satisfaction of building something from scratch is unmatched. With DIY doll house kits, you start with pieces and end with a miniature home. Every small detail echoes your effort and care.
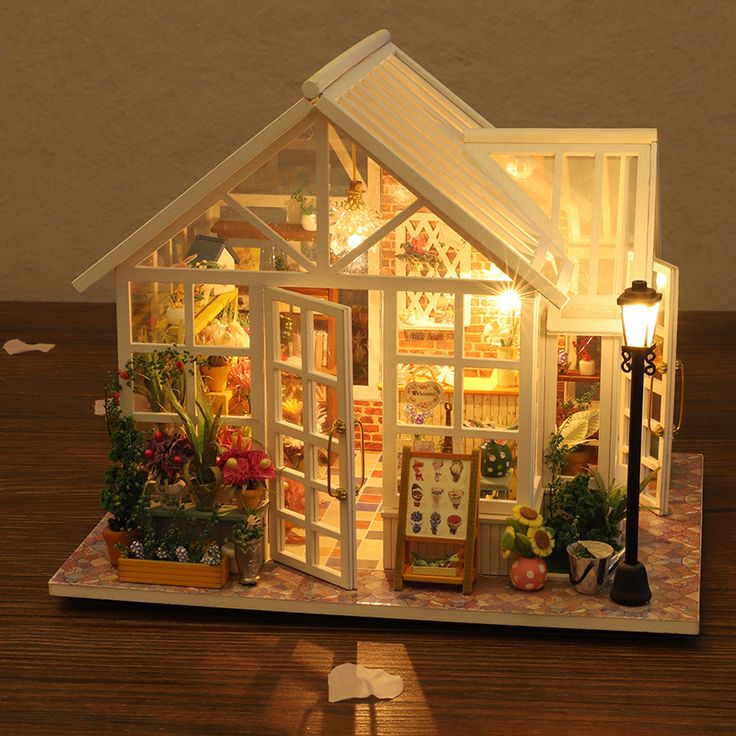
Additionally, these kits are incredibly versatile. They’re suitable for hobbyists of all ages, from children expanding their skills to adults seeking a nostalgic project. The intricate designs cater to varied aesthetics, be it Victorian elegance or modern minimalism.
Moreover, working on doll houses can be a serene escape. The intricate work required demands focus, which can lead to a meditative state. This hands-on activity also allows for a break from the digital world, granting a sense of tranquility.
The process of choosing and applying decorations and furnishings allows for personalization. This means that no two doll houses are exactly the same. They become a reflection of the builder’s vision and taste.
Lastly, there is the community aspect. DIY doll house kits often lead to discussions, sharing of tips, and even online showcases among enthusiasts. This sense of community can be incredibly rewarding.
In summary, DIY doll house kits draw people in with their promise of hands-on creation, opportunities for customization, a chance to unwind, and the community they foster. They’re more than just a pastime – they’re a journey into miniature craftsmanship.
Essential Tools and Materials for Building a Doll House
To start your DIY doll house kit, you’ll need certain tools and materials. Here’s a breakdown to help ensure you have everything necessary for this creative journey.
- Precision Tools: Small, precise tools are crucial. Include tweezers, craft knives, and miniature screwdrivers.
- Adhesive Solutions: You’ll need a strong glue. Wood glue works well for wooden parts, while tacky glue is good for delicate decorations.
- Painting Supplies: Acrylic paints are perfect for doll houses. Don’t forget fine brushes for detailed work.
- Measuring Tools: A ruler and a square tool can ensure that everything fits precisely.
- Sanding Tools: Fine-grit sandpaper or a sanding stick will help smooth out rough edges.
- Decorative Materials: From wallpaper to tiny furniture, these are what bring your doll house to life.
With these tools and materials, you’re well-prepared to start assembling your DIY doll house kit.
Step-by-Step Guide to Assembling Your Doll House Kit
Embarking on the assembly of your DIY doll house kit can be a thrilling experience. To make this process smoother, follow this straightforward step-by-step guide.
- Unpack and Inventory: Start by carefully unpacking your kit. Check all pieces against the inventory list to ensure nothing is missing.
- Understand the Instructions: Take time to read through the assembly instructions thoroughly. This will help you visualize the steps ahead.
- Dry Fit Components: Before gluing, do a dry fit of parts to see how they fit together.
- Start with the Frame: Begin by constructing the base and walls. Use wood glue for a sturdy frame.
- Assemble Interior Walls: Once the exterior is stable, move on to interior partitions.
- Install Floors and Ceilings: Attach these elements securely, checking for level alignments.
- Apply Wallpapers and Paint: Decorate walls before installing them if possible. It’s easier to work with flat surfaces.
- Fix Windows and Doors: Carefully position these features, ensuring they open and close smoothly.
- Add Roofing: Follow the kit’s directions for assembling and attaching the roof.
- Fit in Staircases and Trim: These finishing touches can transform the overall appearance.
- Furnish and Decorate: Finally, place furniture and decorations to bring your doll house to life.
Each step you take in this assembly brings you closer to the rewarding completion of a miniature masterpiece. Keep patience and precision in mind throughout the building process and enjoy every moment of your creative journey with your diy doll house kits.
Customization Tips for a Personal Touch
Adding a personal touch to your DIY doll house kit can transform a simple model into a cherished keepsake. Here are some customization tips to help you infuse your doll house with character and individuality.
- Choose a Color Scheme: Pick colors that reflect your style. Paint the exterior and rooms in shades you love.
- Wallpapers and Fabrics: Select patterns for wallpapers and textiles that add warmth and comfort to your miniature home.
- Furniture Selection: Choose furniture pieces that match the era or design theme you’re targeting for your doll house.
- DIY Accessories: Craft tiny accessories or find unique miniatures that represent hobbies or interests unique to you.
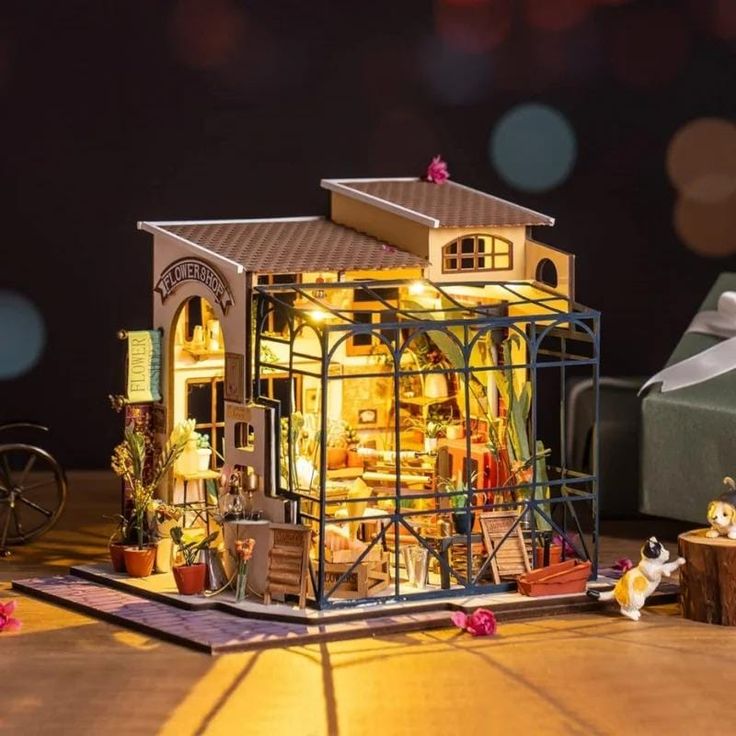
- Lighting Up: Use small LED lights to brighten rooms and create a cozy atmosphere.
- Landscaping: Add greenery, like small plants or grass, to bring life to your doll house exterior.
- Custom Artwork: Hang miniature pictures or paintings that hold meaning for you on the walls.
- Textural Elements: Use different materials like velvet, silk, or cotton to give a sense of realism.
- Personal Mementos: Incorporate items that have personal value, like a tiny version of a family photo.
Remember, the goal is to make your doll house a reflection of your own world. With these tips, your DIY doll house kits will result in a creation uniquely yours.
Common Challenges and Solutions in Doll House Construction
Constructing a doll house from a DIY kit can come with its own set of challenges. From mismatched pieces to delicate decorations that are tricky to apply, each step requires patience and problem-solving. But don’t let these hurdles dampen your enthusiasm! Here’s a guide to overcoming common obstacles you may encounter on your miniature building journey.
- Aligning Walls: Sometimes, walls may not align perfectly. Double-check measurements and trim if necessary.
- Sticking Parts Together: If parts aren’t sticking, ensure you’re using the right glue. For wood, wood glue is best. For delicate items, try tacky glue.
- Painting Precision: Messy paint jobs can be frustrating. Use fine brushes and take your time for clean lines.
- Fragile Pieces Breaking: Handle tiny, fragile pieces with care. If a break occurs, glue and allow ample time to dry.
- Wallpaper Application: Wrinkled wallpapers can ruin the look. Apply smoothly and trim the excess.
- Furniture Assembly: Small furniture can be complex. Follow instructions closely and be gentle.
By anticipating and understanding these potential issues, you’ll be more prepared to tackle them with confidence. Remember that each problem has a solution, and with some creativity and perseverance, your doll house will come together beautifully. Embrace the journey, as even the challenges are part of the rewarding experience of DIY doll house kits construction.
Best DIY Doll House Kits on the Market
When choosing a diy doll house kit, quality and design variety matter. I’ve curated a list of highly regarded kits that combine ease of assembly with aesthetic beauty.
- Classic Victorian Mansion: This kit captures the elegance of a bygone era with its intricate details and expansive rooms.
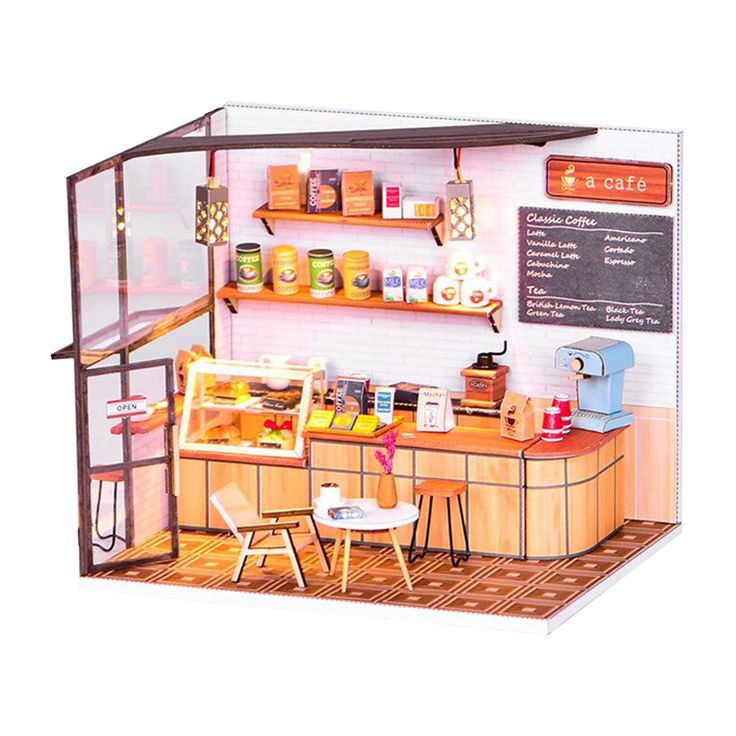
- Modern Miniature Home: Perfect for those who appreciate contemporary design, this kit features clean lines and minimalist decor.
- Cozy Cottage: With its charming facade and warm interior, this kit is ideal for beginners and seasoned builders alike.
- Fantasy Castle: This magical kit will appeal to those who love whimsical designs, complete with towers and turrets.
- Traditional Townhouse: This kit offers a more urban feel, highlighting the detailing of brickwork and city living.
- Rustic Cabin: For a taste of the wilderness, this kit brings the essence of a country retreat into your home.
Each kit comes with its unique set of challenges and rewards. They’re sourced from reputable suppliers known for their attention to detail and quality materials. Before making your choice, consider the theme you’re most drawn to and the level of difficulty that suits your skill set.
Whether you’re a first-time builder or an experienced hobbyist, there’s a diy doll house kit here for everyone. Your creative journey awaits with any of these top-notch options.
The Educational Benefits of Building Doll Houses
Building DIY doll house kits is not only about creativity but also educational growth. Engaging in doll house construction can yield surprising developmental advantages. These benefits span across multiple areas, from cognitive to motor skills. Here’s how assembling these miniature marvels can be an enlightening experience.
- Enhances Problem-Solving Skills: Choosing where pieces go and figuring out construction steps sharpens decision-making abilities.
- Develops Fine Motor Skills: Handling small parts and using tools refines hand-eye coordination and dexterity.
- Promotes Spatial Awareness: Understanding how parts fit together within a space boosts the ability to visualize and plan.
- Encourages Planning and Organization: Sequencing steps and organizing components teaches valuable project management skills.
- Boosts Creativity and Imagination: Selecting colors, patterns, and designs spurs inventive thinking and originality.
- Teaches Patience and Perseverance: Coping with challenging tasks during assembly nurtures a resilient attitude.
- Stimulates Intellectual Curiosity: Researching doll house styles and historical periods fosters an interest in learning and exploration.
- Enhances Mathematical Understanding: Measuring and calculating dimensions can improve mathematical competency.
DIY doll house kits present an educational treasure trove that can benefit builders of all ages, from children honing their early learning skills to adults maintaining their cognitive function. These kits are not just for play; they offer a hands-on approach to learning that is both enjoyable and beneficial.
Preserving and Displaying Your Completed Doll House
Once you’ve completed your DIY doll house kit, preservation and display are key. Here’s how to protect and showcase your miniature masterpiece.
Protecting Your Doll House
To keep your doll house in pristine condition, consider these tips:
- Avoid Direct Sunlight: Place your doll house away from windows where sunlight can fade colors.
- Dust Regularly: Use soft brushes or cloths to gently remove dust without damaging delicate parts.
- Control Humidity: Too much moisture can warp wood and peel paint. Aim for a stable environment.
- Display in Closed Cases: Consider a glass or acrylic case to shield from dust and accidental damage.
Display Tips for Enhanced Appeal
Displaying your doll house effectively can enhance its charm. Try these ideas:
- Choose the Right Location: A central spot in a living room or hobby area can be ideal.
- Use Lighting: Small LED lights can highlight the details and beauty of your doll house.
- Rotate Views: Occasionally change the angle or the room scene being displayed to keep interest alive.
- Add a Description Plaque: Include a small story or details about the house, which can engage viewers.
Preserving and displaying your doll house can extend its life and enjoyment. With the right care and setting, your creation will captivate and charm for years to come.