What Is a Corn Husk Doll?
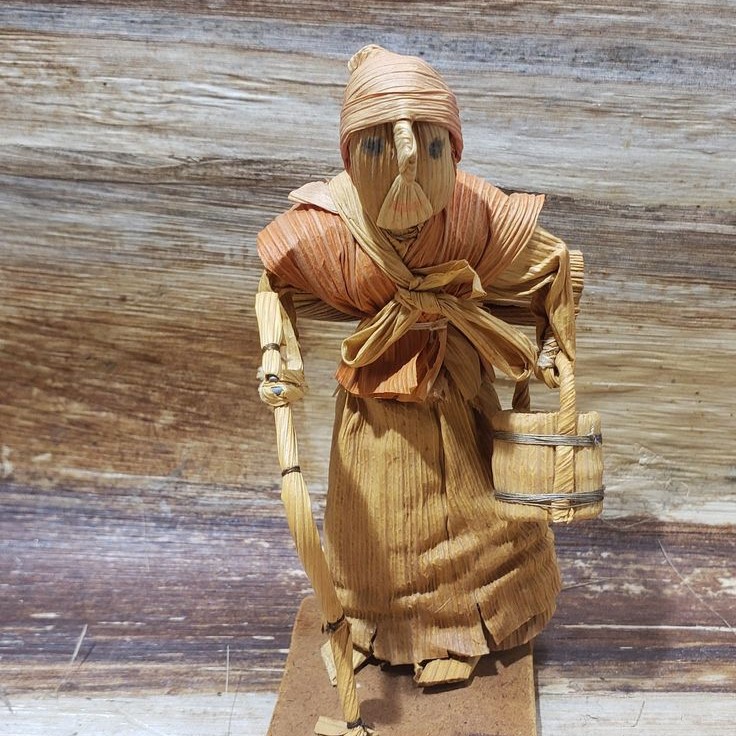
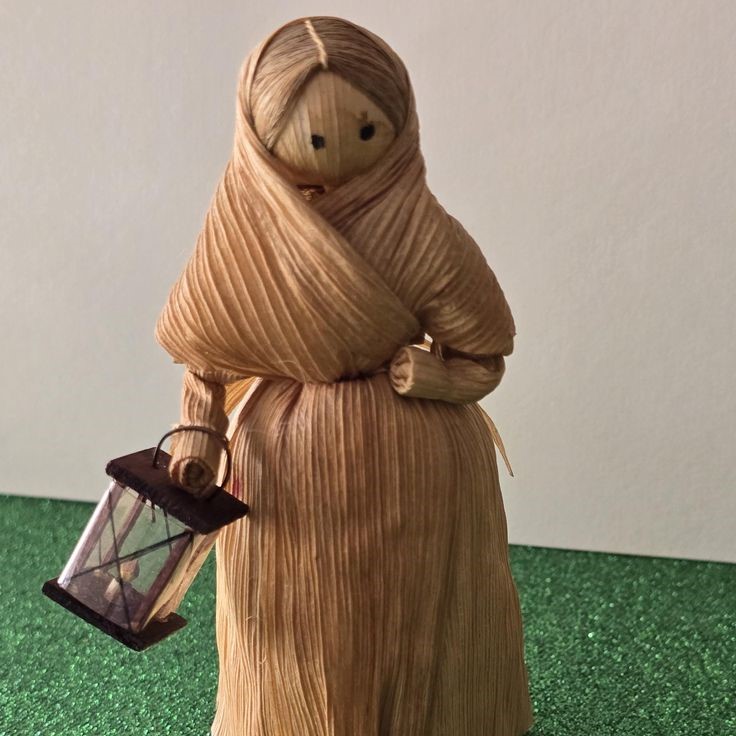
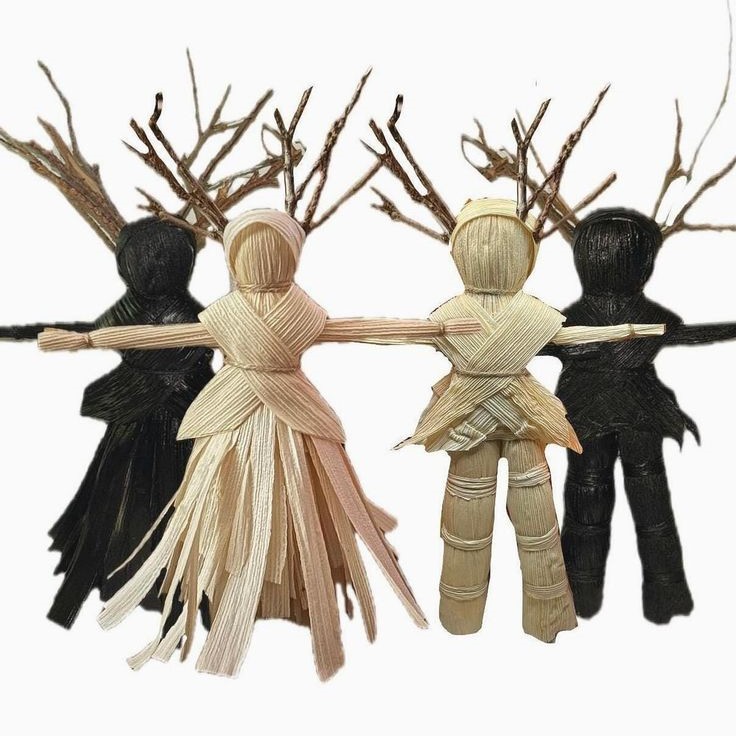
A corn husk doll is a handmade craft that originates from various cultures around the world. The most common type comes from Native American traditions, where it was used for ceremonial and decorative purposes. These dolls are typically made from the dried husks of corn, which are soft and pliable when properly prepared.
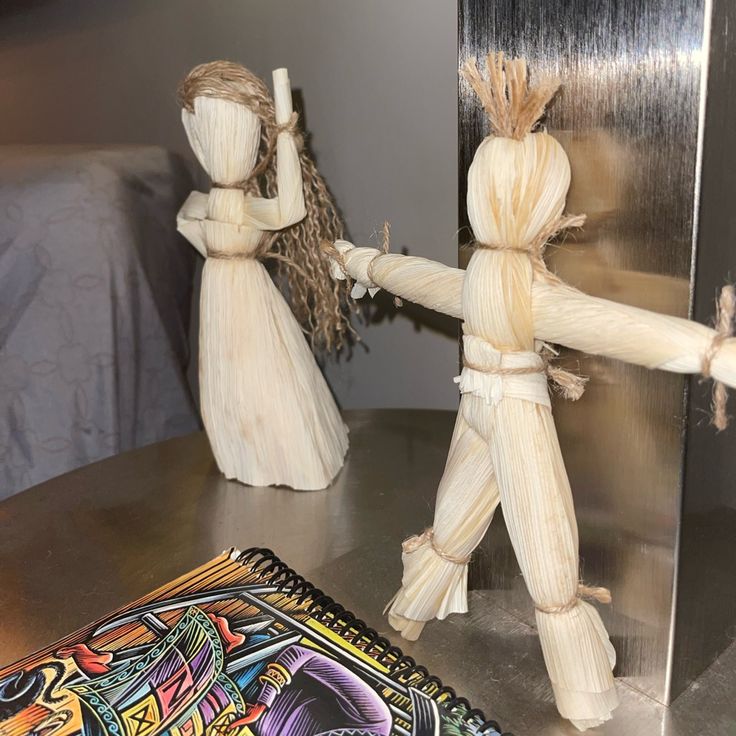
The process involves folding, twisting, and shaping the husks to create a three-dimensional figure. Each doll can be as simple or as complex as the maker desires, depending on their skill level and creativity. Some versions are painted, while others remain natural in color. The tradition of making corn husk dolls has survived for centuries and continues to be a popular hobby today. Many people enjoy creating these dolls as a way to preserve cultural traditions and explore their artistic side. Understanding the basics of how to make a corn husk doll is the first step toward mastering this unique craft.
Materials Needed for Making a Corn Husk Doll
Before starting the process of how to make a corn husk doll, it’s important to gather all the necessary materials. The primary material is the corn husk itself. You should look for dried husks that are still flexible and not too brittle. Fresh husks can be used, but they need to be dried first to make them easier to work with. Once you have the husks, you may want to prepare them by soaking them in water for a short time. This helps to soften them and makes them more pliable.
In addition to the husks, you’ll need some basic tools. A pair of scissors is essential for cutting the husks into smaller pieces. A needle and thread can be useful for securing certain parts of the doll. If you plan to paint the doll, you’ll need acrylic paints and brushes. Some crafters also use glue or tape to hold sections together temporarily. Having all the materials ready before you begin will help streamline the process and make it more enjoyable. It’s also a good idea to work in a well-lit area with enough space to spread out your supplies. By preparing everything in advance, you can focus on the creative part of how to make a corn husk doll without interruptions.
Step-by-Step Guide to How to Make a Corn Husk Doll
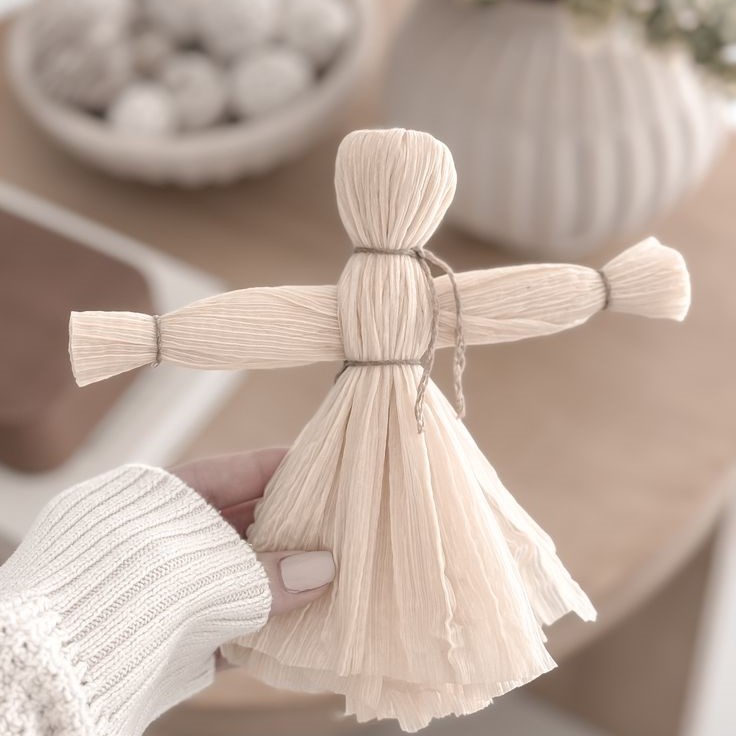
Now that you have all the materials ready, it’s time to start the process of how to make a corn husk doll. Begin by selecting a few corn husks that are clean and free of cracks. Soak them in water for about 10 minutes to make them more flexible. After soaking, gently pat them dry with a towel. Next, take one husk and fold it in half lengthwise. This creates a base for the doll’s body. Then, twist the folded section slightly to add some texture and shape.
Continue this process with additional husks, layering them to build up the body of the doll. As you go along, you can adjust the folds and twists to create different shapes and sizes. Once the body is formed, move on to the head. Take another husk and fold it into a small ball or oval shape. Attach it to the top of the body using a small piece of thread or a dab of glue. For the arms and legs, cut thin strips of husk and fold them into shapes that resemble limbs. Secure each limb with thread or glue. Finally, add any finishing touches, such as painting or decorating the doll. Following these steps carefully will help you create a beautiful and authentic corn husk doll. As you practice, you’ll become more comfortable with the techniques involved in how to make a corn husk doll.
Traditional Techniques Used in Corn Husk Doll Making
The process of how to make a corn husk doll often involves several traditional techniques that have been used for generations. One of the most common methods is folding. This technique allows the craftsman to create layers and structure within the doll. By folding the husks in different directions, you can achieve a more realistic and detailed appearance. Another important technique is twisting. Twisting the husks adds texture and dimension, making the doll look more lifelike. This method is especially useful for creating the arms and legs. In addition to folding and twisting, some artisans use braiding to add patterns and complexity to the doll.
Braiding requires more skill, but it results in a more intricate design. Another traditional approach is wrapping. This involves wrapping the husks around a central core to form the body or limbs. Wrapping is particularly effective for creating rounded shapes. Some makers also use knotting to secure certain parts of the doll. Knotting ensures that the doll maintains its shape over time. These techniques are not only practical but also reflect the cultural heritage of corn husk doll making. Learning and applying these traditional methods is an essential part of how to make a corn husk doll.
Tips for Creating a Beautiful Corn Husk Doll
Creating a beautiful corn husk doll requires attention to detail and a bit of patience. First, always start with high-quality husks. Choose husks that are smooth and free of tears. Avoid using overly dry or brittle husks, as they can break easily during the process. If you’re unsure about the quality, test a few husks by folding and twisting them to see how they respond. Another tip is to work slowly and carefully. Rushing through the process can lead to mistakes and uneven shapes. Take your time to fold, twist, and shape each part of the doll. It’s also helpful to keep a reference image nearby. This can serve as a guide to help you maintain proportions and symmetry.
When working on the head and limbs, try to keep them balanced so the doll looks natural. If you’re using paint, apply it sparingly to avoid overwhelming the delicate structure of the doll. Additionally, consider adding small details like eyes or clothing to give the doll a more personalized touch. These small additions can make a big difference in the overall appearance. Lastly, always handle the doll with care. Corn husk dolls are fragile, so it’s best to store them in a cool, dry place away from direct sunlight. By following these tips, you can create a stunning corn husk doll that reflects your creativity and skill.
The Cultural Significance of Corn Husk Dolls
Corn husk dolls have deep cultural roots and hold significant meaning in many communities. Historically, these dolls were created by Indigenous peoples, especially in North America. They were often used in ceremonies, storytelling, and as symbols of fertility and protection. In some cultures, corn husk dolls were believed to bring good luck and prosperity. They were also used as toys for children, teaching them about craftsmanship and nature. Over time, the tradition of making corn husk dolls has evolved, but it remains an important link to cultural heritage. Today, many people continue to make these dolls as a way to honor their ancestors and preserve traditional skills.
The act of how to make a corn husk doll is not just a craft; it’s a way to connect with the past and pass on knowledge to future generations. Some artists even use corn husk dolls as a medium for expressing social or political messages. This shows how the art form continues to be relevant and meaningful in modern times. Understanding the cultural significance of corn husk dolls adds depth to the experience of how to make a corn husk doll. It transforms the activity from a simple hobby into a meaningful and respectful practice.
Common Mistakes to Avoid When Making a Corn Husk Doll
When learning how to make a corn husk doll, it’s easy to make some common mistakes that can affect the final result. One of the most frequent errors is using poor-quality materials. If the husks are too dry or damaged, they can tear or break during the process. Always choose fresh, clean husks that are still flexible. Another mistake is rushing through the steps. Taking your time is essential for achieving a neat and well-shaped doll. If you rush, you might end up with lopsided or poorly constructed parts. It’s also important to avoid overworking the husks. Excessive folding or twisting can cause the material to become stiff and difficult to shape. Instead, work gently and allow the husks to retain their natural flexibility.
Another common error is not securing the parts properly. If the head, arms, or legs aren’t attached correctly, the doll may fall apart. Use a strong thread or a small amount of glue to hold the sections in place. Additionally, some people try to add too many decorations at once, which can make the doll look cluttered. It’s better to add details gradually and assess the overall appearance as you go. Finally, don’t forget to store your finished doll properly. Exposure to moisture or heat can damage the delicate husks. By avoiding these mistakes, you can ensure that your corn husk doll turns out beautifully and lasts longer. Learning from these common pitfalls will help you improve your skills in how to make a corn husk doll.
Final Thoughts on How to Make a Corn Husk Doll
In conclusion, how to make a corn husk doll is a rewarding and meaningful craft that connects you to both tradition and creativity. This hands-on activity allows you to explore the beauty of natural materials and develop new skills. Whether you’re making a doll for personal enjoyment or to share with others, the process offers a sense of accomplishment and pride. As you follow the steps outlined in this guide, remember that practice is key. The more you work with corn husks, the more confident and skilled you’ll become.
Don’t be discouraged if your first attempts aren’t perfect—every artist starts somewhere. With time and patience, you’ll be able to create stunning and unique corn husk dolls. This traditional craft is not only a fun hobby but also a way to preserve cultural heritage and express your artistic side. So grab your materials, follow the steps, and enjoy the journey of how to make a corn husk doll.