Creating a paper doll house can be a delightful project for both kids and adults. This creative endeavor allows for artistic expression, urging individuals to engage in imaginative play. Furthermore, a paper doll house can also fit into various educational practices. This guide explores essential materials, design ideas, and construction steps to create your very own paper doll house. By the end of this article, you will be equipped with the knowledge and inspiration to embark on your paper crafting journey.
Gathering Essential Materials
Before beginning, gather all necessary materials. This will help streamline the process. First, you need sturdy paper. Cardstock or thick construction paper works well since they provide durability. Next, get scissors, a ruler, and a pencil. These tools will help ensure precise cuts and measurements. Additionally, a clear workspace is vital for an efficient design process.
Moreover, consider including decorative elements. Colored markers, stickers, and patterned paper can enhance creativity. You might also want to have glue or tape handy for assembly. With these materials in place, you’re ready to dive into the next phase. This preparation sets the groundwork for your paper doll house. As a result, you will encounter fewer challenges when assembling your design.
Choosing a Design Template
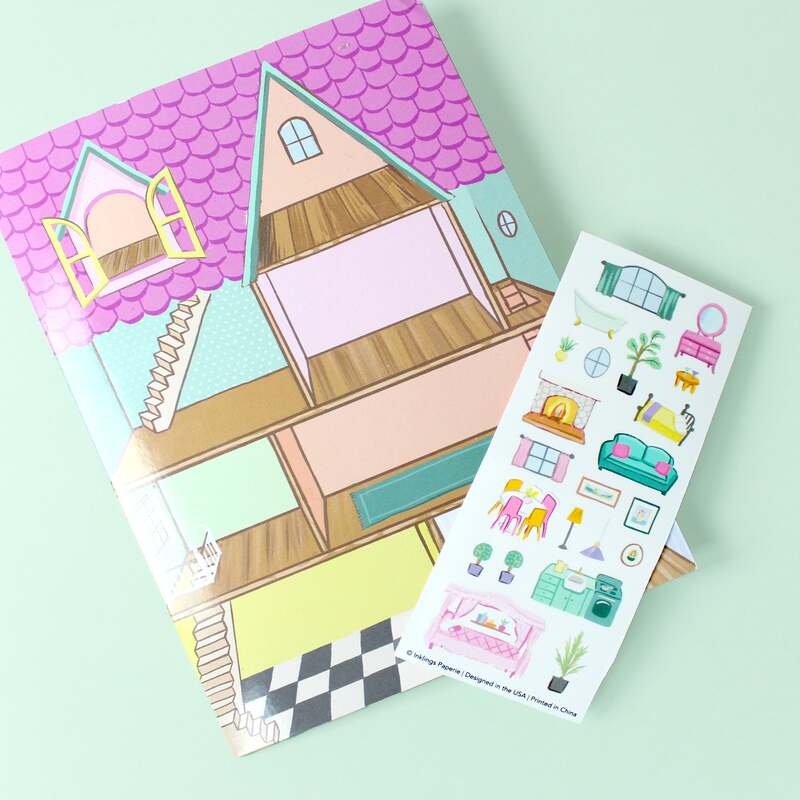
After gathering materials, it is time to choose a design template. You have several options for templates. You can either draw your own or print a pre-made design from the internet. If you prefer to design your own, sketch the layout on plain paper first. Consider the number of rooms you want in your paper doll house. Including various rooms adds depth and allows for storytelling.
On the other hand, if you decide to print a template, ensure that it fits your chosen paper size. Many resources offer free and paid templates online, providing various styles. Whether you choose to create your own or use a template, both options offer unique experiences. Ultimately, the decision will reflect your creativity and preferences.
Planning Your Doll House Layout
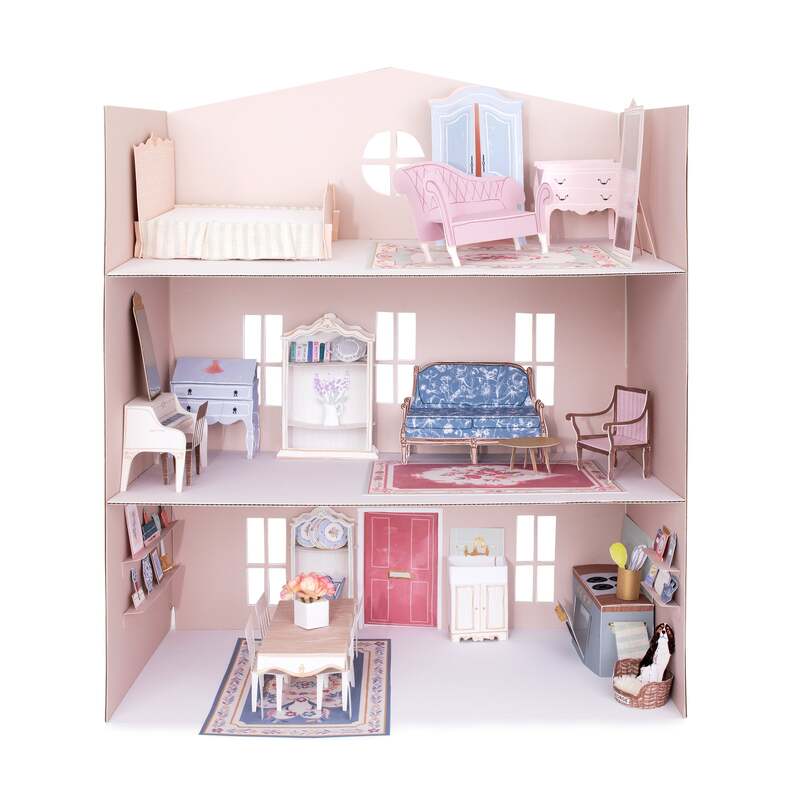
Having decided on a design, it is essential to plan your doll house layout. A successful layout incorporates both functionality and aesthetics. Start by creating a rough sketch, indicating where each room will be located. Including spaces such as a kitchen, living room, and bedrooms makes the dollhouse more engaging. Additionally, think about how each room connects with others. A logical flow will grant a realistic feel.
Furthermore, consider special features like windows and doors. These elements can significantly enhance the appeal of your doll house. Use your ruler to ensure accurate measurements as you draw. When planning your layout, remember to leave enough room for decorations. These extra design elements will add personality to your home. Overall, a well-considered layout will elevate your doll house experience.
Crafting the Doll House Structure
With your design and layout finished, it’s time to start constructing the doll house. Begin by cutting out the house’s base and walls. The base can be a simple rectangular shape, providing stability. Utilize your ruler to measure the dimensions accurately. This step will ensure that all parts fit together seamlessly. Make sure to cut slowly and carefully for clean edges.
After cutting the base and walls, begin assembling them. Use glue or tape to attach the walls to the base. A strong bond between these components is crucial for stability. You might need to hold parts in place for a minute or two to let them adhere properly. Once the walls are secured, reinforce them by adding additional layers if necessary. This step enhances the overall structure and durability of your doll house.
Creating Floors and Roof
Now that the basic structure is in place, it’s time to create the floors and roof. Start with the floors by cutting out rectangular pieces that fit within each room. Glue these pieces into their respective sections. This addition not only completes the rooms but also provides a more finished look. Plus, adding floor texture can make each space seem more inviting.
Next, tackle the roof. A simple triangular design can be effective for a charming look. Measure and cut two identical triangular pieces to serve as the roof. Attach them securely at the top of the walls, ensuring they align properly. Remember, the roof should be sturdy as it completes the structure. This stage emphasizes attention to detail and enhances the overall aesthetics of your paper doll house. By this point, your structure should start to resemble a functional home.
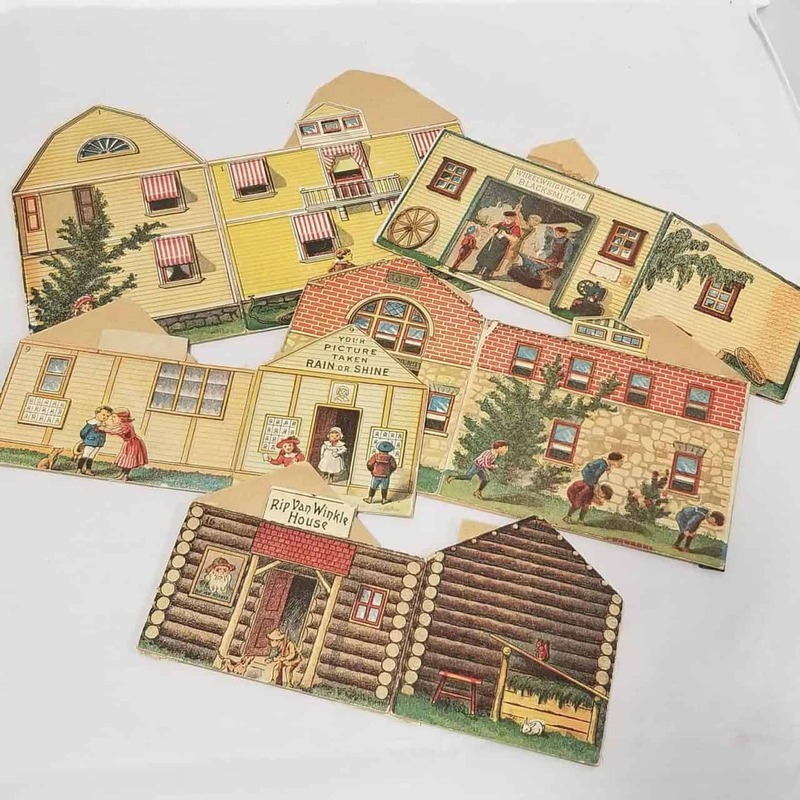
Adding Windows and Doors
Once the roof is attached, focus on adding windows and doors. These features immensely contribute to the overall appeal. Begin by measuring and sketching where you want them to go. For windows, consider cutting rectangles or squares out of the walls. Make sure the placements provide balance in your design. Windows allow light and imagination to spill inside your doll house.
Next, create doors by cutting out smaller rectangles. Adding flaps that can swing open makes them interactive. You can utilize different colors or patterns for your windows and doors. For example, use colored paper or markers to create a stained-glass effect. This creative touch can personalize your house further. Furthermore, doors and windows enhance playability, contributing to engaging storytelling.
Decorating the Interior
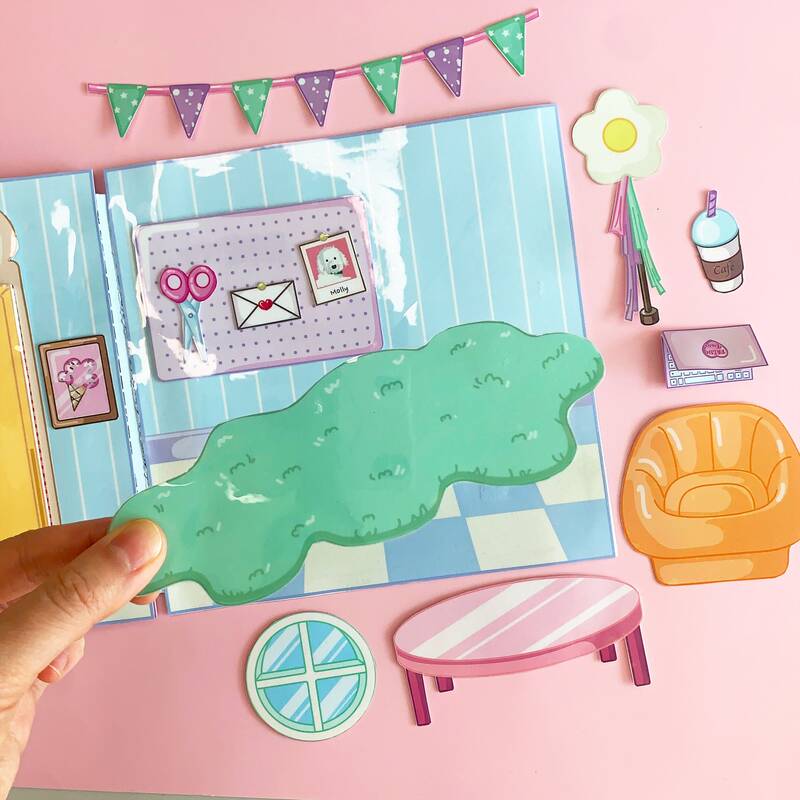
After the basic structure is complete, you can start decorating the interior. Personalization transforms your paper doll house from a simple structure to a cozy home. Begin by creating furniture pieces using paper. Simple designs like chairs, tables, and beds can elevate your design. Cut and fold smaller rectangles into different shapes to represent various types of furniture.
Moreover, consider adding decorative items. Wall art can be made by cutting out small pieces of colorful paper. You can also create small accessories like books or vases. Using a variety of textures and colors will enhance the visual impact. Don’t hesitate to unleash your imagination. The more details you add, the more vibrant and compelling your doll house becomes.
Designing Outdoor Spaces
While interior decoration is crucial, don’t forget about outdoor spaces. Creating a charming outdoor area can enrich playtime. Start by designing a front porch or garden area. You can craft simple flower beds using colored paper to represent flowers. Additionally, consider creating outdoor furniture like picnic tables or benches. Every little detail can add charm to the exterior.
Furthermore, small elements like a paper mail box or birdbath can personalize your outdoor area. These items provide depth and style. You can also design pathways using strips of paper to simulate stones or bricks. Arranging these elements thoughtfully enhances the entire design. An engaging outdoor space invites more imaginative scenarios in play.
Adding Lights and Final Touches
With the main body of your doll house decorated, consider adding lights for an extra touch. Use small LED lights or even simple battery-operated tea lights to illuminate each room. These lights can create a cozy atmosphere, especially in the evenings. To incorporate this, create small openings in the walls for wires, if applicable.
Finally, step back and assess your completed paper doll house. Look for any areas that may require additional decoration or adjustment. You might want to add some tiny details or freshen up existing ones. Small finishing touches can significantly enhance the overall aesthetic. Whether it’s adjusting colors, adding intricate patterns, or adjusting furniture placement, these final tweaks will complete your creation.
Embracing Creativity and Storytelling
As you craft your paper doll house, remember the importance of creativity and storytelling. This project is not simply about creating a physical structure. Instead, it is a medium for tapping into your imagination and constructing stories. Engage with your doll house regularly, adding new elements and revising existing ones. Such interaction fosters a deeper connection.
Moreover, consider involving friends or family in your project. Together, you can brainstorm ideas, share creative insights, and foster a collaborative atmosphere. This teamwork can inspire new directions for your doll house. Exploring multiple perspectives can elevate the design process, creating a richer experience for all involved. Ultimately, the journey of building a paper doll house is equally meaningful as the finished product.
Sharing Your Creation
After completing your paper doll house, don’t hesitate to share your work. Document the finished product through photos and videos. Sharing may inspire others to embark on similar creative journeys. Use social media platforms for showcasing your art and engaging with fellow crafters. Such interactions create valuable connections within the crafting community.
Additionally, you can organize a small gathering where others can view your doll house. Showcasing your project can foster constructive feedback and ideas. You may even inspire others to start their paper crafting adventure. Remember, creativity is contagious, and sharing enhances the collective imagination. Encouraging others benefits both the participants and the experience.
Conclusion: The Endless Possibilities
In conclusion, crafting a paper doll house is not just a fun activity; it’s a meaningful experience filled with creativity. Each step, from gathering materials to finalizing decorations, opens the door to a world of possibilities. Through planning, decorating, and storytelling, you transform a simple piece of paper into a vibrant home filled with life.
The beauty of this project lies in its endless adaptability. You can continually make changes, add elements, and evolve your design as you see fit. A paper doll house is truly a canvas for imaginative storytelling. So, take these steps and unleash your creativity. Your paper doll house awaits!