Introduction to DIY Dollhousing
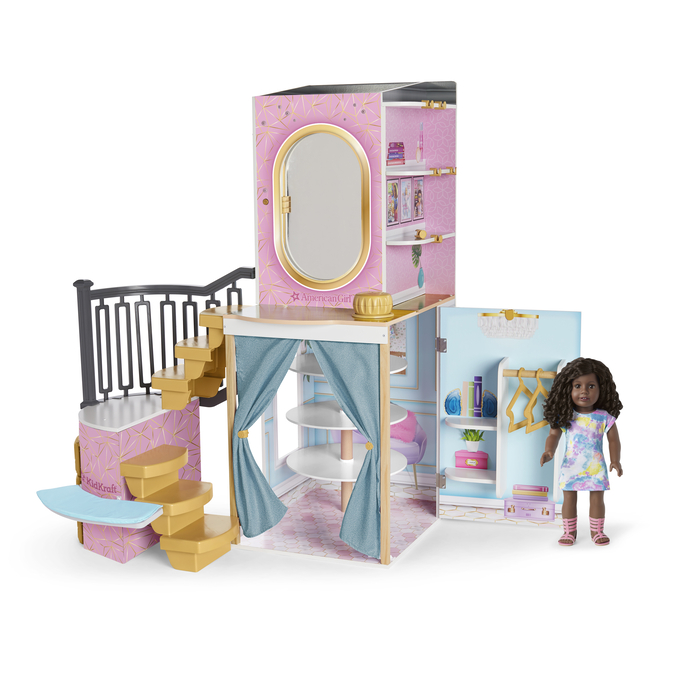
Embarking on a DIY American Girl doll house plans project is a rewarding endeavor. It’s a perfect way to create a personalized space for cherished dolls to live and play. In this introduction, we’ll explore the basics of DIY dollhousing, the practicality of building your own dollhouse, and the joy it can bring to both the creator and the recipient.
For those ready to dive into crafting their dream dollhouse, there are a few key aspects to consider. First, one must decide on the size and scope of the project. Will it be a multi-story residence or a quaint single-room dwelling? Then comes the selection of materials, keeping in mind durability and aesthetics. It’s essential to choose high-quality supplies that fit within your budget while ensuring the house is both sturdy and visually appealing.
Creating a DIY dollhouse is not only an artistic outlet but also an excellent opportunity to engage in hands-on problem solving and learning. As we move through the process together, you’ll pick up basic carpentry skills, decorating tips, and imaginative ideas for customizing each room. Additionally, this project can serve as a fun family activity, allowing for shared experiences and the making of cherished memories.
Stay with us as we guide you through each step, from envisioning the design to the final touches that breathe life into your dollhouse. Whether you’re a seasoned DIY enthusiast or a beginner, this journey is sure to be both educational and exciting. It’s time to bring creativity to the forefront and fashion a unique home for your American Girl dolls. Let’s begin!
Selecting the Right Materials for Your Dollhouse
Choosing the right materials is crucial for building a sturdy and eye-catching American Girl dollhouse. Here’s how to select the best options on a budget:
Start with the Basics: Wood and Size
Initially, consider the size of your dollhouse. Think about how much space you have and how big the dollhouse should be. Then, select a type of wood. Plywood is a popular choice for its balance of cost and durability. Home Depot and other hardware stores offer wood cutting services, so you can get your wood cut to the desired dimensions.
Budget-friendly Choices: Paint and Flooring
To keep expenses low, pick paint that’s affordable yet provides good coverage. Look for budget gallons but take note, wood may require multiple coats. For flooring, press and stick tiles can give a realistic look without the high cost. They come in various styles, like hardwood and tile, and require minimal effort to install.
Don’t Forget the Hardware
You’ll need screws or nails to hold the structure together. Consider using nails; they’re typically cheaper and easier to work with. However, if you plan to disassemble the house in the future, screws are a better choice.
Creative Add-Ons: Windows and Doors
While optional, adding windows and doorways can bring a lifelike feel to the dollhouse. With simple tools and a bit of patience, you can cut these out, or use inexpensive picture frames as window frames for an easy alternative.
Choosing the right materials doesn’t require a big spend. With creativity and thrifty shopping, you can build a beautiful, durable American Girl dollhouse on a budget. Remember to balance cost with quality, ensuring your dollhouse can withstand plenty of playtime.
Step-by-Step Construction of the Dollhouse Frame
Building your DIY American Girl dollhouse frame is a pivotal step in your project. Here’s a straightforward guide to help you make a strong and lasting structure.
Gather Your Tools and Materials
Before starting, collect all your tools and materials. You’ll need wood panels, a saw if your wood isn’t pre-cut, nails or screws, a hammer or screwdriver, and possibly glue.
Measure and Cut the Wood
Measure each wood panel according to your dollhouse plans. Cut carefully for accurate fits.
Assemble the Base and Walls
First, attach your base panel to the side walls. Use nails or screws, ensuring a secure fit.
Add Room Dividers
Position dividers to create rooms. Secure them to the base and side walls.
Install the Floors
One by one, place and secure each floor panel. Check for level alignments.
Erect the Roof
Attach the roof panels to the top of the walls. Make sure it’s stable.
Check the Structure
Once assembled, ensure the frame is solid and no parts wobble or feel loose.
Follow these steps diligently, and you’ll have a sturdy foundation ready for decorating and furnishing. During the process, keep your plans close at hand for reference. Patience and precision now will reward you with a beautiful dollhouse that will stand the test of time.
A Guide to Painting and Decorating Your Dollhouse
Once your DIY American Girl dollhouse frame is complete, it’s time for the fun part. Here are some steps to get started with painting and decorating:
Choose Your Paint Wisely
Start by selecting the right paint. Colors can bring a dollhouse to life. Choose water-based acrylics that dry quickly and have low fumes. Remember, lighter colors can make small rooms seem bigger.
Prep the Surface
Before painting, sand the wood to smooth out rough spots. Wipe with a damp cloth to remove dust. This helps the paint stick better.
Applying the Paint
Use a brush for corners and edges, and a roller for larger areas. Two or three thin coats usually work best. Let each coat dry thoroughly.
Wallpaper or Scrapbook Paper for Walls
For added flair, use wallpaper or scrapbook paper to line the dollhouse walls. Measure carefully and cut the paper to fit each wall. Use a non-toxic glue to apply it.
Add Details with Stickers and Stencils
Stickers and stencils can add impressive details without much work. Choose designs that match the dollhouse’s theme.
Install Windows and Trim
Simple picture frames or pre-made wooden shapes work well for windows. Glue these to the dollhouse walls. You can paint or stain wooden trim to finish the edges.
From painting to accessorizing, every step in decorating your dollhouse adds a personal touch. Keep things simple for best results, and most importantly, be creative and have fun!
Flooring Options for a Realistic Dollhouse Look
Choosing the right flooring can transform your DIY American Girl doll house plans into a realistic home. Here are some cost-effective options to consider:
Pick Press and Stick Tiles
Press and stick tiles are an easy and affordable choice. They come in styles like wood or tile. Cut them to fit your dollhouse’s rooms for a finished look.
Consider Laminate Samples
Many stores offer free laminate samples. These can serve as mini floorboards. They also provide a variety of wood grains and colors.
Use Scrapbook or Contact Paper
Scrapbook or contact paper can mimic flooring. Choose patterns that resemble hardwood, tile, or carpet. It’s a simple stick-on solution.
Think About Fabric
Soft fabric pieces can become dollhouse carpets. Choose colors and textures that match your decor theme.
Get Creative with Paint
For a faux tile effect, use paint. Measure and tape off squares or rectangles, then paint each one. Let them dry before removing the tape.
Remember, the flooring should be durable for play but also add to the dollhouse’s charm. Try mixing these options for different rooms to create distinct spaces. Have fun selecting the flooring that best fits your design and budget!
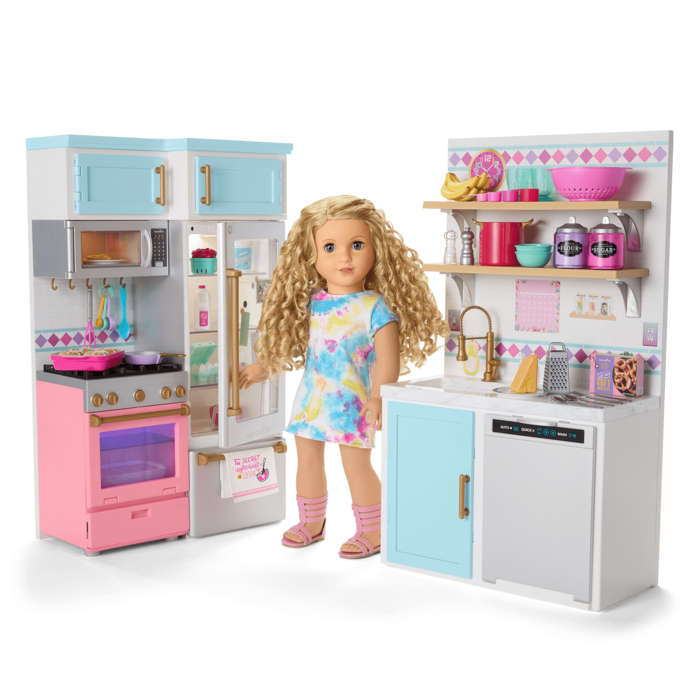
Assembling and Installing Dollhouse Furniture
With the structure of your DIY American Girl dollhouse in place, it’s time to focus on furniture. This part adds character and functionality to the dollhouse. Here’s how to do it without breaking the bank:
Selecting Furniture Pieces
Look for furniture that fits the scale of your dollhouse. Consider buying multi-use pieces like a bed with storage drawers. Try visiting thrift stores or dollar stores for affordable options. If feeling crafty, you can even create furniture using household items like sponge beds or cardboard shelves.
Assembling the Furniture
Follow any included instructions closely. Keep smaller pieces organized to make assembly easier. Just a dab of glue might be needed for some parts. If you made your own, ensure stability by reinforcing with tape or glue.
Positioning the Furniture
Place larger items first, like beds and sofas. This helps you plan out the space. Then, add in the smaller pieces like chairs and tables. Remember to leave room for the dolls to move around.
Adding Soft Furnishings
Cushions and curtains make the space cozy. Use fabric scraps for a hand-sewn touch. Pillow stuffing works great for tiny pillows and comforters.
Mixing and Matching Styling
Don’t worry if the furniture doesn’t match perfectly. A mix of styles can make your dollhouse look lived-in and homely. Let your creativity shine as you combine purchased and handmade elements.
Assembling and installing the furniture can be as fun as building the dollhouse itself. It’s an opportunity to give each room its own personality and make the dollhouse a home. Take your time, enjoy the process, and watch your dollhouse come to life, piece by piece.
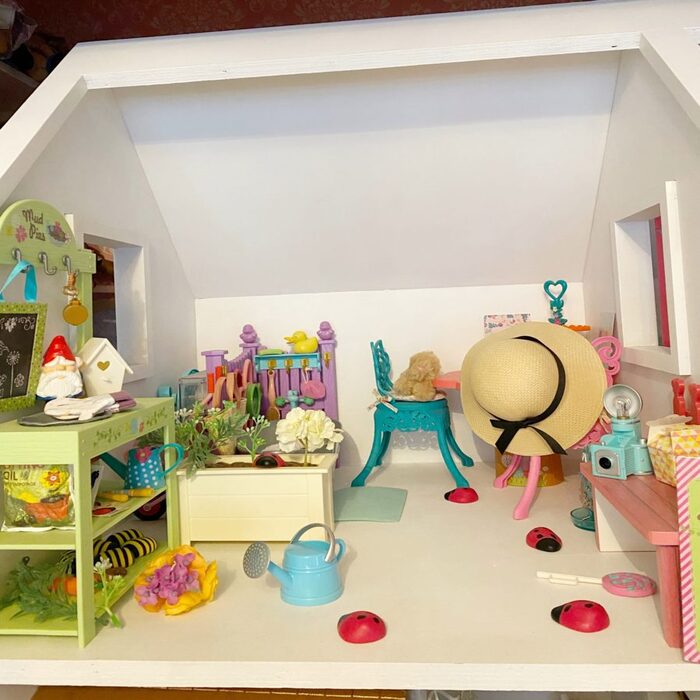
Creative Tips for Personalizing Your Dollhouse
Personalizing your DIY American Girl dollhouse turns a great project into a unique treasure. Here are simple ways to breathe personality into each room:
Use Themed Decor
Pick themes for different rooms, like a beach bedroom or a garden kitchen. Use stickers, paint, and fabrics to match.
Display Mini Artworks
Create tiny paintings or print small photos for wall art. Frames can be made from popsicle sticks.
Craft Handmade Accessories
Make pillows, blankets, and rugs from scrap fabric. Even small paper plants add charm.
Change with Seasons
Swap out decor like holiday lights or autumn leaves to reflect the time of year. It keeps the dollhouse fresh.
Let Kids Decide
Involve children in decorating decisions. Their ideas will make the dollhouse feel more alive.
Add Lighting
Little LED lights or tiny lamps give a warm glow. Be creative with battery-operated tea lights.
Build Custom Pieces
Try building unique furniture pieces. Instructions for simple designs can be found online.
By using these tips, your DIY American Girl dollhouse will be a reflection of both your creativity and love. Keep it fun and let your imagination lead the way!
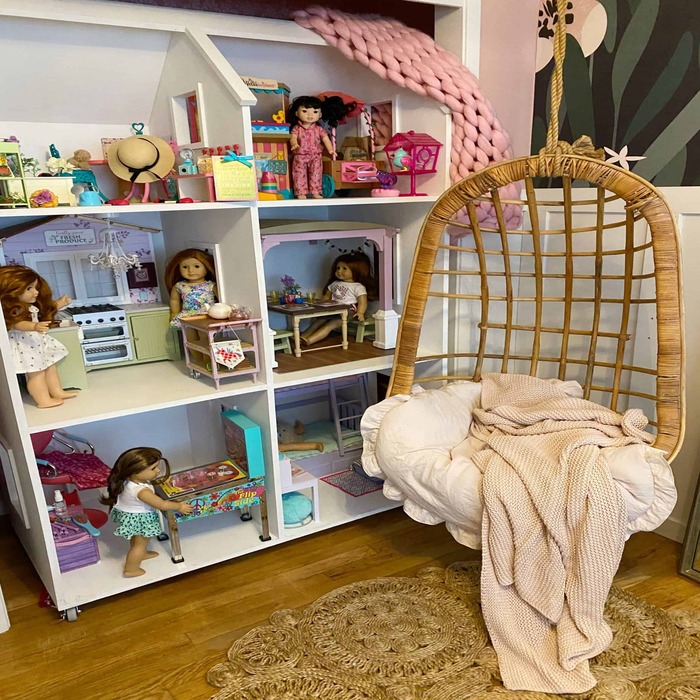
The Final Reveal: Bringing the Dollhouse to Life
The moment of unveiling your DIY American Girl doll house plans is truly exciting. After hours of building, painting, and detailing, it’s time to step back and enjoy the fruits of your labor. This final reveal is not just about showcasing the work done but about bringing a whole new world to life for hours of imaginative play.
Before the final reveal, make sure every nail is in place and the paint is dry. Look over each room, ensuring every detail aligns with your vision. Then, with a flourish, unveil your dollhouse to the expectant audience, be it family or friends.
As you reveal the dollhouse, watch for smiles and gasps of delight. Show off the clever storage solutions you’ve built into beds and closets. Point out the unique press and stick flooring that looks just like hardwood. Highlight the handcrafted furniture that fits perfectly into each themed room. If you’ve made room divots, show how they help separate the spaces.
Beyond the structure, the subtle personal touches matter. The miniature artworks hanging on the wall, the tiny custom pillows, and seasonal decorations all contribute to the dollhouse’s charm. Your DIY American Girl doll house plans have come alive, creating not just a toy but a cherished heirloom that can inspire creativity for years to come.
Finally, remember that this dollhouse is a dynamic space. As seasons change, or as new ideas come up, you might add new details, furniture, or themes, ensuring the dollhouse evolves and continues to engage the imagination of its occupants. The DIY journey may have concluded, but the story of the dollhouse is just beginning.