Getting Started with DIY Miniature Doll Houses
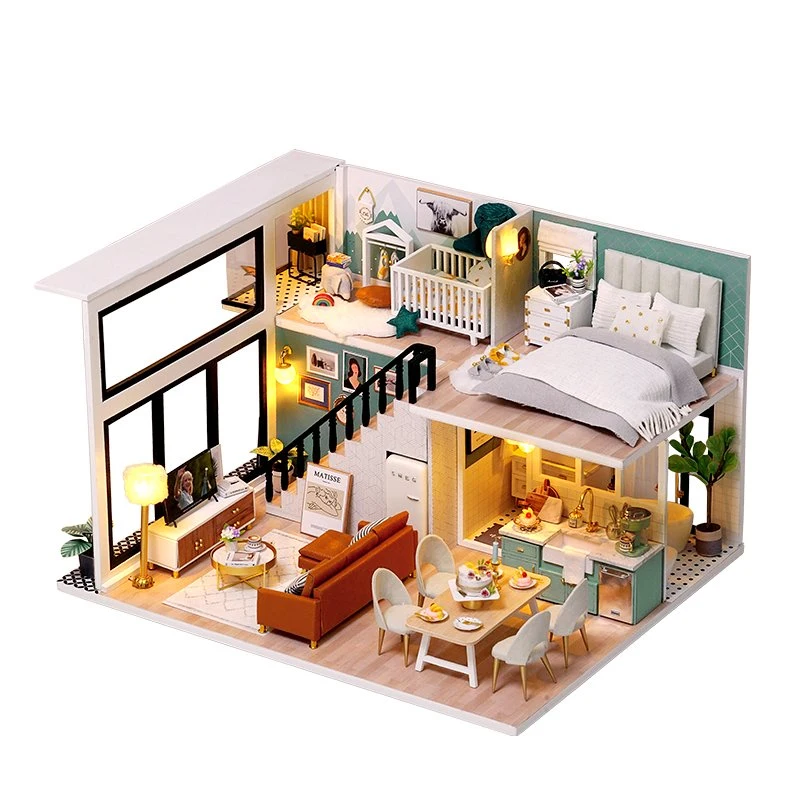
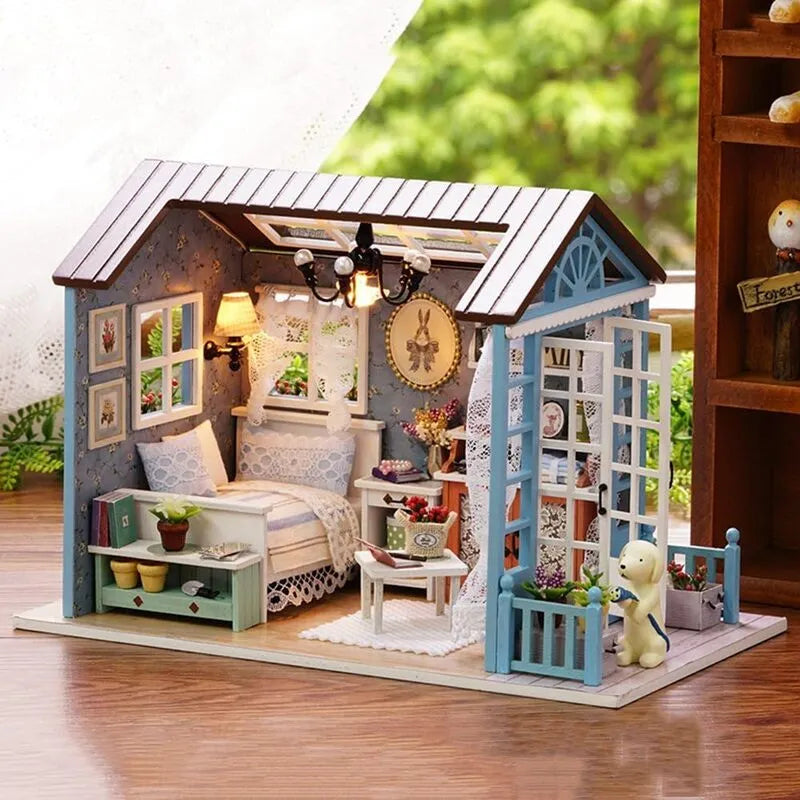
Embarking on the journey to create a DIY miniature doll house is thrilling. It’s a chance to showcase creativity, patience and craftiness in a fun, rewarding project. Whether you’re a seasoned craftsperson or a beginner, this guide will help get you started with creating your very own miniature abode.
Selecting Your Doll House Kit
Choosing the right doll house kit is crucial. It sets the foundation for your entire project. Look for a kit that matches your skill level and desired complexity. Consider the size and style that you find appealing. High-quality materials and clear instructions are key for a smooth building process. Kits can range from simple models to intricate designs that mimic real houses.
Tools and Materials Required
Before beginning, ensure you have all the necessary tools and materials. You will need adhesives like glue, cutting tools such as scissors or a craft knife, and a ruler for precise measurements. Paints and brushes come in handy for adding color and details. It’s important to have tweezers for handling small parts. A well-lit workspace and magnifying glass will help in putting together those tiny details. Patience and a steady hand are perhaps the most crucial ‘tools’ you will need to bring your diy miniature doll house to life.
Design Inspiration for Your Miniature Doll House
Exploring Different Architectural Styles
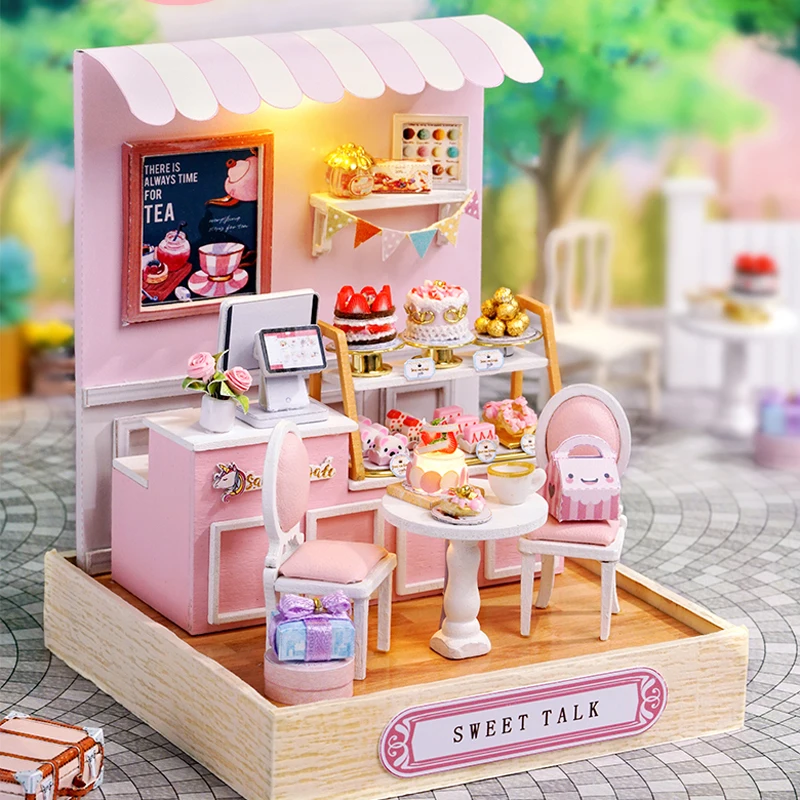
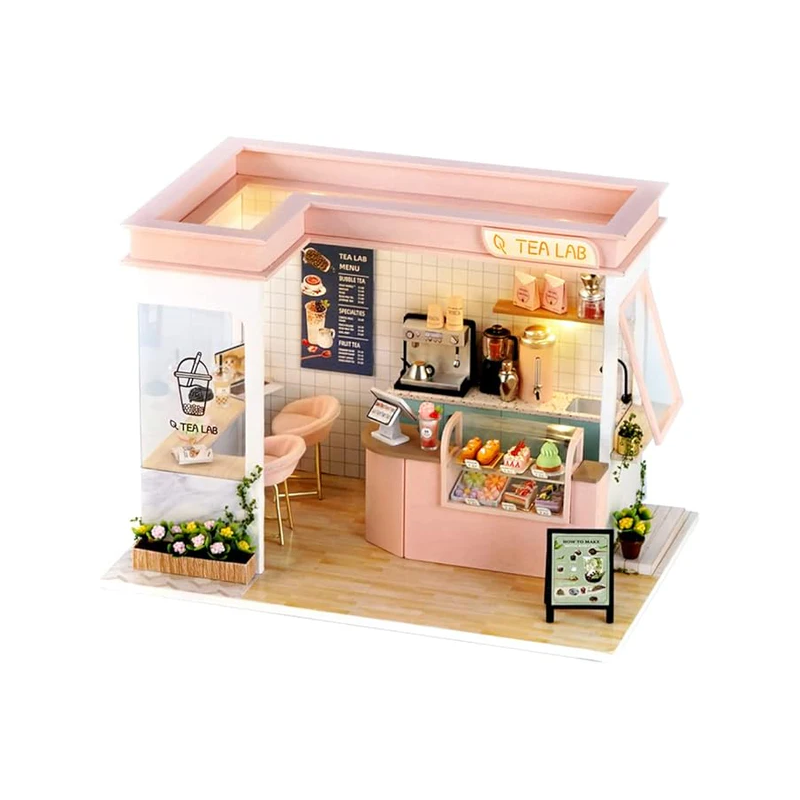
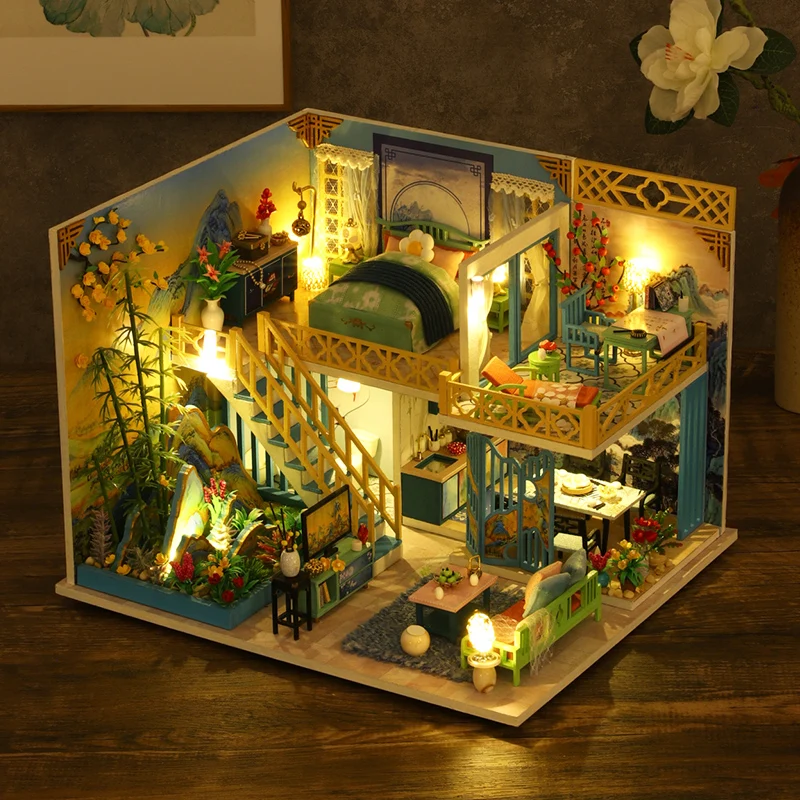
When it comes to designing your DIY miniature doll house, the architectural style is your blueprint. Exploring various architectural styles can give your project direction and appeal. Consider the charm of a Victorian home, with its ornate trimmings and intricate details, or the sleek lines of a modern abode. A cozy cottage or a rustic log cabin can emit warmth and welcome. Delving into Tudor, Colonial, or even whimsical fairy tale designs can spark creativity. Reflect on the styles that resonate with you and imagine your miniatures within these settings.
Choosing a Theme for Your Doll House
A theme can set the tone for your DIY miniature doll house and guide your decor choices. Do you fancy a retro 1950s theme, where vintage furniture and classic patterns reign? Or perhaps a French countryside setting, with soft pastels and floral motifs? For those with adventurous spirits, a travel-inspired theme with souvenirs from different cultures could make your miniature house unique. An art deco theme featuring bold geometric shapes and metallic accents might catch the eye of the modernist. Picking a theme not only makes the creation process enjoyable but also ensures a cohesive look throughout your miniaturized home.
Step-by-Step Assembly Guide
Creating your diy miniature doll house is an adventure in patience and precision. It’s where the magic happens, from bare bones to a fully formed mini marvel. Follow this step-by-step assembly guide to turn your kit into a miniature dream home.
Building the Structure Step by Step
Start by organizing all your pieces according to the manual. Use a clear, flat surface to lay out the parts. Begin with the base, ensuring it’s secure and level. Progress to the walls, carefully applying adhesive to edges for a firm fit. Make sure everything aligns perfectly to avoid issues later on. Attach the roof last, double-checking the angles and joints. Allow adequate time for glue to set before moving to the next phase.
A Guide to Decorating Your Doll House
Once the structure stands firm, it’s time to let your creativity loose. Choose paint colors that match your chosen theme. Apply carefully, and don’t rush – precision is key. Use wallpapers or fabrics for added texture and life. Furnish each room with items that spark joy and fit your style. Remember, this is your miniature world, so infuse it with your uniqueness. Lastly, add those small touches, like miniature books or tiny plants, to make it feel lived in and loved.
Customizing Your Miniature Doll House
Creating a DIY miniature doll house offers an exciting way to display your craftsmanship. But the true charm lies in customizing it to reflect your personality and tastes. This section guides you through adding personal touches and crafting unique furniture and accessories that will make your mini house truly one of a kind.
Adding Personal Touches
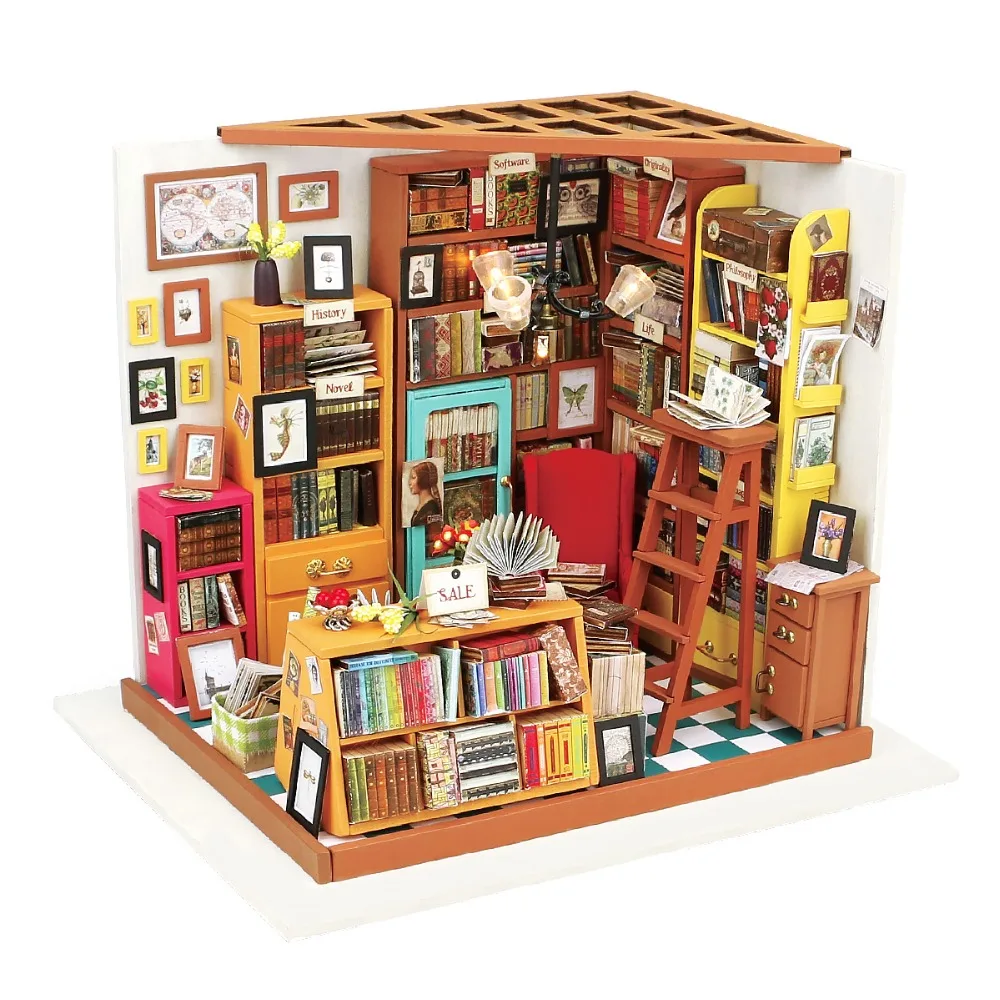
Personal touches can transform a standard doll house into something that feels like it has a story. Start by considering the mini residents. What are their hobbies or preferences? Maybe they need a small art studio or a tiny library filled with mini-books. Next, think about color schemes and patterns that speak to you. Paint the walls with your favorite colors, or use scrapbook paper to add a unique wallpaper design. Don’t forget the exterior. Landscaping with small plants or creating a miniature garden will give your doll house extra charm. Small DIY projects, like handmade curtains or rugs, lend an authentic feel. Remember, even the smallest details can have a big impact.
DIY Furniture and Accessories
The fun really begins when you start making your own furniture and accessories. With some basic materials and tools, you can create almost anything. Popsicle sticks can be turned into a cozy bed frame or a stylish coffee table. Beads and buttons are great for lampstands or vases. Fabric scraps can reupholster tiny chairs or make bedding sets. For a kitchen look, model clay can craft pots and pans. If electronics is your thing, add LED lights to create a warm, inviting atmosphere. With DIY, the options are endless. Allow your creativity to guide you and enjoy the process of making your diy miniature doll house unique!
Tips and Techniques for Miniature Crafting
Crafting a DIY miniature doll house is all about the details. To help you excel in mini crafting, let’s dive into some essential tips and techniques. These will ensure your project not only looks great but also has a professional finish. The right approach to painting, wallpapering, and working with tiny components can take your miniature doll house from good to amazing.
Painting and Wallpapering Tips
When painting your diy miniature doll house, start with a primer. It helps paint adhere and creates a smooth base. Use acrylic paints for their quick-drying properties and easy cleanup. Work with thin coats to avoid clumping and give time for each layer to dry. For wallpapering, select scale-appropriate patterns that won’t overwhelm your space. Measure twice, cut once, and use wallpaper paste for a lasting finish.
When choosing colors or patterns, remember the theme of your doll house. Match these elements to create a harmonious look. Using painter’s tape can keep edges sharp. When dry, peel off gently to prevent ripping the paper or paint.
Working with Small Parts and Details
Managing tiny parts requires patience and the right tools. Tweezers are a must-have for picking up and placing small items. A magnifying glass can help with precision. When gluing small parts, use a toothpick to apply adhesive sparingly. This avoids messy excess. Always have a clean, organized workspace to keep track of all the pieces.
Keep a steady hand and take breaks when needed. Rushing can lead to mistakes. Remember, crafting a diy miniature doll house is a delicate process that rewards those who take their time to do it right.
Showcasing Your Finished Miniature Doll House
Once your DIY miniature doll house is complete, it’s time to showcase your work. Your labor of love deserves to be displayed in the best light. This stage is all about capturing the essence of your creation and sharing it with others. Let’s get into some methods and tips for presenting your doll house effectively.
Photography Tips for Miniature Displays
To get the best shots of your miniature marvel, here are a few photography tips:
- Use natural light when possible, as it brings out the true colors and details.
- Set up your miniature doll house against a plain background to avoid distractions.
- Choose the right angle. Shooting from a lower perspective can make your doll house look lifelike.
- Focus on the details. Close-up shots reveal the intricate work you’ve put into your project.
- Experiment with different settings on your camera or smartphone to find the best one.
- Edit your photos lightly to enhance clarity but keep the natural charm.
Remember: good photos tell a story. They should reflect the theme and character of your doll house. Keep the photos clutter-free and let each one highlight a different aspect of your creation.
Sharing Your Work on Social Media and Forums
Now that you have captivating images, share them with the world. Here’s how:
- Post on social media platforms like Instagram, Pinterest, or Facebook. Use hashtags like #DIYMiniatureDollHouse to increase visibility.
- Join forums and online groups dedicated to miniatures. Share your process and the finished doll house with fellow enthusiasts.
- Write a blog post detailing your journey and the lessons learned. It’s a great way to connect with a broader audience.
- Engage with comments and feedback. It can be a source of encouragement and new ideas for future projects.
Sharing your work establishes connections with the miniature crafting community. It’s rewarding to receive recognition for your efforts and inspire others in their miniature crafting journeys.
Maintaining and Cleaning Your DIY Doll House
A well-maintained diy miniature doll house can last for years, becoming a cherished heirloom. Proper care ensures that your miniature world stays in perfect shape, reflecting the attention to detail and love you put into it.
Regular Cleaning and Dusting
Cleaning and dusting are key to preserving the beauty of your diy miniature doll house. Dust can accumulate quickly, especially on smaller surfaces and intricate pieces. Use a soft paintbrush or makeup brush to gently sweep away dust particles. For tight corners and delicate items, canned air can blow away dirt without touching the items. Clean windows with a damp cloth and a tiny drop of glass cleaner. Avoid using too much moisture, as water can damage wood and paper elements. Keeping a regular dusting schedule will maintain that new, sparkling look.
Making Repairs and Renovations
Over time, repairs may be necessary to restore your diy miniature doll house to its former glory. When a piece becomes loose or breaks, fix it promptly with the right glue. For wallpaper peeling or paint chipping, a touch-up job can work wonders. If you feel creative, renovate a room for a fresh look. Replace old furnishings with new, handmade ones. Add updated decor to reflect current trends or your evolving style. Regularly check for wear and take action; this prevents small issues from turning into big problems. With the right care, your diy miniature doll house can continue to enchant for generations.
Where to Find Resources and Communities
Joining communities of fellow miniaturists can greatly enhance your DIY miniature doll house experience. Online forums and social groups offer a treasure trove of tips, inspiration, and support.
Online Forums and Social Groups for Miniaturists
Looking for advice or wanting to share your latest creation? There are numerous online platforms where enthusiasts gather. Search for forums dedicated to miniature crafting. Here you’ll find discussions on techniques, project ideas, and problem-solving tips.
Social media sites host groups and pages focused on miniatures, from Facebook to Instagram. Use hashtags like #DIYMiniature, #DollHouseMiniatures, and #MiniatureCrafting to discover posts and connect with other crafters.
For real-time interaction, join live chats or webinars hosted by experienced miniaturists. Watching tutorials on platforms like YouTube can also offer new insights into creating detailed miniatures.
Shops and Suppliers for Miniature Crafting Materials
Finding the right supplies is key to building a beautiful diy miniature doll house. Look for local craft stores for basic supplies like paint, glue, and fabric. Specialty miniature shops offer a wider range of items tailored to dollhouse crafting.
Online marketplaces are convenient for accessing a broad selection of materials from around the world. Here, you can find unique items and custom-made furniture pieces that can make your miniature house stand out.
Subscribe to newsletters from miniature suppliers for updates on new products and exclusive deals. Don’t hesitate to ask for recommendations in online forums; fellow miniaturists are usually eager to share their favorite sources.
Remember, whether online or offline, the miniature crafting community is welcoming and resourceful. With the right resources, your diy miniature doll house project can become a shared journey, filled with learning and camaraderie.
