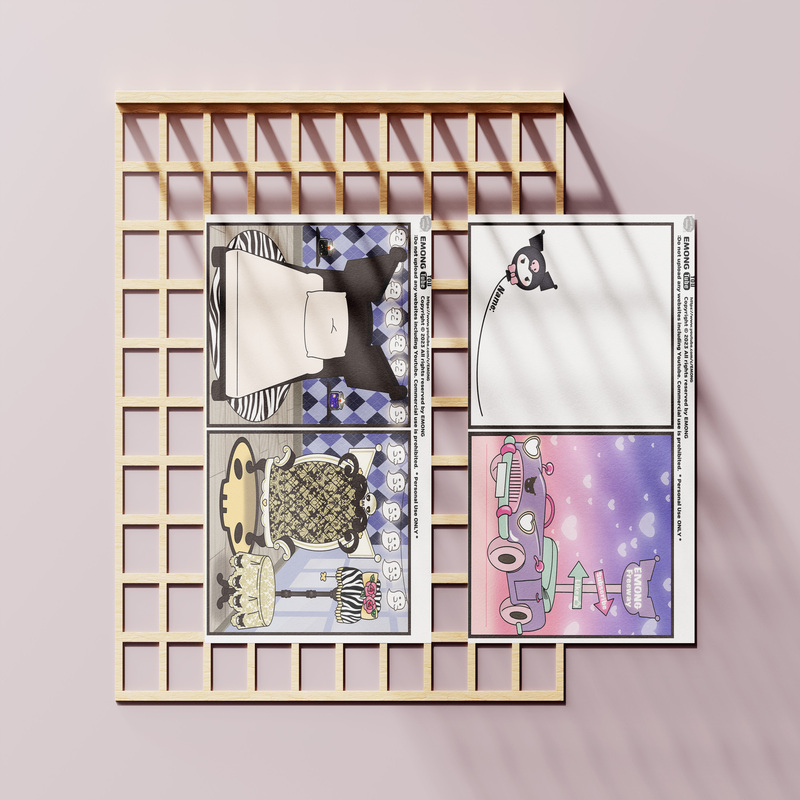
Introduction to Kuromi and Paper Doll Houses
Kuromi, with her punk rocker style and mischievous charm, has won the hearts of many. She is a popular Sanrio character known for her black jester’s hat and pink skull motif. For fans looking to bring Kuromi into their world, creating a kuromi paper doll house printable is an engaging project.
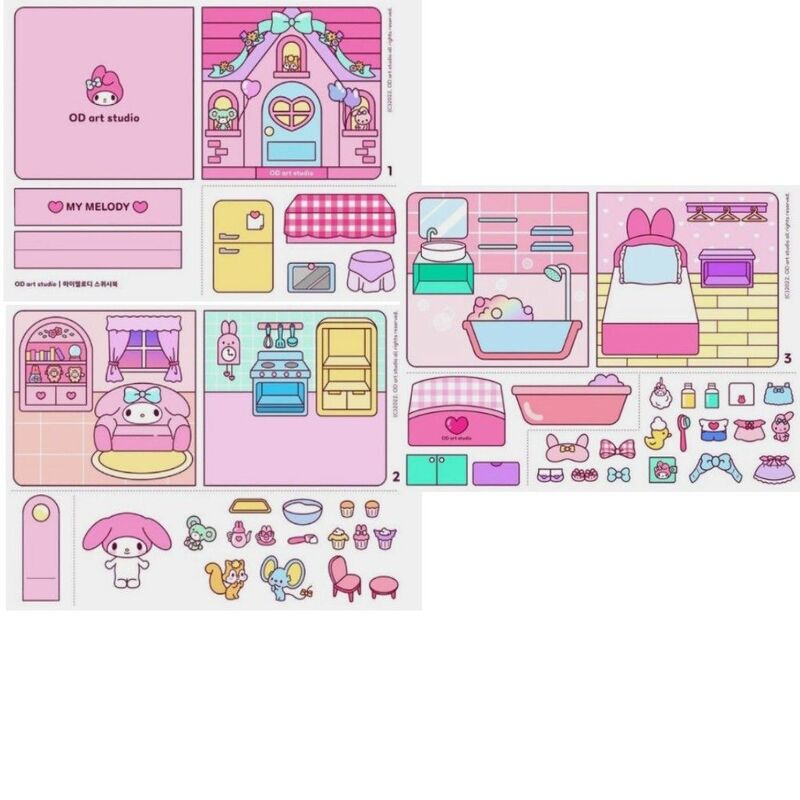
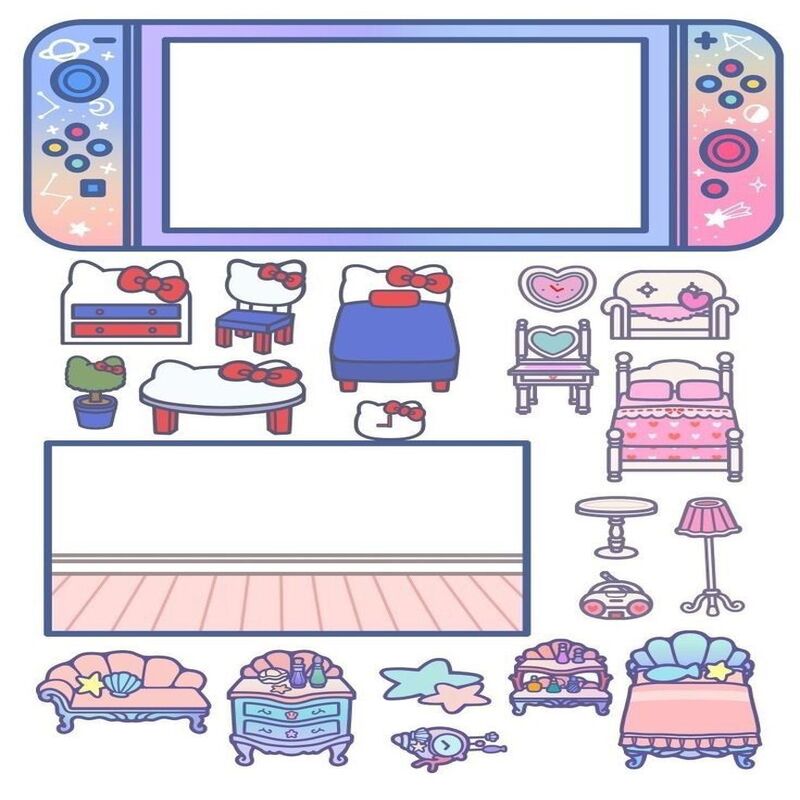
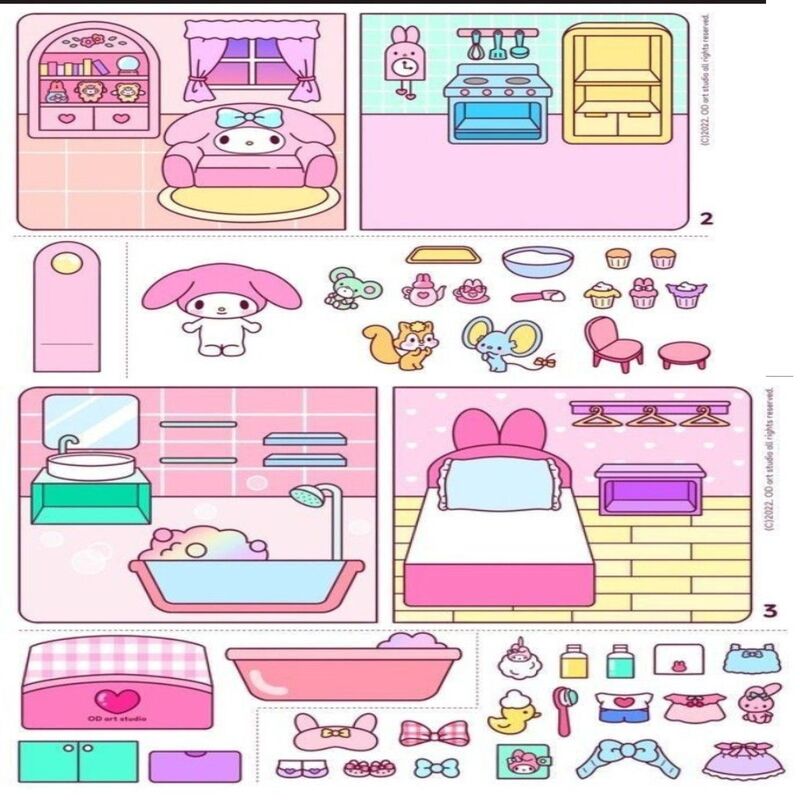
Paper doll houses are miniatures made from paper, offering a creative and accessible craft for all ages. They allow for vast customization and can mirror the aesthetic of beloved characters, like Kuromi. An ideal way to celebrate this whimsical character, building a Kuromi-themed paper doll house can be a delightful DIY challenge.
Whether you’re an experienced crafter or new to papercraft, this guide ensures you have fun while creating your miniature house. We will cover everything from the essential materials to the final touches that make your house uniquely Kuromi’s. So, let’s dive in and explore the charming world of paper doll houses, Kuromi-style.
Essential Materials and Tools for Your Kuromi House
To embark on the delightful journey of crafting your Kuromi paper doll house printable, having the right materials and tools at your disposal is crucial. Here’s what you’ll need to transform paper into a three-dimensional abode fit for Kuromi herself:
- Printable Patterns: First and foremost, you will require printable patterns for your Kuromi house. These will be your blueprints, detailing every wall, roof, and decor element.
- High-Quality Paper: Opt for sturdy, high-quality paper to ensure your doll house stands firm. Cardstock or thick crafting paper works best and gives your creation longevity.
- Cutting Tools: A sharp pair of scissors is a must, and an X-acto knife can provide precision for intricate cuts.
- Ruler: A ruler will guide you in making straight folds and cuts.
- Glue: Use a strong adhesive to assemble parts of your house securely. A glue stick might be sufficient, but tacky glue or a hot glue gun can offer extra strength.
- Markers and Pens: To add those personal touches, have an assortment of markers and pens. They’ll help in customizing your house with iconic Kuromi details.
- Optional Decor: For a unique flair, gather stickers, sequins, or fabric scraps that suit Kuromi’s style.
With these essentials at hand, you’ll be well on your way to creating a kuromi paper doll house printable that’s not just a craft, but a cherished piece of decor. Each item you choose plays a pivotal role in bringing durability and character to your paper doll house. So gather your materials, get comfortable, and let the creative process begin!
Step-by-Step Instructions for Assembling your Kuromi
Now that you’ve gathered your essential materials, we’ll go through the step-by-step process to assemble your Kuromi paper doll house printable. Follow these instructions, and you’ll have a charming paper house in no time!
- Print the Patterns: Start by printing out your Kuromi house patterns on high-quality paper. Ensure your printer settings are correct for the best result.
- Cut the Elements: Using scissors or an X-acto knife, carefully cut out each element along the outer lines. Keep your cuts clean for easy assembly.
- Fold Your Pieces: With the help of a ruler, fold along each dotted line. Make your folds straight and crisp; they are the backbone of your structure.
- Glue the Walls: Apply glue to the tabs of the walls and press them into place, forming the base structure of the house. Let the glue dry a bit before the next step.
- Assemble the Roof: After the walls, it’s time to add the roof. Glue the roof tabs and attach them to the top edges of the walls.
- Custom Details: Take your markers and pens and add Kuromi’s iconic pink skull motifs and other personal touches to your house.
- Attach Decor: If you have optional decor like stickers or sequins, now’s the time to embellish your Kuromi house.
- Final Touches: Review your assembly, press down any loose edges, and adjust any details for a finished look.
Customizing Your Paper Doll House with Kuromi-Themed Decor
Once you’ve assembled your paper doll house, it’s time to give it that unmistakable Kuromi charm. Customizing adds a personal touch and brings the doll house to life. Here’s how to infuse your creation with Kuromi’s playful and punk spirit:
- Kuromi’s Signature Colors: Think of her classic black, white, and hot pink palette. Color the walls and details in these shades for instant recognition.
- Pink Skull Motifs: Draw or paste pink skulls, Kuromi’s iconic emblem, around the house. Use stickers or hand-draw them for extra fun.
- Rockstar Elements: Add paper musical notes or miniature instruments to make it look like Kuromi’s jamming spot.
- Cheeky Expressions: Print and cut out Kuromi’s expressions to stick onto the walls, giving it character.
- Mismatch Patterns: Embrace her mischievous side with clashing patterns and styles that liven up the space.
- Gothic Accents: Consider creating tiny gothic furniture or dark drapes from scraps of black fabric.
Your aim should be to make the kuromi paper doll house printable reflect her bold personality. Use these ideas liberally but don’t forget to add your own personal flair. You’re crafting not just a house but a home for all adventures that embody Kuromi’s playful nature.
Creative Ideas for Play and Display
Once your kuromi paper doll house printable is complete, the real fun begins. You can play with it and also find creative ways to display your work. Here are some ideas to spark your imagination:
- Interactive Play: Create miniature Kuromi characters and accessories to interact with your paper doll house. This can bring dynamic play scenarios to life.
- Seasonal Themes: Decorate your house according to holidays or seasons. Dress it up with Halloween pumpkins or Christmas lights for festive cheer.
- Photo Background: Use your doll house as a fun backdrop for taking photos of your other Kuromi collectibles or crafts.
- Shadow Box Display: Place your paper doll house within a shadow box frame. It protects your craft and turns it into a striking wall display.
- Shelf Centerpiece: Set your Kuromi house as the centerpiece on a shelf surrounded by other cute items or books for a themed display.
- Diorama Project: Integrate the paper doll house into a larger diorama. Add landscape elements like trees or a garden for a more immersive scene.
- Gift Presentation: If you’re giving the house to a fellow Kuromi fan, use it as charming packaging for your gift.
- Stop Motion Set: For those who enjoy video creation, your paper doll house can serve as a set for making stop motion animation.
These creative ideas add longevity to your project, making your kuromi paper doll house printable not just a craft, but a versatile item for play and display. Enjoy finding innovative ways to show off your craftsmanship and love for Kuromi.
Tips for Printing and Preserving Your Paper Doll House
After crafting your kuromi paper doll house printable, it’s essential to print and preserve it well. Here are some tips to ensure your paper doll house stays in tip-top shape:
- Use the Right Printer Settings: Always select the ‘high-quality’ print option. Check the paper type setting to match your cardstock. This ensures crisp, vibrant prints.
- Laminate for Longevity: Consider laminating the printed pieces before assembly. This adds durability and protects against wear and tear.
- Store Flat When Not in Use: Take apart the house and store it flat if possible. This prevents bends and creases.
- Keep Away from Sunlight: Direct sunlight can fade the colors. Display your house in a shaded area instead.
- Avoid Humidity: High humidity can warp paper. Store your house in a dry environment.
- Dust Regularly: Gently wipe your house with a dry cloth to keep dust at bay.
- Fix with Invisible Tape: If parts come loose or tear, use clear tape for discreet repairs.
By following these tips, you can keep your kuromi paper doll house printable looking fresh and vibrant for years to come. Treat it with care, and it will remain a beloved item in your collection or as a beautiful display piece.
Bonus Crafts: Coordinating Furniture and Accessories
Creating a kuromi paper doll house printable is just the start of your crafting journey. To truly bring your miniature home to life, consider making coordinating furniture and accessories. These additions can make your paper doll house even more vibrant and personalized.
Here are some fun bonus crafts to complement your Kuromi paper doll house:
- Miniature Furniture: Create tiny chairs, tables, and beds from cardstock. Cover them with paper that matches Kuromi’s colors and style.
- DIY Decor Items: Make lamps, vases, or wall art that capture the essence of Kuromi’s punk rock vibe. Use beads or sequins to give them sparkle.
- Small Accessories: Fashion rugs, throw pillows, and blankets cut from fabric scraps to add coziness to the rooms.
- Printable Room Dividers: Design and print room dividers that have Kuromi’s pink skull motif on them.
- Crafted Appliances: Put together miniature appliances like a stove or refrigerator. Decorate them to fit into the Kuromi aesthetic.
- Paper Plants: Fill the doll house with greenery by making paper plants and flowers. They add life and can be shaded in Kuromi’s color scheme.
By adding these handmade touches, you can create a cohesive and detailed environment that’s reflective of Kuromi’s world. These bonus crafts are not just fun to make, but also help enhance the interactive play experience. Take your time, enjoy the process, and let your creativity shine!
Wrapping Up: The Joy of Crafting Your Own Kuromi Universe
Crafting a Kuromi paper doll house printable is a journey full of creativity and fun. You have learned how to gather materials, follow detailed instructions, and add special touches that showcase Kuromi’s unique charm. Through this process, your crafting skills have grown, and you’ve created something truly personal.
The satisfaction of seeing your paper doll house come together is unmatched. With each fold and cut, you brought Kuromi’s playful world to life. The custom decor and accessories you made enhanced the authenticity, making your miniature house not just a craft, but a work of art.
Engaging in this project is more than just making a toy; it’s about expressing your affection for Kuromi in a tangible form. Whether you play with it, display it, or give it to a friend, it’s a meaningful creation that can be cherished for a long time.
Remember to take pride in your work and the effort you put into this DIY project. Crafting brings joy, and sharing that joy with others spreads Kuromi’s spirit.
As you finish this project, consider what your next crafting adventure will be. Maybe another character-themed house or expanding Kuromi’s universe with more intricate designs. The possibilities are endless, and the fun is just beginning. Keep creating, keep crafting, and most importantly, keep enjoying every moment of the process.