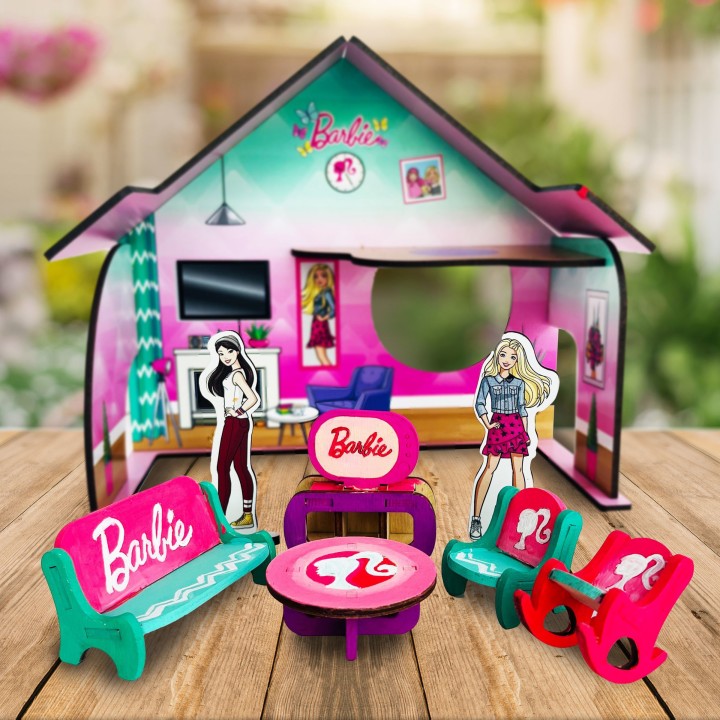
Creating a barbie doll house diy is an exciting project. Not only does it spark creativity, but it also provides an opportunity to engage in hands-on learning. Furthermore, building your own dollhouse can be a cherished family activity. In this article, we will explore materials, designing tips, and decorating ideas. You’ll find that building a dollhouse can be both fun and rewarding.
Choosing Your Materials
Understanding the Basics of Material Selection
The first step in creating a DIY Barbie dollhouse is selecting the right materials. You may want to focus on using cardboard, wood, or foam board. Each option has its own pros and cons. For instance, cardboard is lightweight and easy to cut, making it perfect for beginners. Conversely, wood offers durability but requires more advanced skills. Both materials can be painted and decorated, allowing for personalization.
Moreover, consider using repurposed materials for sustainability. Old furniture, wooden crates, or even shoeboxes can be transformed into miniature rooms. Repurposing not only saves money but also encourages creativity. Remember, the goal is to create a space where Barbie can thrive.
Gathering Additional Supplies
In addition to your primary material, you’ll need various supplies to complete the project. Glue, scissors, paint, and brushes are essential. Additionally, having a ruler and pencil helps with precise measurements. Further, decorative items often enhance the dollhouse’s aesthetic appeal. For instance, fabric scraps can be used for flooring or wall coverings.
Don’t forget about furniture! Miniature items can be crafted from everyday objects. For example, bottle caps can serve as table bases, while matchboxes can become beds. This approach encourages incredible creativity and resourcefulness.
Design Considerations
Creating a Floor Plan
Once you’ve gathered your materials, it’s time to design your dollhouse. Creating a floor plan helps visualize the layout. First, decide how many rooms you want and their sizes. Consider the functionality of each room. For example, a kitchen, living area, and bedroom are common choices.
Additionally, sketch the design on paper before starting. This will help guide your cuts and dimensions. Feel free to add unique details, such as balconies or attic spaces. A well-thought-out floor plan will result in a more enjoyable dollhouse experience.
Scaling Your Dollhouse
Scaling is an important aspect to consider in your design. Typically, barbie doll house diy are approximately 11.5 inches tall. Therefore, it’s crucial to maintain proportions throughout the house. For instance, door heights should be around 6 inches, while furniture should accommodate Barbie’s size.
Moreover, remember the scale when adding accessories. For example, tiny chairs or tables will look more realistic if sized appropriately. Keeping uniformity in scale creates a more visually pleasing dollhouse. Everything needs to fit well together for a cohesive appearance.
Structural Assembly
Building the Walls and Floors
Now that you have your design in mind, it’s time to start the assembly. Begin by cutting the walls and floors according to your measurements. Be precise to ensure a sturdy structure. You may want to reinforce corners with extra glue or tape for added strength.
Next, assemble the walls and attach them to the floor securely. It’s essential to allow ample drying time if using glue. After the walls are set, you can begin adding dividers for separate rooms. This will also enhance the stability of your dollhouse.
Adding Roofs and Openings
Once the walls are up, it’s time to create the roof. Depending on your design, you can opt for a flat or slanted roof. Ensure that the roof pieces fit snugly against the walls. You can also add windows and doors at this stage. Cut out these openings before roofing to prevent further complications.
Consider creating functional elements like shutters. This adds charm and character to the exterior. Windows can be made by cutting out openings and placing transparent plastic behind them. Always use caution when cutting materials; safety should be a priority.
Interior Design
Painting Your Dollhouse
With the structure complete, the next step is painting. Choose colors that reflect your desired aesthetic. Pastels work well for a calming effect, while bright colors can make the space lively. Apply a base coat before adding details or patterns.
Utilizing stencils or tape can help create neat designs. You may want to add accents or textures that bring the wall to life. Additionally, don’t forget to paint doors and windows for added depth. Achieving a cohesive color scheme is essential for an inviting atmosphere.
Flooring Options
When it comes to flooring, various options can offer unique appeal. Depending on your chosen theme, you might consider faux-wood, tile, or carpeting. For instance, using fabric can create cozy carpeted rooms.
Alternatively, paint can mimic wood floors effectively. Remember to experiment with textures and layers to give each room its character. Creating different floor types in various rooms enhances the dollhouse’s diversity greatly.
Furnishing Your Dollhouse
Crafting Miniature Furniture
Now that the dollhouse interior is designed, it’s time to furnish it. Crafting your own miniature furniture provides endless possibilities. Cardboard, bottle caps, and other small items can be transformed into tables, chairs, and beds easily.
Consider searching for DIY tutorials online for inspiration. For example, a simple box can become a bed with a little creativity. Painting or covering them with fabric can elevate their appearance significantly.
Buying Pre-Made Accessories
If crafting isn’t your preference, you can purchase pre-made dollhouse furniture. Many stores have a selection of miniature items to choose from. You can find various styles, from modern to vintage, to suit your dollhouse theme.
However, remember to pay attention to scale again. Ensure that the furniture matches Barbie’s size for a cohesive look. Incorporating a mix of handmade and bought furniture can enhance your dollhouse’s unique charm.
Adding Personal Touches
Engaging in Thematic Decoration
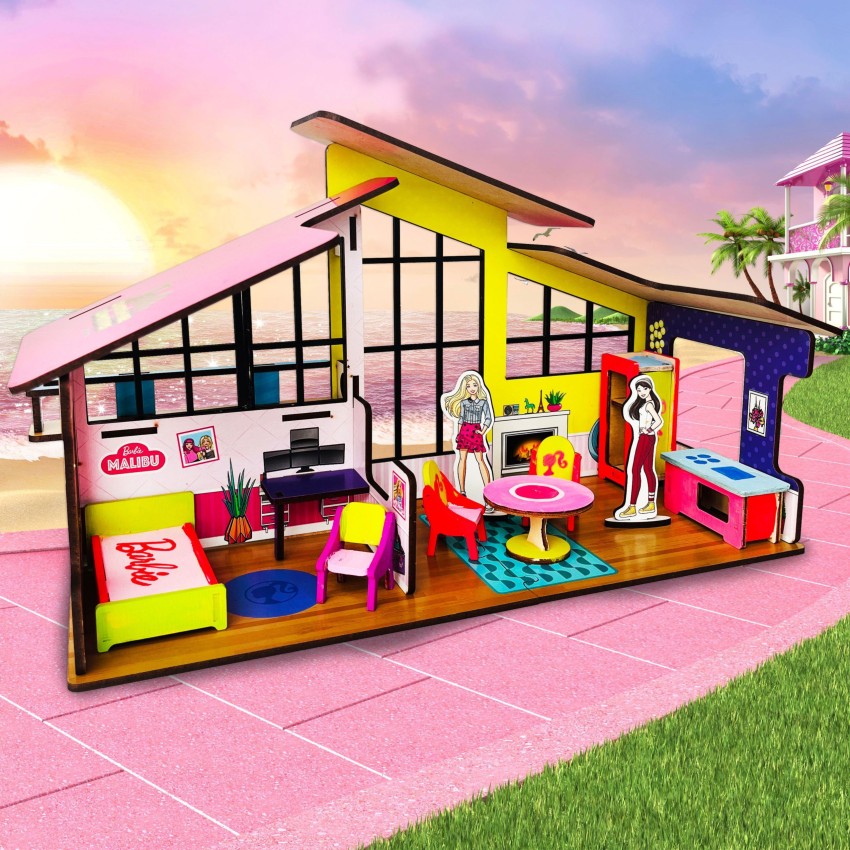
At this stage, you’ll have the foundation of a beautiful dollhouse. Now, it’s time to personalize your space. Choosing a theme can guide your decorating efforts. For instance, a beachhouse vibe calls for pastel colors and nautical elements.
You might also want to create a colorful garden or a cozy winter lodge. Think about adding touches that reflect Barbie’s personality. Engaging in thematic decoration allows for endless creativity.
Incorporating Accessories and Textiles
In addition to large decorative elements, small accessories are essential. Tiny plants, books, and artwork can add character. Fabrics also play a significant role, so creating cushions or curtains can provide comfort.
Consider making wall art from paper or painting landscapes. Wall decorations frequently elevate the overall design. Adding personal touches creates a space where Barbie truly belongs.
Final Touches
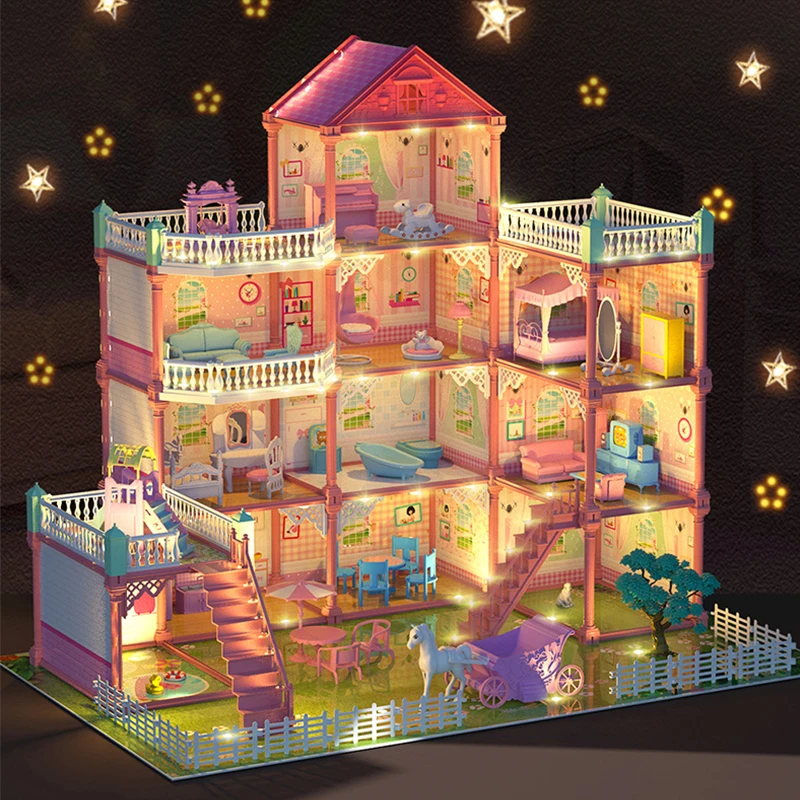
Lighting and Ambience
Consider adding mini lights or candles for ambiance. Battery-operated fairy lights can enhance the dollhouse’s charm. Remember to secure any wiring properly to avoid accidents.
Creating a miniature atmosphere encourages imaginative play. Dim lights or soft colors can set a cozy environment. Lighting plays a pivotal role in bringing your dollhouse to life.
Playtime Ready
Finally, prepare for endless hours of playtime. Ensure everything is tidy and accessible. Leave space for Barbie’s friends to join, creating a lively atmosphere.
Teaching children about imaginative play is incredibly beneficial. Your barbie doll house diy will serve as a platform for creativity and storytelling. Building, decorating, and playing together strengthens family bonds and creates lasting memories.
In conclusion, building a barbie doll house diy is a fulfilling experience. Each step offers new opportunities for creativity and collaboration. From material selection to the finishing touches, every aspect can be tailored to your preferences. Engaging in this project allows you to create a unique space for imaginative play. Remember to enjoy the process, as it’s not just about the final product. Happy building!