Introduction to DIY Wooden Dollhouses
The Charm of Wooden Dollhouses
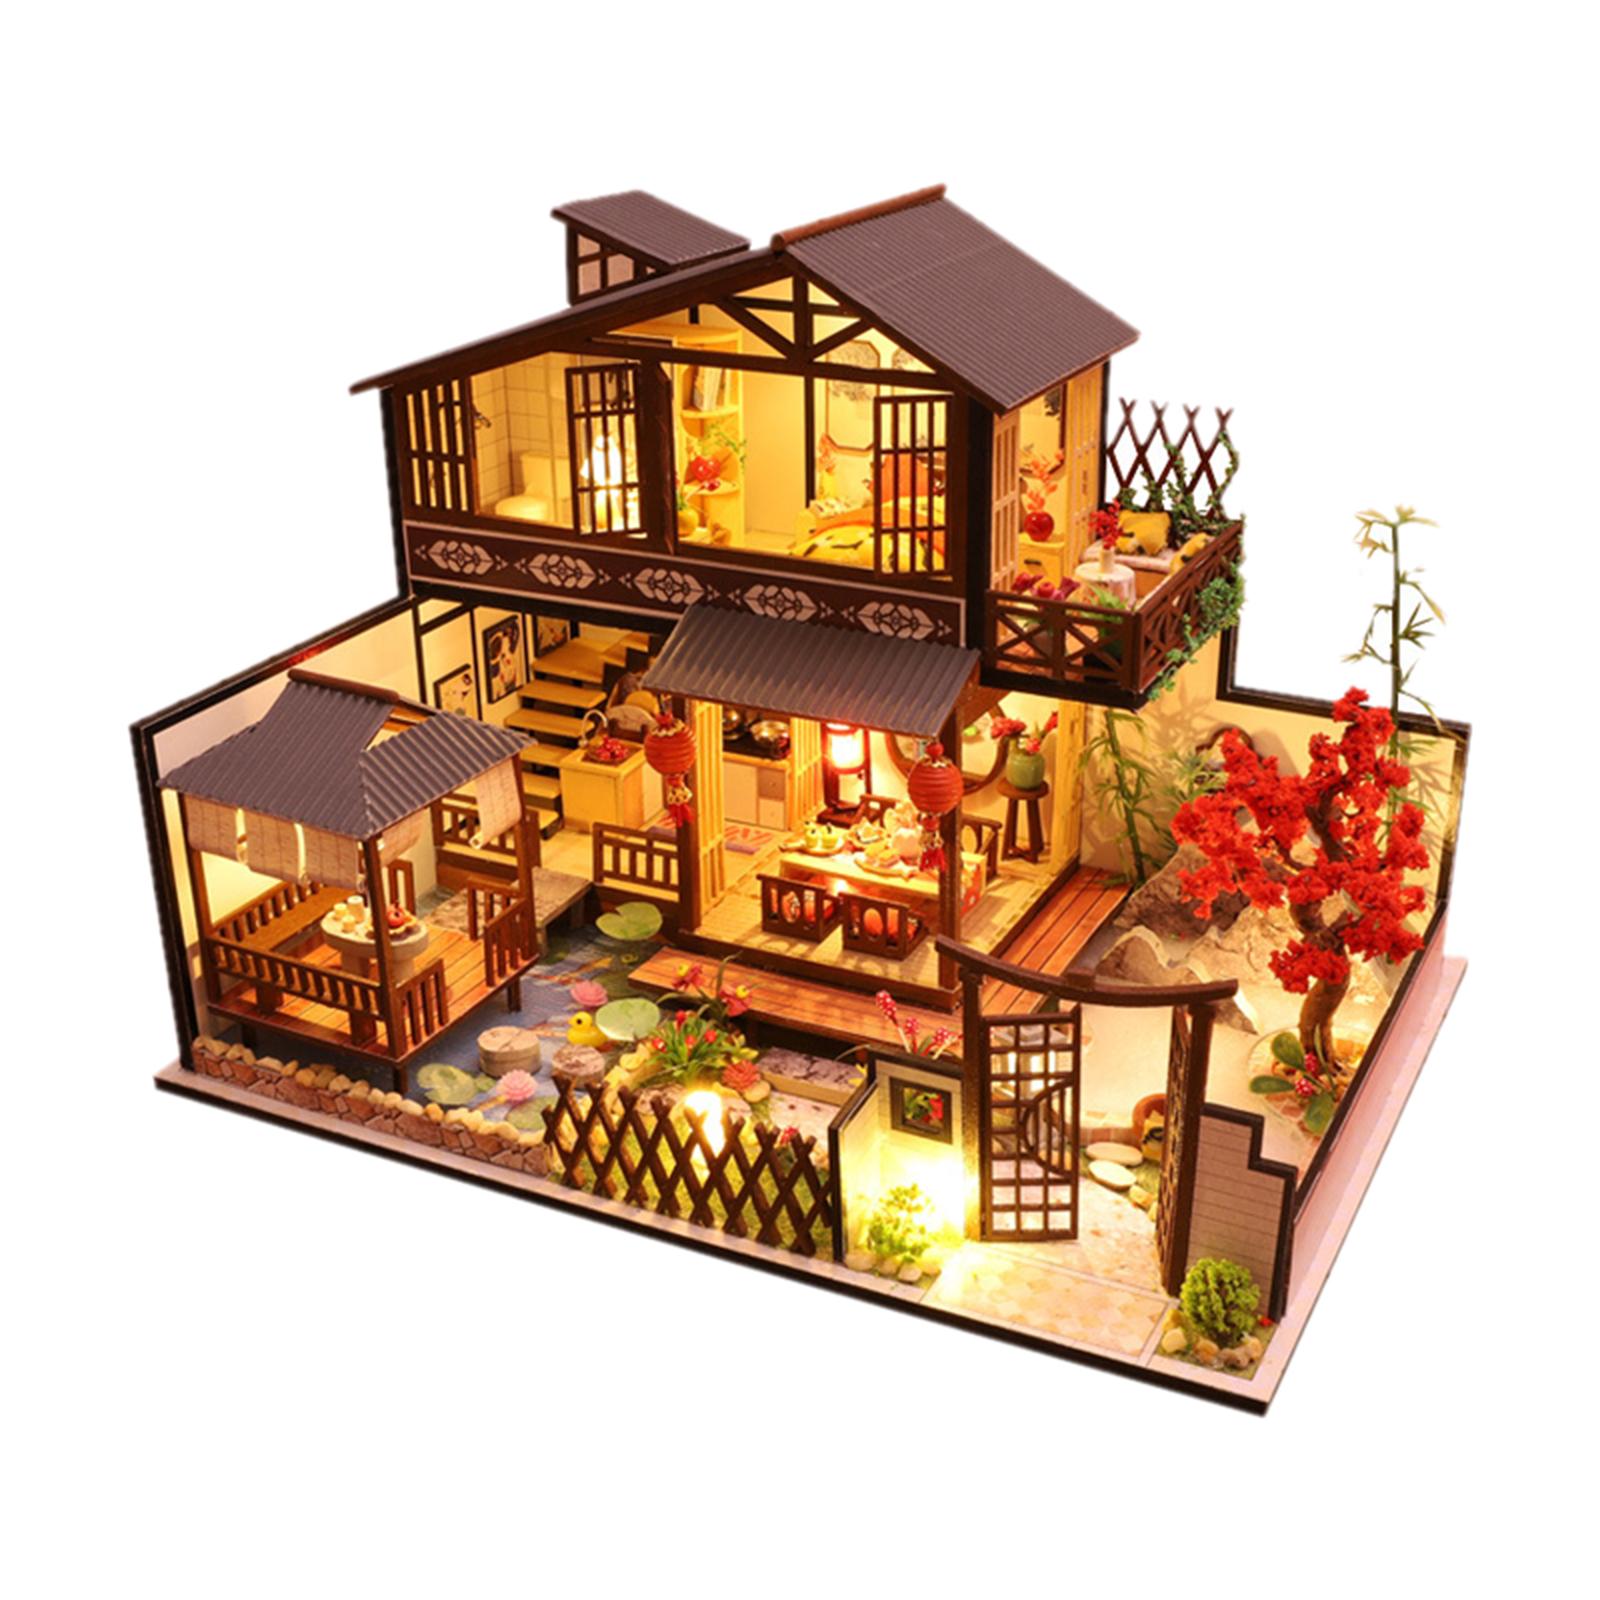
A DIY wooden dollhouse captures the essence of timeless charm and imagination. Often passed down through generations, these miniature homes provide endless hours of creative play. Unlike plastic counterparts, wooden dollhouses exude a classic aesthetic. They are sturdy, customizable, and environmentally friendly, appealing to both children and adults. Understanding the allure of wooden dollhouses sets the stage for embarking on a rewarding DIY project.
Wooden dollhouses offer a unique blend of craftsmanship and creativity. The process of building one allows for personal touches and imaginative designs. Every detail, from the architectural style to the interior decor, can be tailored to reflect individual tastes or specific themes. This customization transforms a simple toy into a cherished keepsake. A DIY wooden dollhouse becomes not just a plaything but a piece of art and family heritage.
The durability of wooden dollhouses stands in stark contrast to mass-produced plastic versions. Crafted from quality wood, these dollhouses can withstand years of play and are built to last. This longevity makes them sustainable choices. Parents and grandparents appreciate their lasting value, seeing them as worthy investments in a child’s playtime. Moreover, wooden dollhouses often feature intricate details and realistic finishes, enhancing the imaginative experience.
Understanding the charm of wooden dollhouses highlights the benefits of choosing this material over others. They combine beauty, durability, and eco-friendliness, making them ideal for crafting a personalized play environment. By building a DIY wooden dollhouse, you embrace a project that offers both creative fulfillment and practical advantages.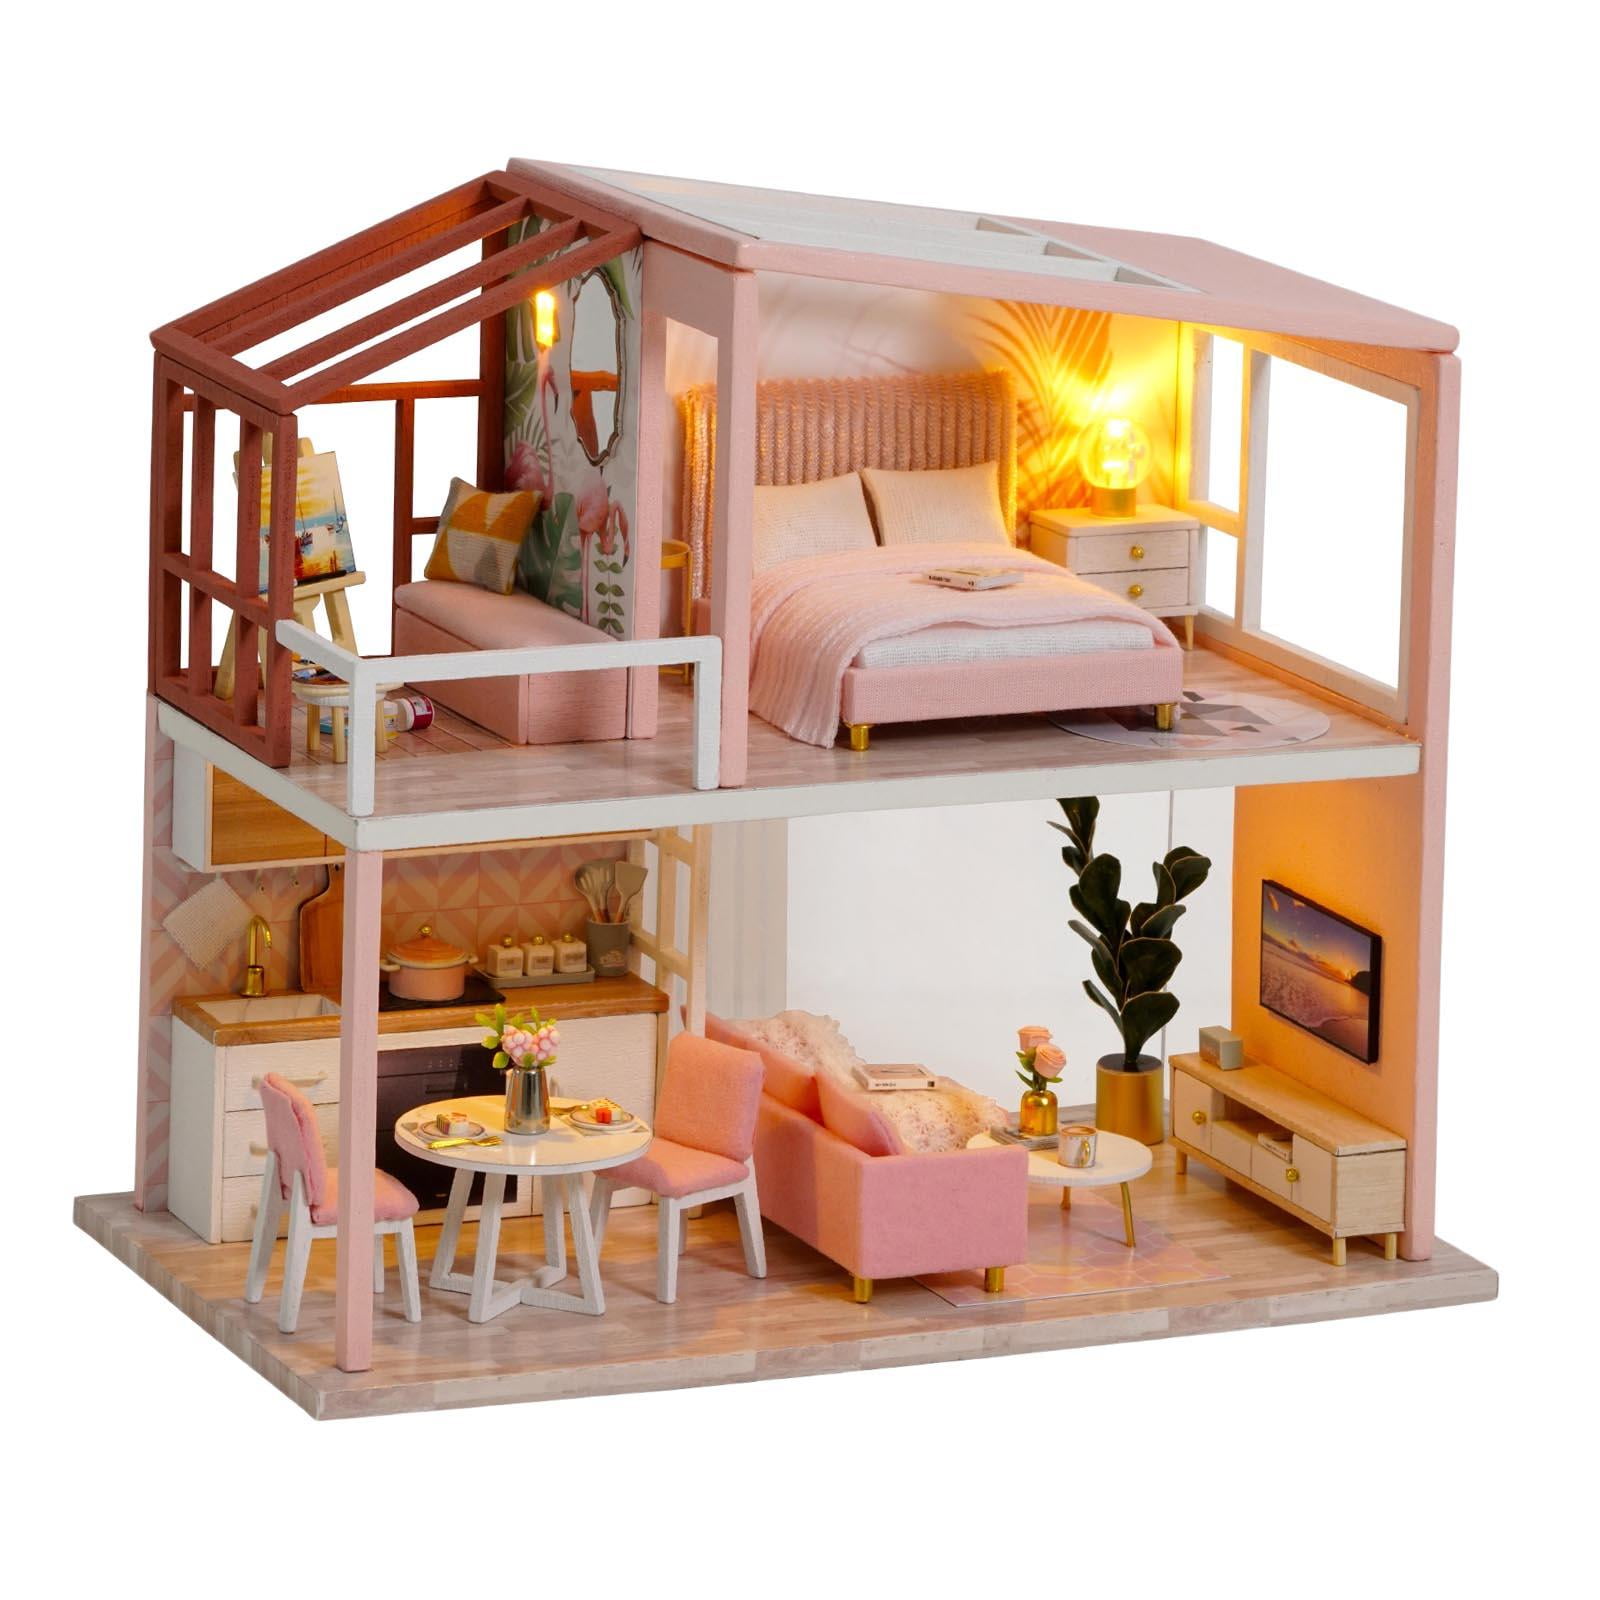
Historical Significance
Dollhouses have a rich history, dating back to the 16th century, where they originated as cabinet houses in Europe. These early dollhouses were intricate displays, sometimes used as teaching tools for the wealthy to instruct their daughters in household management. Their exquisite craftsmanship and attention to detail made them luxury items, often showcased in parlors and living rooms.
The evolution of dollhouses continued into the 19th century with the advent of industrialization. Mass production made dollhouses more accessible to the general public. Despite this, handmade wooden dollhouses retained their popularity. They were cherished for their aesthetic appeal and quality. Countries like Germany and England became renowned for producing some of the finest wooden dollhouses, renowned for their realistic features and craftsmanship.
The 20th century saw a resurgence in the popularity of wooden dollhouses, particularly as DIY projects gained traction. These miniature homes became DIY enthusiasts’ favorite hobby, combining woodworking skills with creative design. The historical significance of dollhouses extends beyond mere playthings; they reflect societal changes and artistic trends. Each era’s dollhouses offer glimpses into the architectural styles, interior decor, and cultural values of the time.
Understanding the historical context of wooden dollhouses provides a deeper appreciation for their enduring appeal. They are not just toys but cultural artifacts that encapsulate the craftsmanship and artistry of past generations. By embarking on a DIY wooden dollhouse project, you connect with this rich history, creating a piece that pays homage to tradition while infusing modern creativity.
Materials and Tools Needed
Essential Materials
Building a DIY wooden dollhouse requires gathering the necessary materials to ensure a successful and enjoyable project. Here’s a list of essential items needed:
- Plywood or Hardwood: Quality wood is the foundation of your dollhouse. Plywood is often preferred for its affordability and ease of use, but hardwood offers greater durability and aesthetic appeal.
- Wood Glue and Nails: These tools are essential for assembling the dollhouse structure. Wood glue provides strong bonding, while nails add extra stability.
- Sandpaper: Sandpaper smooths the wood surfaces, ensuring a polished finish. Various grits may be needed, starting with coarse and moving to finer grades.
- Paint and Varnish: Paint adds color and life to the dollhouse, while varnish protects the wood and gives it a glossy finish. Choosing non-toxic options is important, especially for children’s toys.
- Hinges and Small Hardware: Hinges allow for opening and closing doors or windows. Other small hardware may include knobs, handles, and brackets.
- Decorative Elements: These may include miniature furniture, wallpaper, flooring, and window treatments. These details bring the dollhouse to life and reflect your personal style.
- Blueprints or Plans: Having a detailed plan or blueprint guides the building process. Pre-designed plans can be found online or in woodworking books, offering step-by-step instructions.
Understanding the essential materials needed for building a wooden dollhouse ensures proper preparation. Gathering these items in advance sets the stage for a smooth and successful project.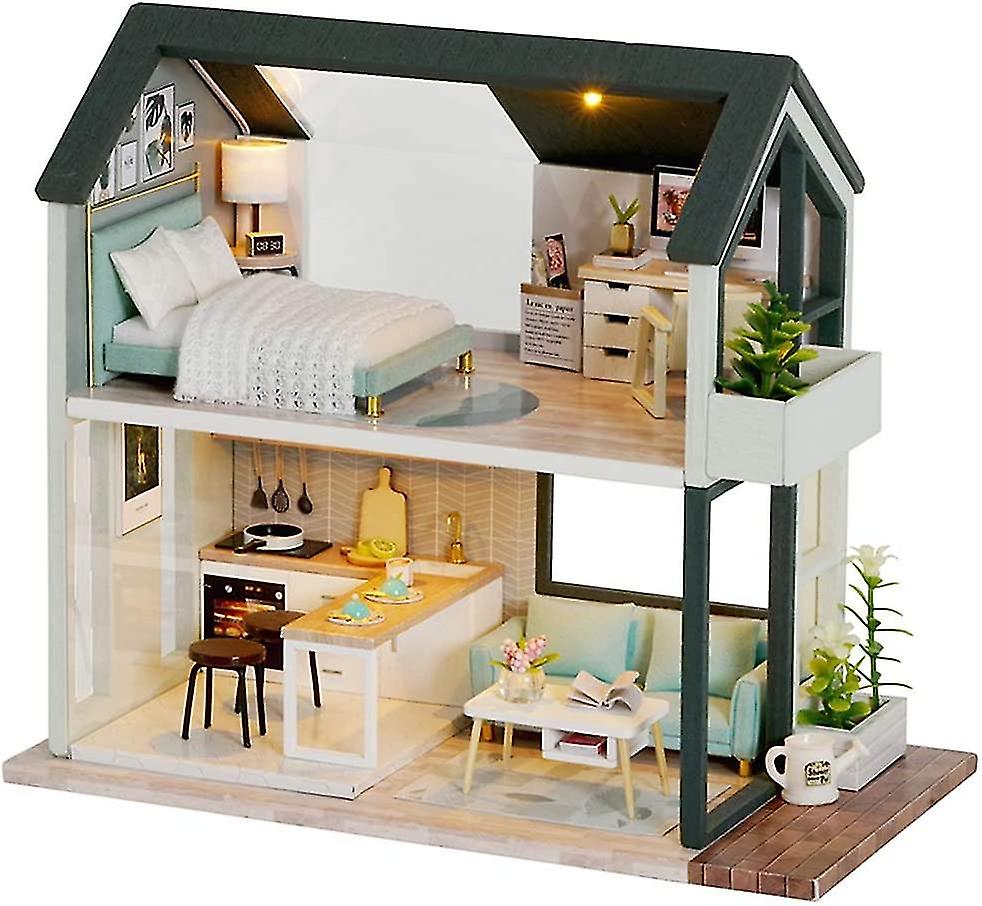
Recommended Tools
In addition to materials, having the right tools is fundamental to building a DIY wooden dollhouse efficiently and effectively. Here’s a list of recommended tools:
- Saw: A saw is needed for cutting wood pieces. A jigsaw or circular saw is suitable for straight cuts, while a coping saw or scroll saw is ideal for intricate shapes and details.
- Drill: A drill is used for making holes for nails and screws. A cordless drill offers flexibility, while a bench drill provides stability for precision work.
- Clamps: Clamps hold pieces together as the glue dries, ensuring that joints are secure and aligned properly.
- Ruler and Measuring Tape: Accurate measurements are crucial for creating a well-proportioned dollhouse. A ruler and measuring tape ensure precision in cutting and assembling pieces.
- Screwdriver: A screwdriver is necessary for attaching hinges, handles, and other hardware. A set with various sizes and types ensures you have the right tool for each task.
- Paint Brushes: Various sizes of paintbrushes are needed for applying paint and varnish. Fine brushes are ideal for detailing, while larger brushes cover larger surfaces efficiently.
- Utility Knife: A utility knife is useful for cutting wallpaper, trimming edges, and other detailed tasks. A sharp blade ensures clean cuts.
Equipping yourself with these recommended tools ensures that the dollhouse-building process is smooth and efficient. Proper tools enhance the quality of craftsmanship and make the project more enjoyable.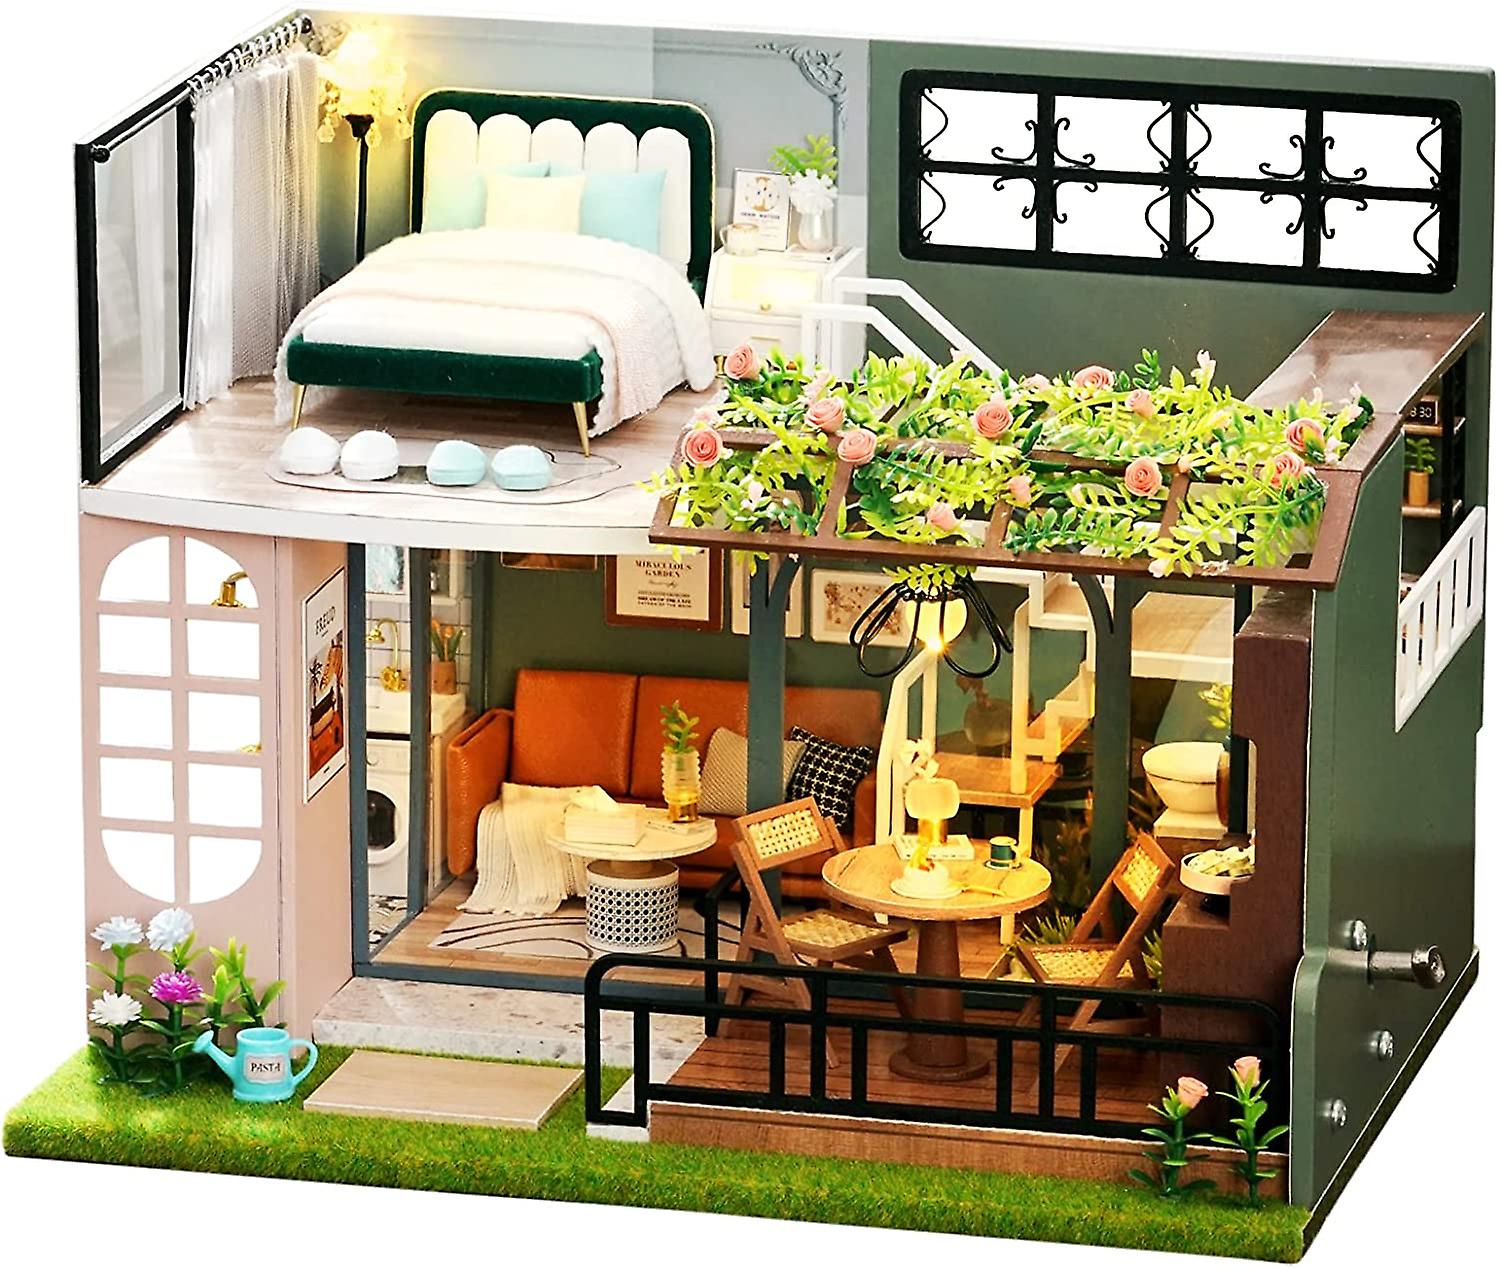
Step-by-Step Guide to Building a Wooden Dollhouse
Planning and Designing
The planning and designing phase is the first and most crucial step in building a DIY wooden dollhouse. This phase involves conceptualizing the design, selecting a style, and creating detailed plans. Here’s a step-by-step guide:
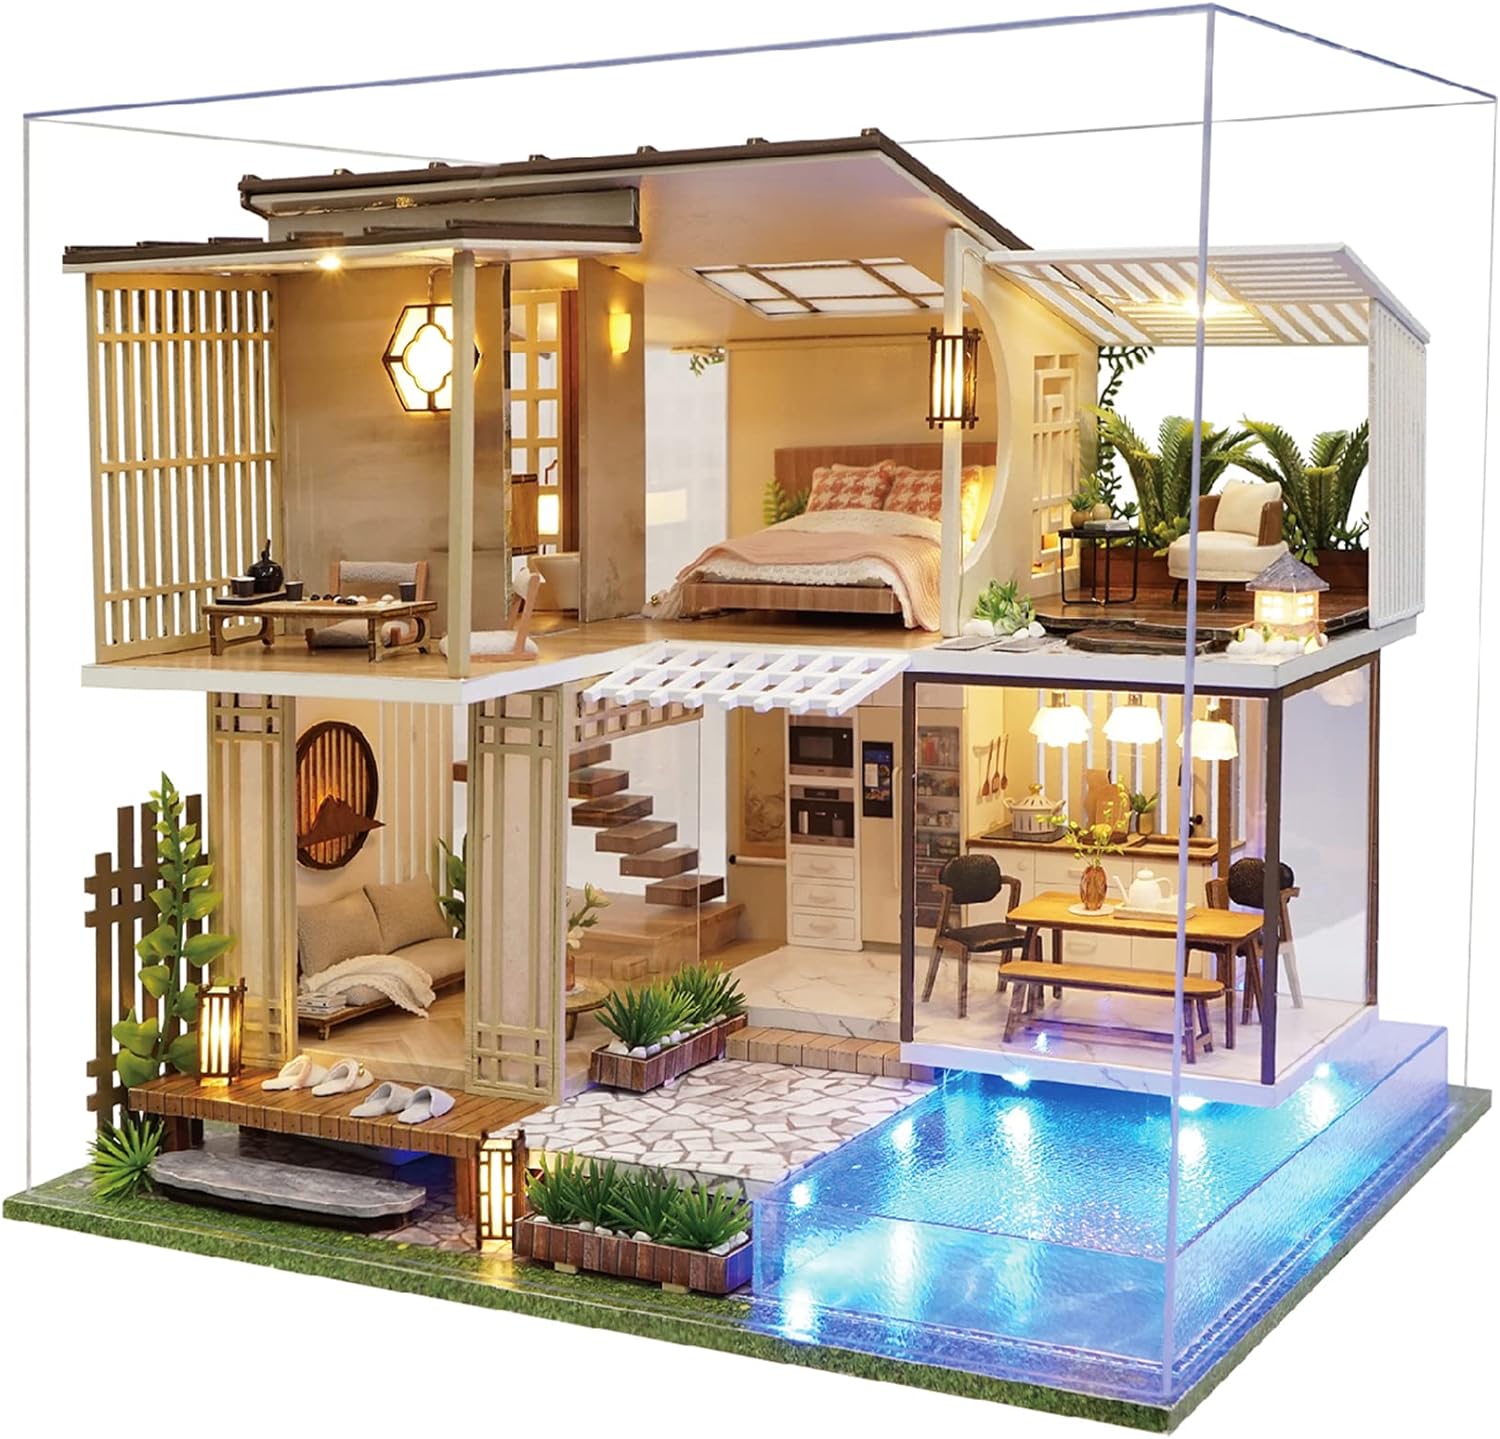
- Choose the Style: Decide on the architectural style of the dollhouse. Options may include Victorian, modern, colonial, or farmhouse styles. The chosen style sets the theme and guides design decisions.
- Sketch the Design: Create rough sketches of the dollhouse, including the layout, number of rooms, and key features. This initial sketch provides a visual reference for further planning.
- Create Detailed Plans: Develop detailed plans or blueprints based on the initial sketch. Include precise measurements for each part of the dollhouse, ensuring that pieces fit together seamlessly.
- Select Materials: Based on the design and plans, select the appropriate materials. Consider the wood type, paint colors, and decorative elements that align with the chosen style.
- Gather Tools: Ensure that you have all the necessary tools ready for the project. Double-check the list of recommended tools and make any additional purchases if needed.
- Set Up the Work Area: Prepare a dedicated workspace with sufficient lighting and ventilation. Organize tools and materials for easy access and efficiency.
Understanding the planning and designing phase ensures a clear roadmap for the project. Detailed plans and thoughtful preparation set the foundation for a successful and enjoyable building process.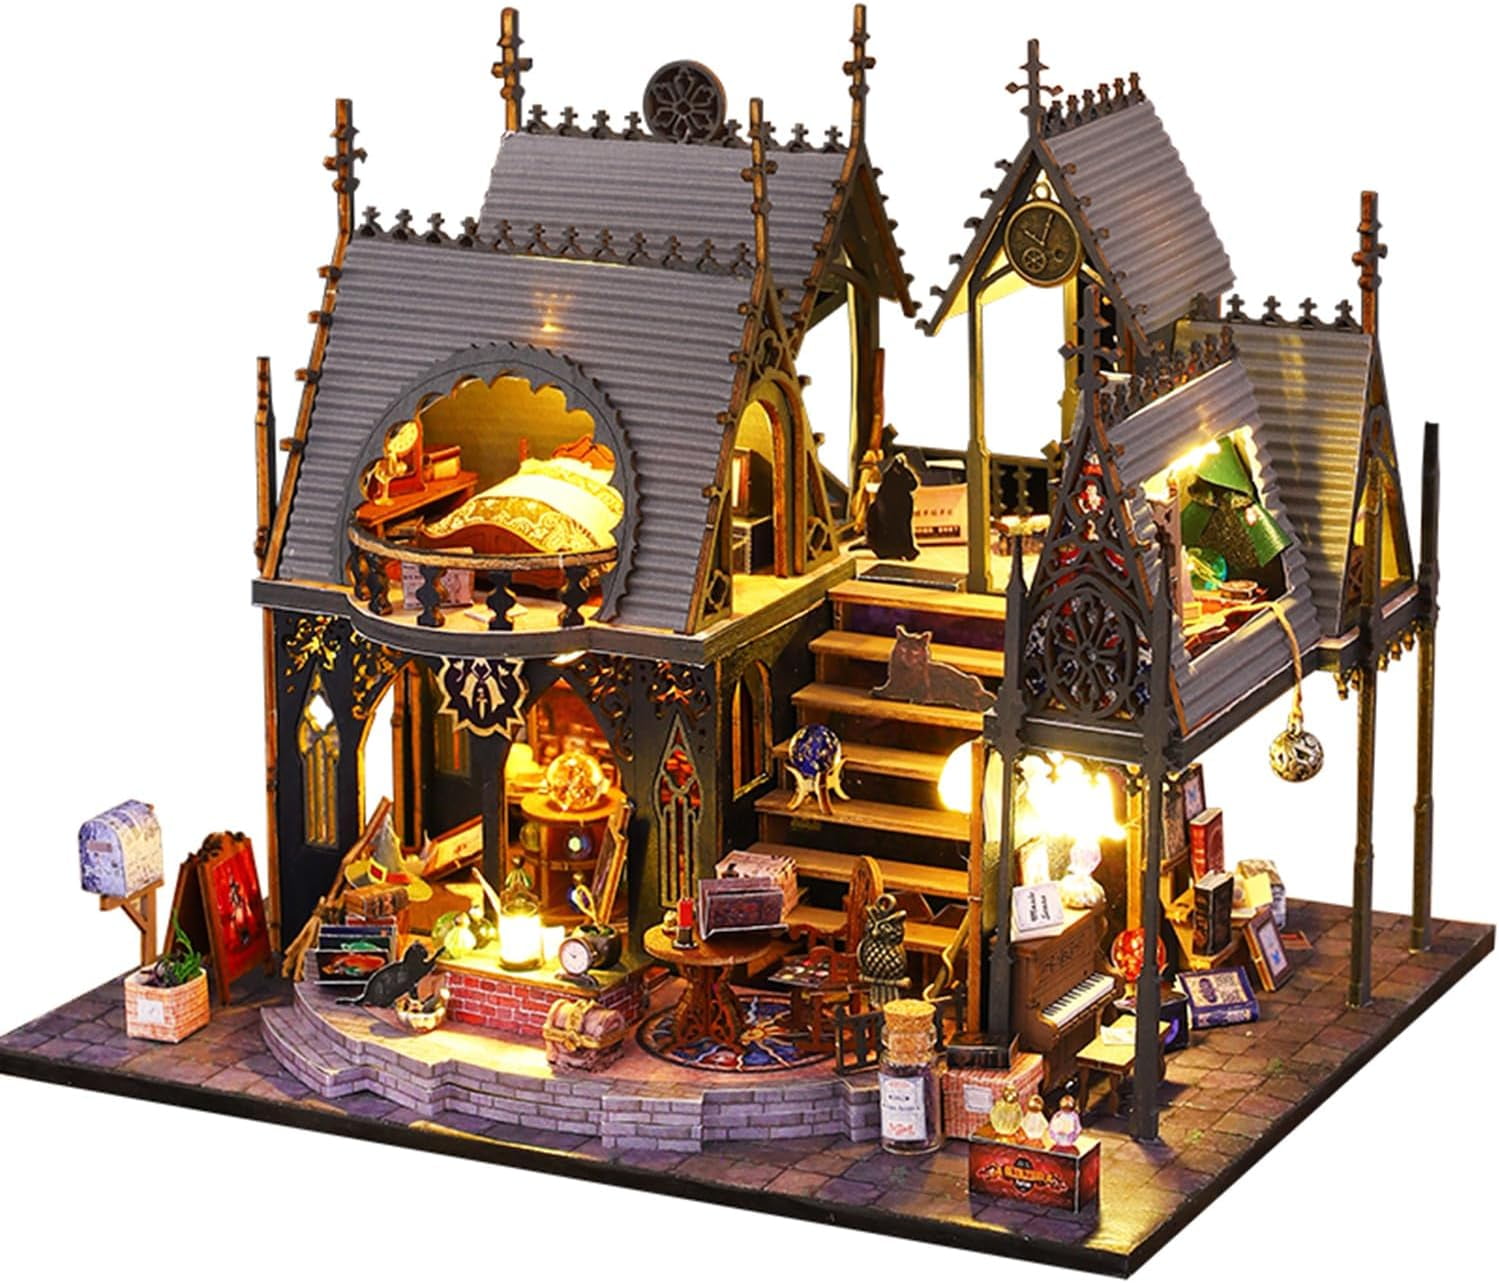
Constructing the Structure
With the planning phase complete, the next step is constructing the structure of the wooden dollhouse. This phase involves cutting, assembling, and securing the main components. Follow these steps for a smooth construction process:
- Cut the Wood Pieces: Using the detailed plans, cut the wood pieces for the walls, floors, roof, and other structural elements. Use a saw for straight cuts and precise measurements.
- Assemble the Walls: Start by assembling the walls of the dollhouse. Use wood glue and nails to secure the pieces, ensuring they are aligned correctly. Clamps can hold the pieces in place while the glue dries.
- Install the Floors: Once the walls are assembled, install the floors. Use wood glue and nails to secure the floors to the walls, creating a stable structure.
- Construct the Roof: Cut and assemble the roof pieces according to the plans. Secure the roof to the walls using wood glue and nails. Ensure the roof is level and properly aligned.
- Add Details: Attach additional structural details, such as staircases, balconies, and porches. These features add character to the dollhouse and enhance its realism.
- Sand the Surfaces: Use sandpaper to smooth all surfaces, removing any rough edges or splinters. This step ensures a polished finish and prepares the wood for painting.
Understanding the construction phase ensures a sturdy and well-built dollhouse. By following detailed plans and using proper techniques, you create a solid structure that forms the foundation for the finished project.
Painting and Decorating
With the structure complete, the next phase involves painting and decorating the wooden dollhouse. This phase brings the dollhouse to life, reflecting your personal style and creativity. Follow these steps for a successful decorating process:
- Prime the Wood: Begin by applying a primer to the wood surfaces. Primer ensures that the paint adheres well and provides a smooth base. Allow the primer to dry completely.
- Paint the Exterior: Apply paint to the exterior walls, roof, and other structural elements. Use paintbrushes of varying sizes for larger areas and detailed work. Apply multiple coats if necessary for a rich, even color.
- Decorate the Interior: Paint the interior walls and floors according to your design. Consider using different colors for each room to create distinct spaces. Wallpaper and flooring materials can also be applied for added realism.
- Apply Varnish: Once the paint is dry, apply a clear varnish to protect the wood and paint. Varnish adds a glossy finish and enhances the durability of the dollhouse.
- Install Hinges and Hardware: Attach hinges to doors and windows, allowing them to open and close. Install knobs, handles, and other hardware to complete the functional elements.
- Add Furnishings and Decorations: Furnish the dollhouse with miniature furniture, rugs, curtains, and other decorative items. Arrange these elements to create a cozy and inviting interior.
Understanding the painting and decorating phase ensures a beautifully finished dollhouse. By taking your time and paying attention to detail, you create a miniature home that is both aesthetically pleasing and creatively fulfilling.
Conclusion: Crafting Your Own Wooden Dollhouse
Building a DIY wooden dollhouse is a rewarding and creative project that combines craftsmanship with imagination. Understanding the charm and historical significance of wooden dollhouses provides valuable context for appreciating this timeless craft. By gathering essential materials and tools, planning and designing thoughtfully, constructing the structure carefully, and decorating with creativity, you create a cherished heirloom that will delight for generations.
The process of building a wooden dollhouse offers both challenges and satisfaction. Each phase, from planning to decorating, requires attention to detail and dedication. The end result is a beautiful and sturdy dollhouse that reflects your personal style and creativity. Whether built as a gift for a child or as a personal hobby, a DIY wooden dollhouse stands as a testament to your craftsmanship and artistic vision.
By embarking on this project, you connect with a rich tradition of miniature craftsmanship. The wooden dollhouse you create becomes more than just a toy; it transforms into a piece of art and a family treasure. Understanding and mastering the steps involved in building a wooden dollhouse allows you to create a unique and enduring creation, bringing joy and wonder to all who experience it.