Unleashing the power of imagination and creativity, the art of constructing a DIY doll house has captivated the hearts of both children and adults alike. This enchanting project offers a unique opportunity to transform a simple wooden structure into a whimsical, miniature world, complete with intricate details and personalized touches that bring the dollhouse to life.
Whether you’re a seasoned crafter or a beginner seeking a new and rewarding challenge, the journey of building a DIY dollhouse can be a truly rewarding and fulfilling experience. By harnessing your creativity and following a step-by-step approach, you can create a one-of-a-kind dollhouse that not only serves as a cherished plaything but also reflects your personal style and artistic vision.
In this comprehensive guide, we’ll take you through the entire process of crafting a charming DIY doll house, from selecting the right materials and tools to designing the interiors and adding the finishing touches. Prepare to embark on a transformative journey, where the limits of your imagination are the only boundaries that exist.
Choosing the Perfect Dollhouse Foundation
The foundation of your DIY dollhouse, both literally and figuratively, begins with selecting the right base structure to work with.
Determining the Dollhouse Size and Scale
The first step in your DIY doll house journey is to decide on the overall size and scale of your project, which will inform the materials and construction process.
Considering Available Space: Measure the space where you plan to display your finished dollhouse and choose a size that fits comfortably within the designated area.
Selecting the Appropriate Scale: Opt for a standard dollhouse scale, such as 1:12 or 1:16, which will ensure that your furnishings and accessories fit seamlessly within the structure.
Selecting the Dollhouse Base
With the size and scale in mind, you can now choose the appropriate base structure for your DIY doll house project.
Wooden Dollhouse Kits: Pre-cut wooden dollhouse kits offer a convenient starting point, providing a sturdy foundation and detailed instructions to guide your build.
Constructing a Custom Wooden Frame: For a more personalized approach, you can build a custom wooden frame, allowing you to tailor the size and layout to your specific preferences.
Upcycling Found Materials: Get creative by repurposing everyday materials, such as cardboard boxes or wooden crates, as the foundation for your DIY dollhouse.
Designing the Dollhouse Interiors and Layouts
Once you’ve established the foundation, the next step is to bring your creative vision to life by designing the interiors and floor plans of your DIY dollhouse.
Determining the Dollhouse Layout
Carefully consider the arrangement and flow of the rooms within your dollhouse, ensuring a cohesive and visually appealing design.
Single-Room vs. Multi-Story Designs: Decide whether you want a single-room dollhouse or a more elaborate multi-story structure, depending on your desired level of complexity.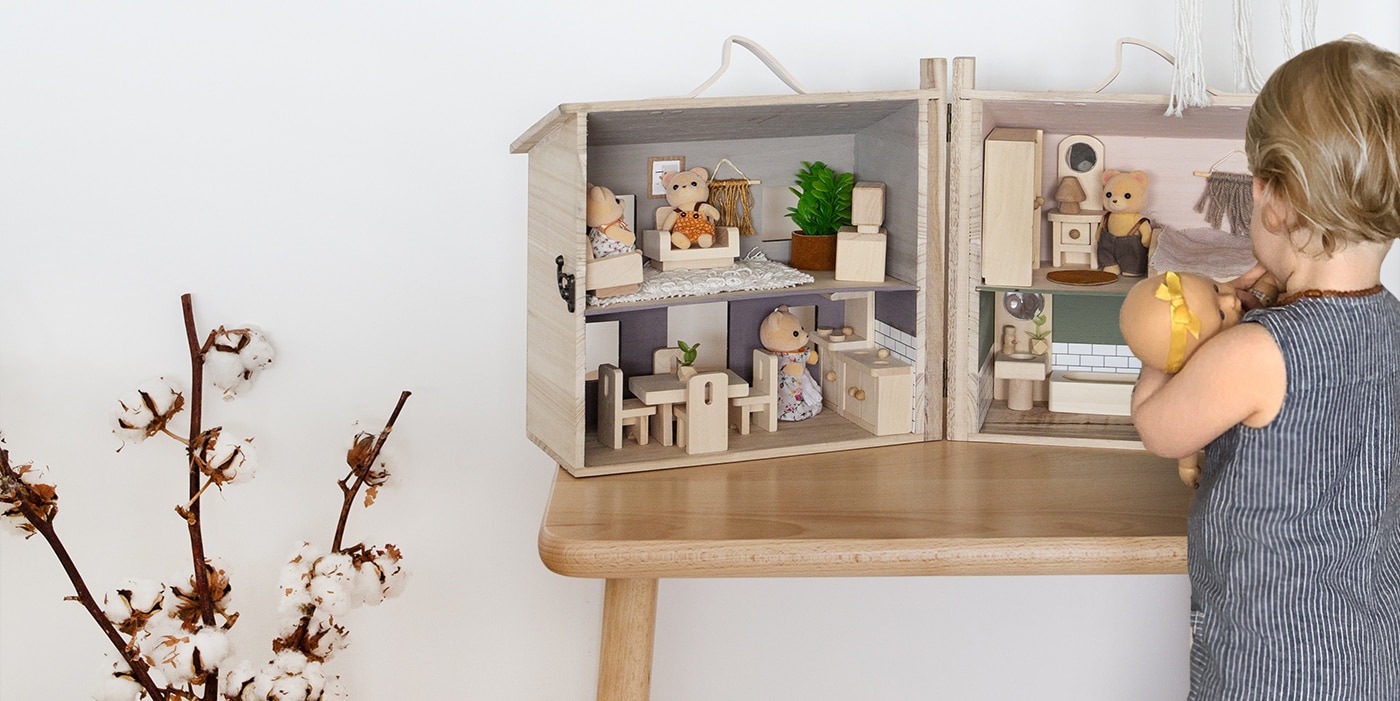
Incorporating Functional Features: Incorporate practical elements, such as staircases, hallways, and entrances, to enhance the overall functionality of your dollhouse.
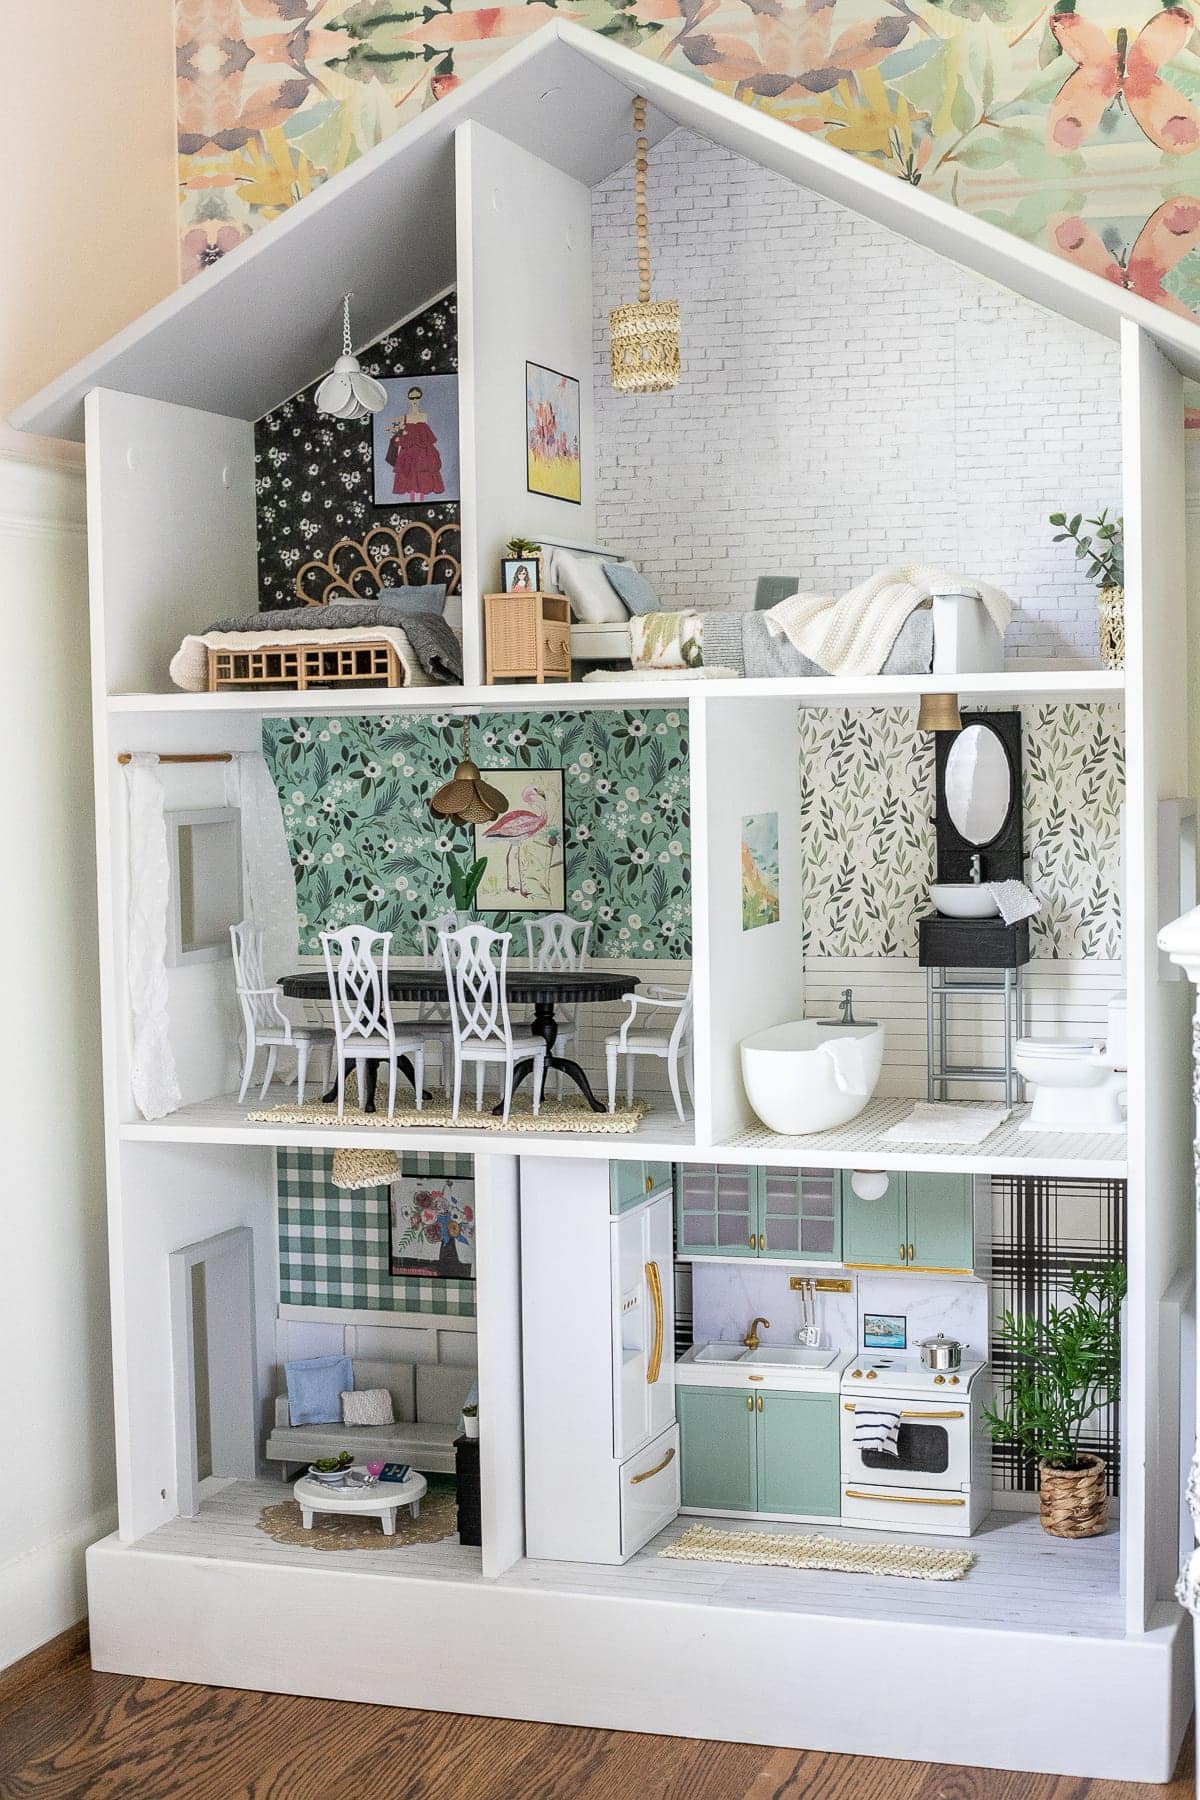
Decorating the Dollhouse Rooms
Dive into the fun and imaginative process of designing the individual rooms within your DIY dollhouse, bringing each space to life with unique décor and furnishings.
Selecting Appropriate Furniture and Accessories: Choose miniature furniture, decorations, and accessories that complement the scale and style of your dollhouse.
Incorporating Personal Touches: Personalize your dollhouse by adding unique elements that reflect your own style, hobbies, or the interests of the intended recipient.
Attention to Architectural Details: Pay close attention to architectural details, such as moldings, windows, and doors, to create a sense of authenticity and richness within your dollhouse.
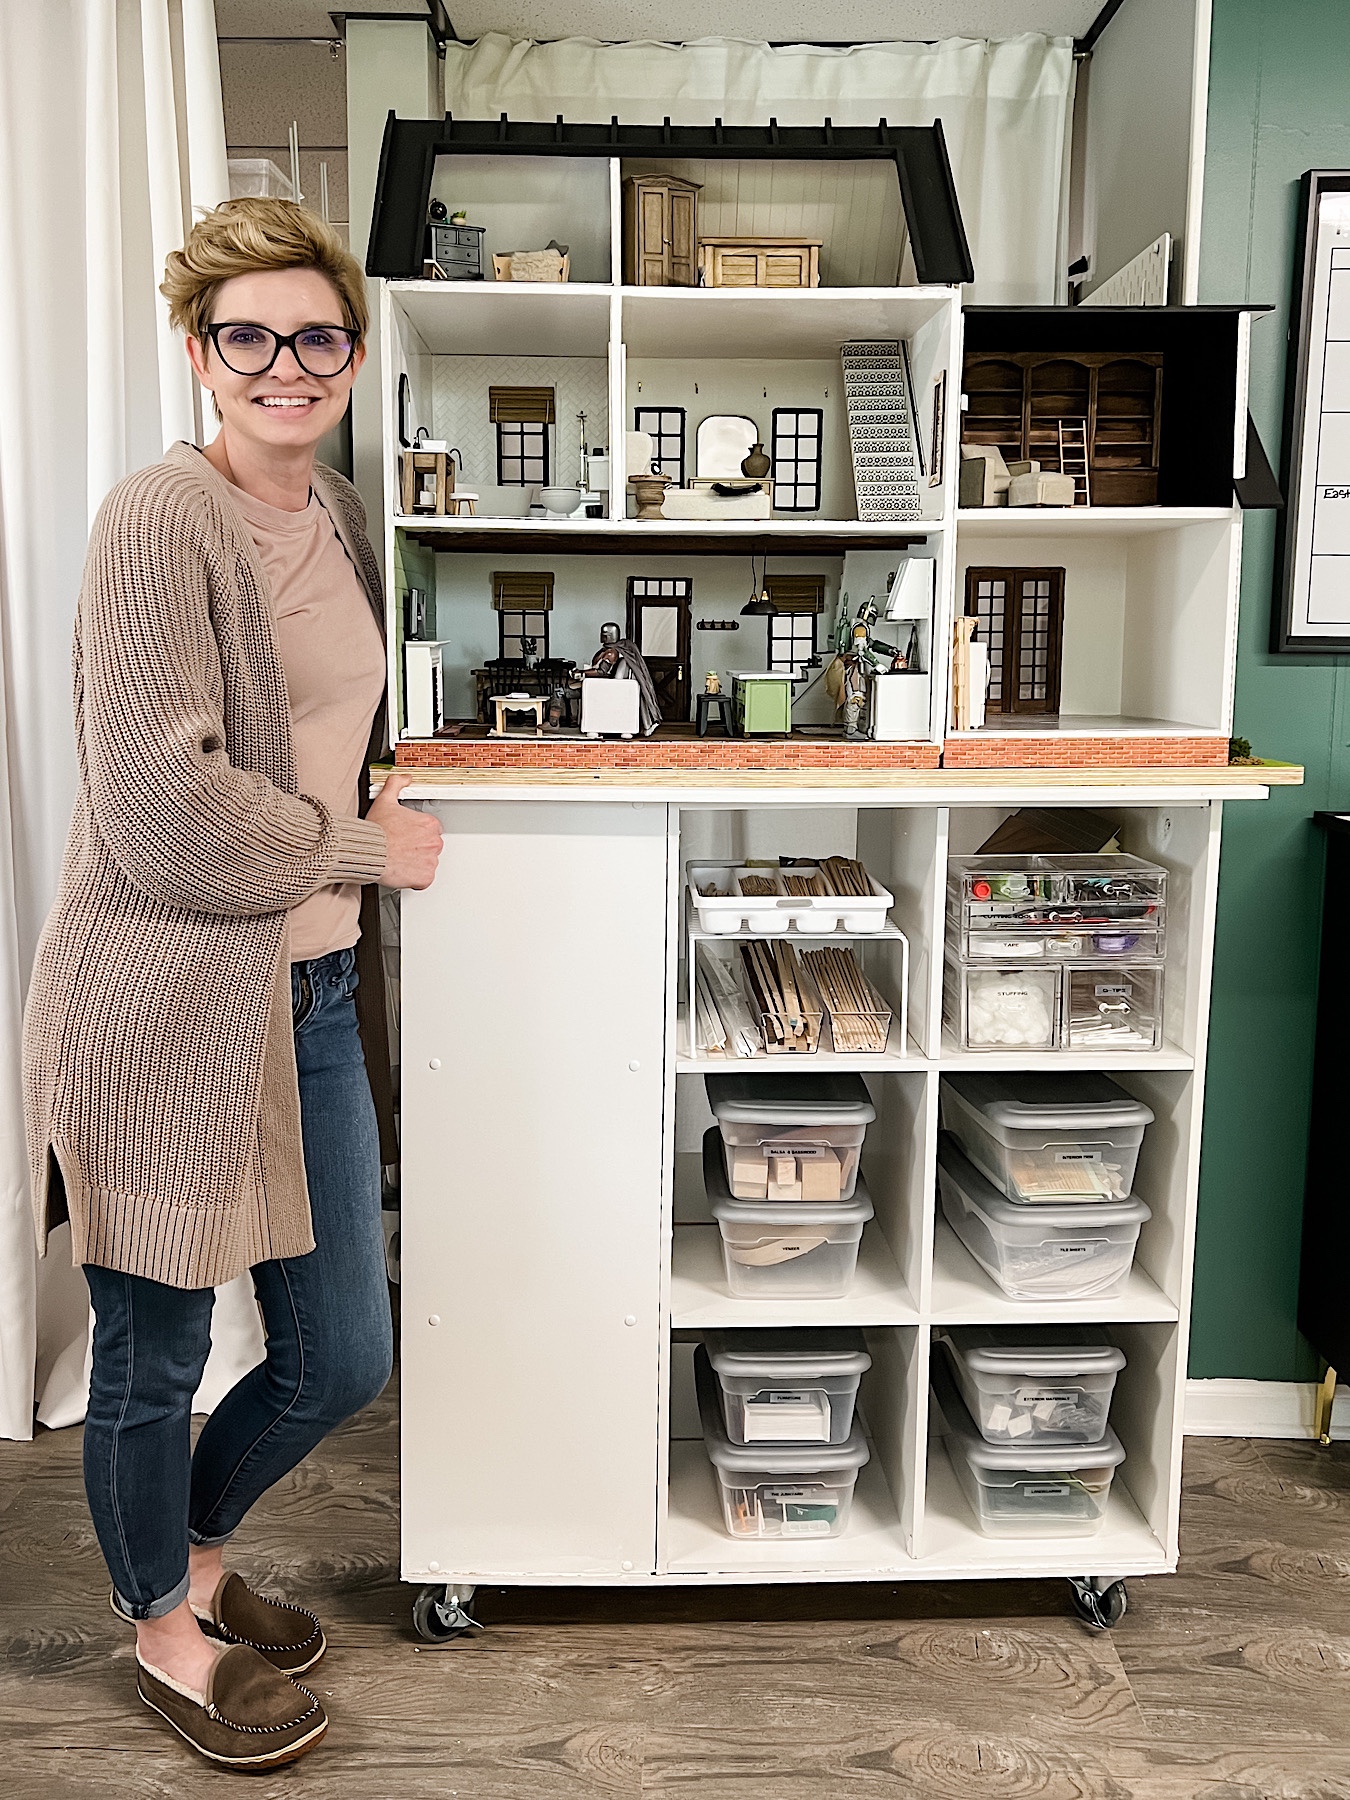
Constructing the Dollhouse Structure
With the foundation and design plans in place, it’s time to start the hands-on construction process, transforming your vision into a tangible reality.
Cutting and Assembling the Structural Elements
Carefully measure, cut, and assemble the various wooden panels and pieces that will form the walls, floors, and other structural components of your DIY dollhouse.
Utilizing Appropriate Tools and Techniques: Employ a range of tools, such as saws, drills, and clamps, to ensure precise and secure construction of the dollhouse frame.
Ensuring Stability and Structural Integrity: Pay close attention to the structural integrity of your dollhouse, reinforcing joints and using appropriate fasteners to create a sturdy and durable foundation.
Incorporating Doors, Windows, and Staircases
Add the necessary architectural features, such as doors, windows, and staircases, to create a functional and visually appealing dollhouse.
Carefully Cutting Openings: Use precise measurements and techniques to create clean, well-fitted openings for doors and windows.
Constructing Staircases and Landings: Design and build sturdy staircases that seamlessly connect the different levels of your multi-story dollhouse.
Finishing the Exterior Surfaces
Once the structural elements are in place, turn your attention to the exterior of your DIY dollhouse, creating a polished and visually stunning final product.
Applying Paint or Stain: Choose a paint or stain that complements the overall style and aesthetic of your dollhouse, ensuring a cohesive and professional-looking finish.
Adding Decorative Elements: Enhance the exterior with decorative touches, such as trim, moldings, or even miniature landscaping, to elevate the visual appeal of your dollhouse.
Furnishing and Decorating the Dollhouse
With the structural foundation in place, the true magic begins as you furnish and decorate the interior spaces of your DIY dollhouse.
Selecting Appropriate Furnishings
Carefully choose miniature furniture, accessories, and décor that fit the scale and style of your dollhouse, ensuring a harmonious and visually appealing final result.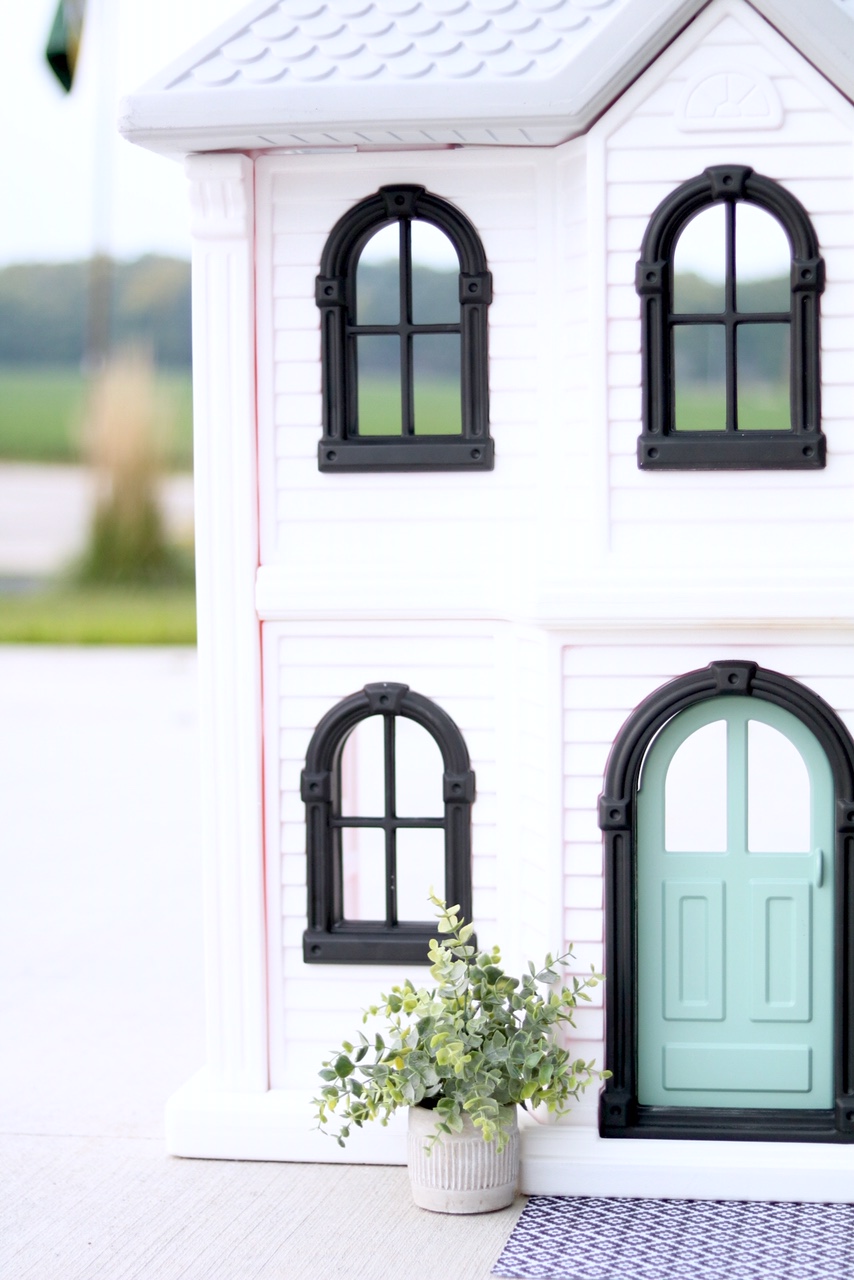
Considering Functional and Aesthetic Aspects: Balance functionality and aesthetics when selecting furnishings, ensuring that they not only look beautiful but also complement the overall design.
Mixing and Matching Styles: Don’t be afraid to experiment with different furniture styles and periods, creating a unique and eclectic dollhouse that reflects your personal taste.
Designing Room-Specific Décor
Delve into the details of each individual room, curating a cohesive and visually striking décor scheme that brings the space to life.
Establishing Themes and Narratives: Develop themes or narratives for each room, such as a cozy living room or a whimsical nursery, to guide your decorating choices.
Incorporating Lighting and Accessories: Add miniature lighting fixtures and carefully selected accessories to enhance the ambiance and visual interest of your dollhouse interiors.
Bringing the Dollhouse to Life
The final step in your DIY dollhouse journey is to add the finishing touches that breathe life into your creation, transforming it into a captivating miniature world.
Populating the Dollhouse: Introduce miniature dolls, figurines, or characters to inhabit the spaces you’ve created, adding a sense of story and imagination.
Capturing the Dollhouse’s Essence: Document your completed DIY dollhouse through photography, showcasing the intricate details and the overall sense of wonder and enchantment.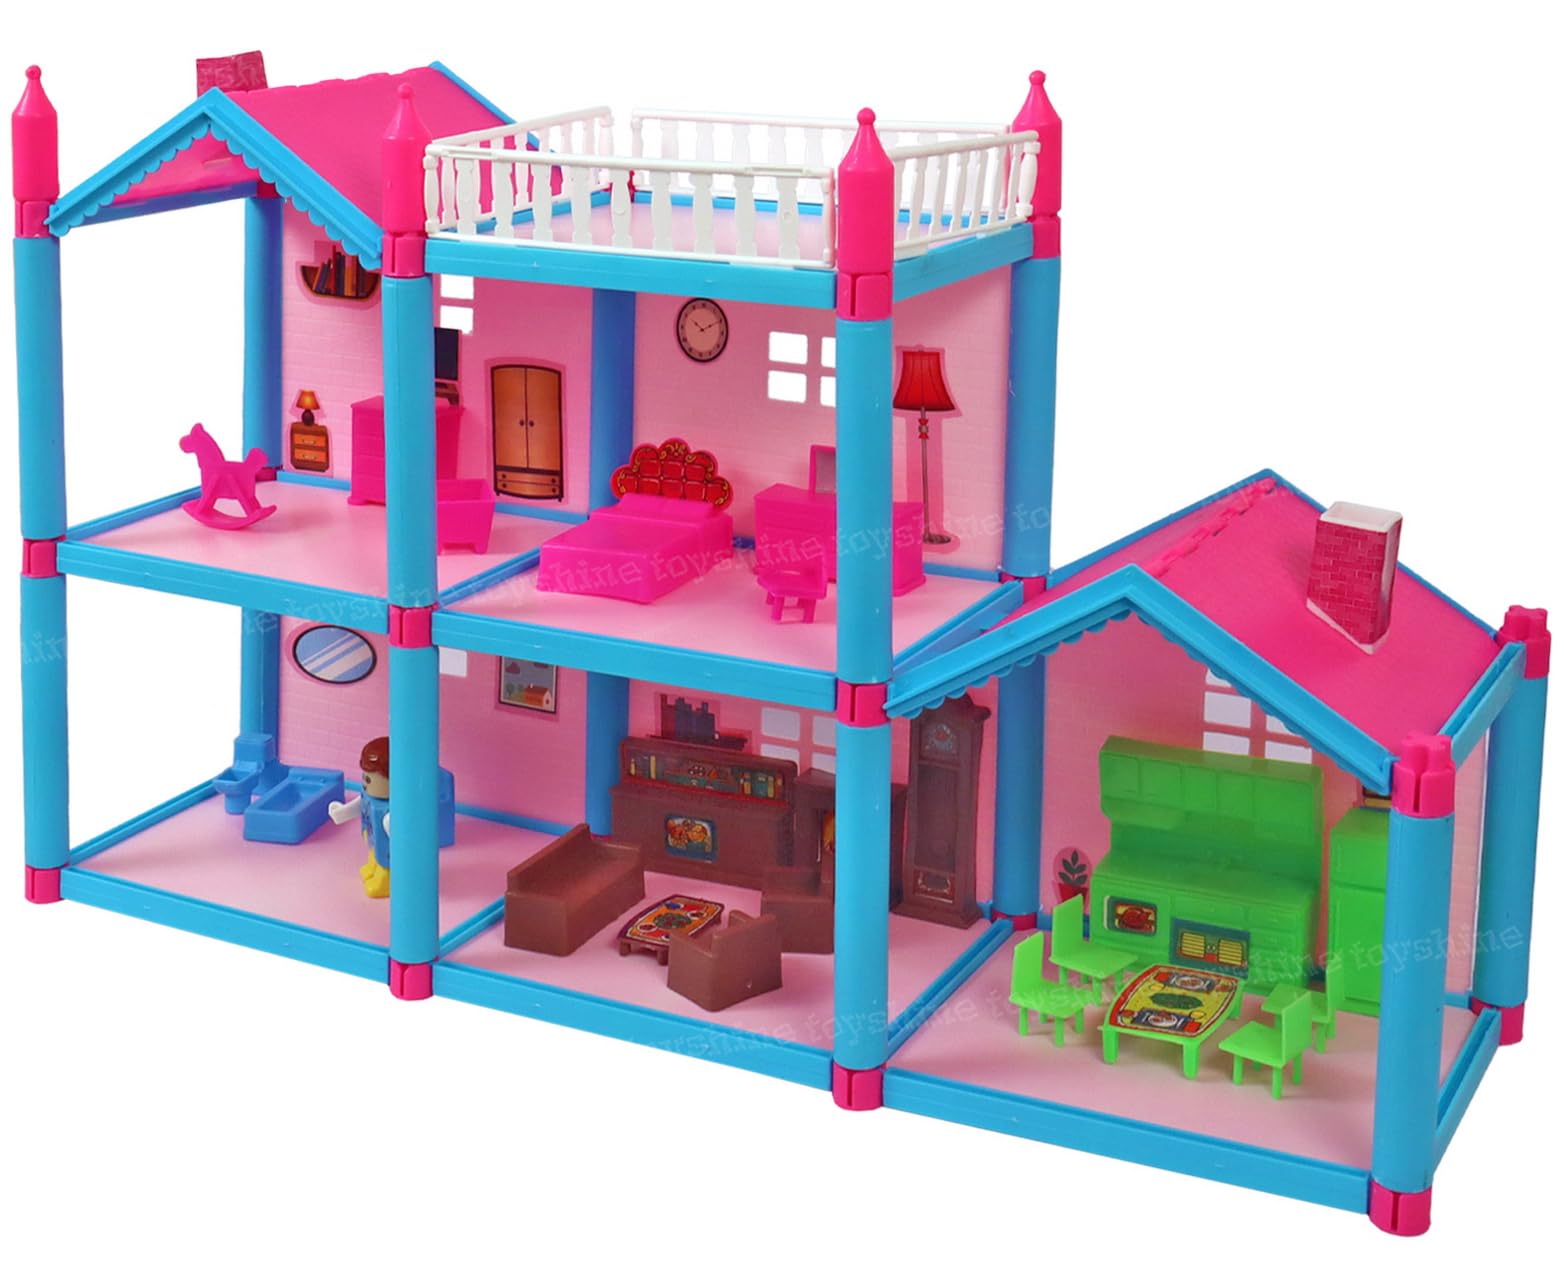
Conclusion: Unleashing the Magic of a DIY Doll house
Crafting a charming DIY dollhouse is a truly rewarding and transformative experience, one that allows you to unleash your creativity, hone your crafting skills, and create a cherished masterpiece that will captivate the hearts of all who behold it. Through this comprehensive guide, you have embarked on a step-by-step journey, from selecting the perfect foundation to designing the interiors and bringing your vision to life through meticulous construction and detailed furnishings.
Whether you’re creating a DIY dollhouse for a child’s delight or as a personal artistic expression, the process of bringing this miniature world to life is both fulfilling and magical. By carefully considering the size, scale, and layout of your dollhouse, you have laid the groundwork for a truly unique and personalized creation. As you’ve delved into the design process, you’ve had the opportunity to infuse your own style, interests, and personal touches, transforming a simple wooden structure into a captivating and enchanting miniature environment.
As you complete your DIY dollhouse project, embrace the sense of pride and accomplishment that comes with crafting a truly one-of-a-kind creation. Let this experience be a testament to the power of your imagination, the depths of your creativity, and the joy of bringing a miniature world to life. Share your dollhouse with loved ones, watch as their faces light up with wonder, and cherish the memories and connections that this enchanting project has the power to foster.
Unlock the magic of a DIY dollhouse and let your creativity soar. This endeavor is not merely a project, but a journey of self-expression, skill development, and the creation of a treasured keepsake that will continue to inspire and delight for years to come.